Before syncing 2 Shopify stores, make sure Easify Inventory Sync is installed on both of them.
One store will act as the Source Store and the other as the Destination Store, each with its own setup steps.
Start with the section that matches the store being configured.
Source Store Setup #
Step 1: Install the app & select store type #
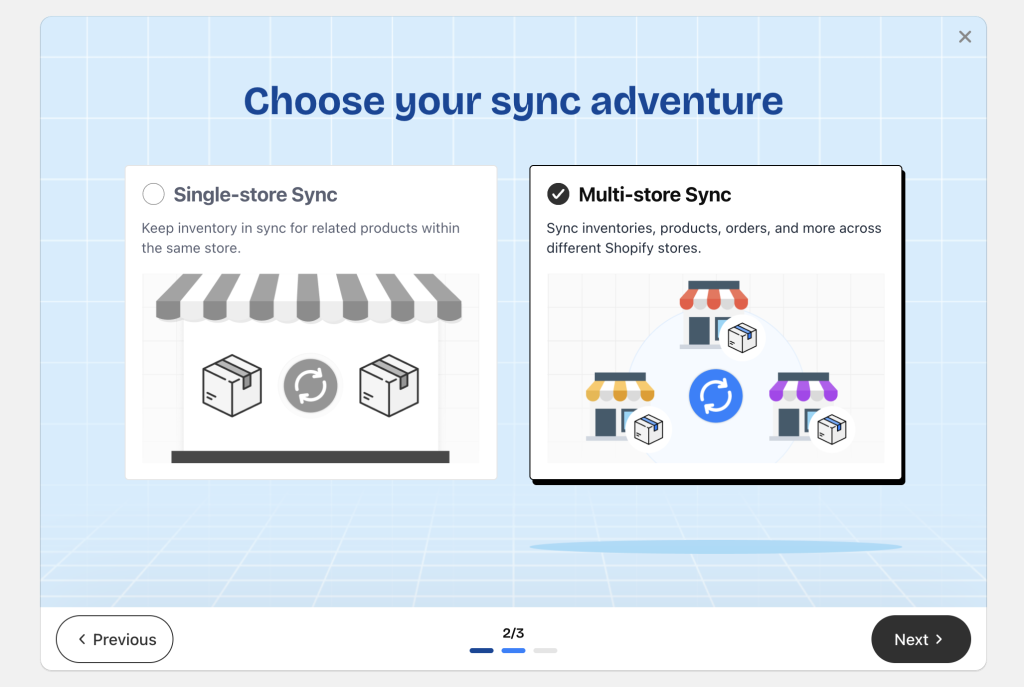
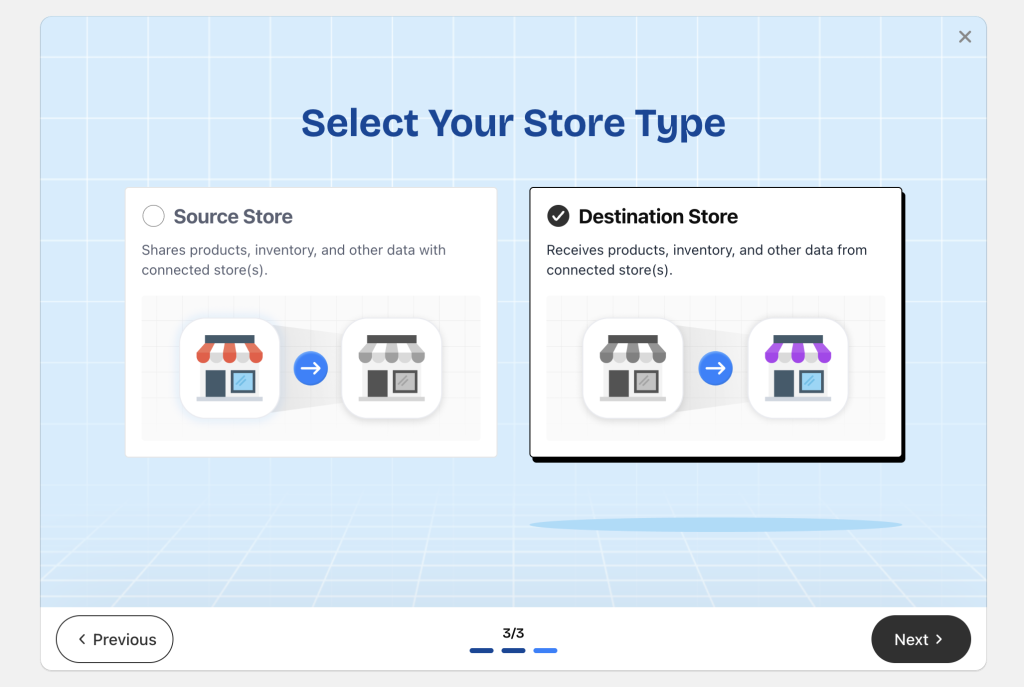
When the app is opened for the first time, the onboarding screen appears.
- Choose Multi-store Sync.
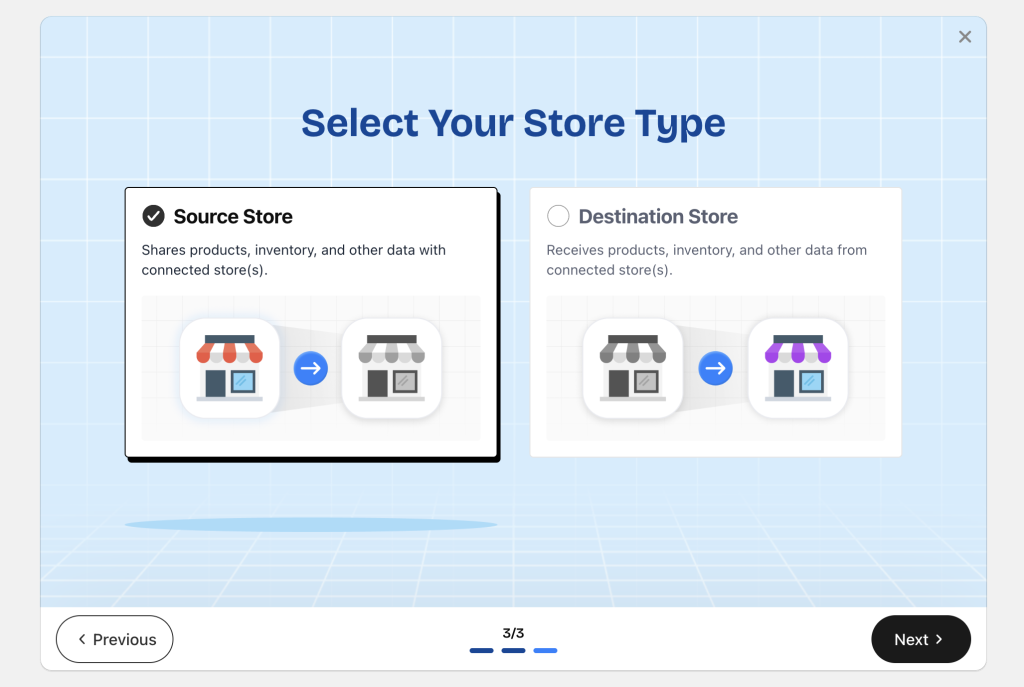
- Choose Source Store as the store type.
This selection cannot be changed later, so it must be assigned correctly from the beginning.
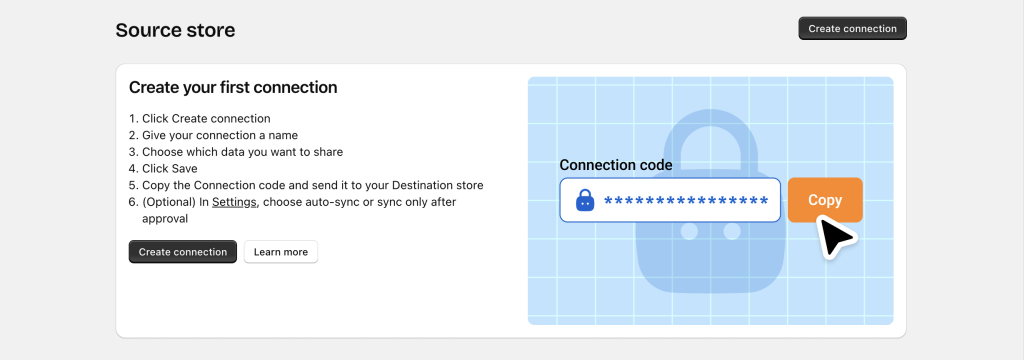
Step 2: Create your first connection #
Click Create connection.
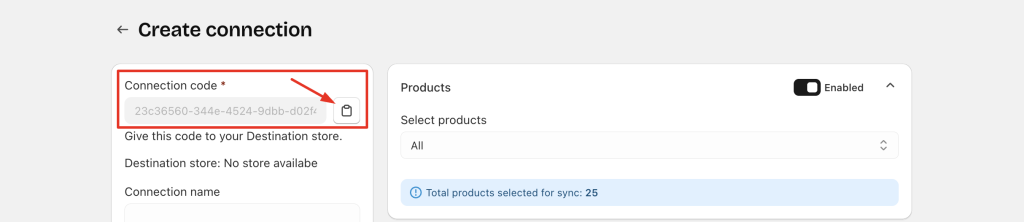
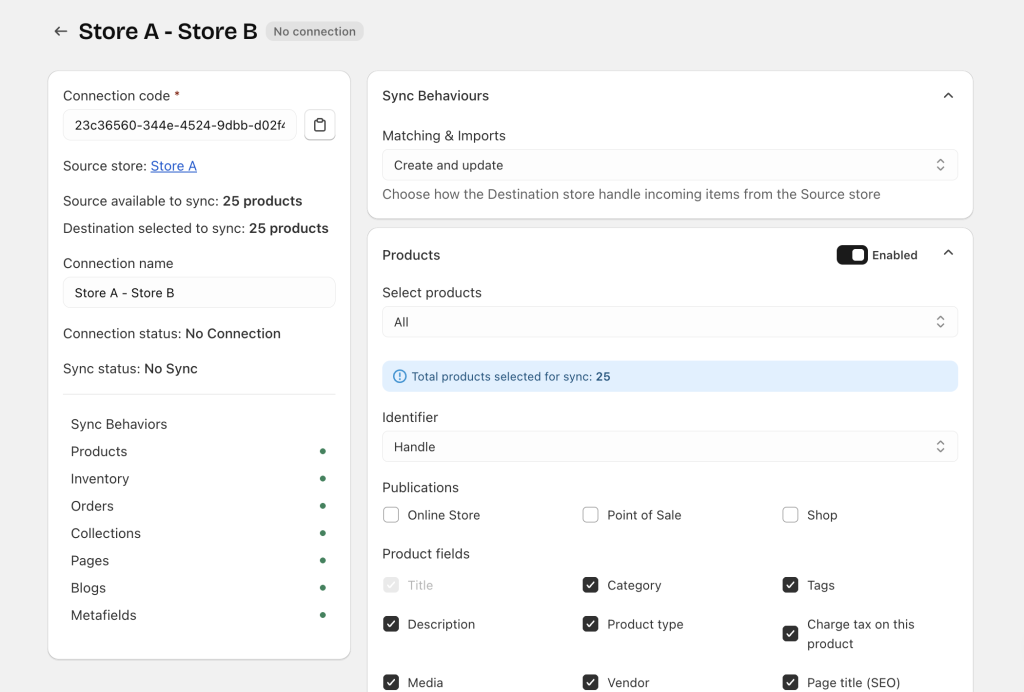
You’ll be taken to the Connection details page to configure the connection.

1/ Name the connection #
Enter a clear and recognizable name.
Examples:
Main Store → US Store
Store A – Store B
2/ Choose what to sync #
All available data types from the Source store appear, including:
- Products
- Inventory and orders
- Collections
- Pages
- Blogs
- Metafields
All items are enabled by default. Any item can be disabled if it should not be shared.
3/ Save your connection #
Click Save.
4/ Copy the connection code #
Copy the generated code and provide it to the Destination store.
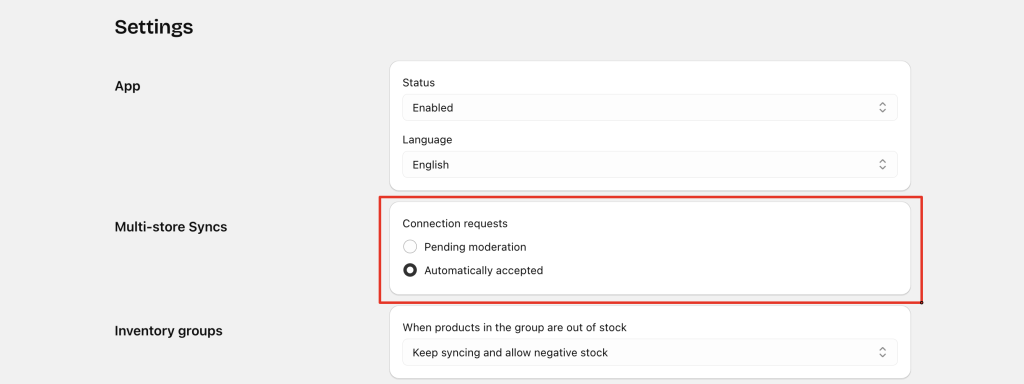
Step 3: (Optional) Set approval requirements #
Before sharing the connection code, decide how incoming connection requests should be handled:
- Automatically accepted (default), or
- Pending moderation (manual approval)
To change this setting:
- Go to Settings page
- Change “Connection requests” to Pending moderation
When moderation is enabled:
- An in-app and email notification is sent to the Source store whenever a Destination store uses the connection code.
- The connection becomes active only after approval from the Source store.

Destination Store Setup #
Step 1: Install the app & select store type #
Install Easify Inventory Sync and select Destination Store as the store type.
Step 2: Create your first connection #
Click Create connection.
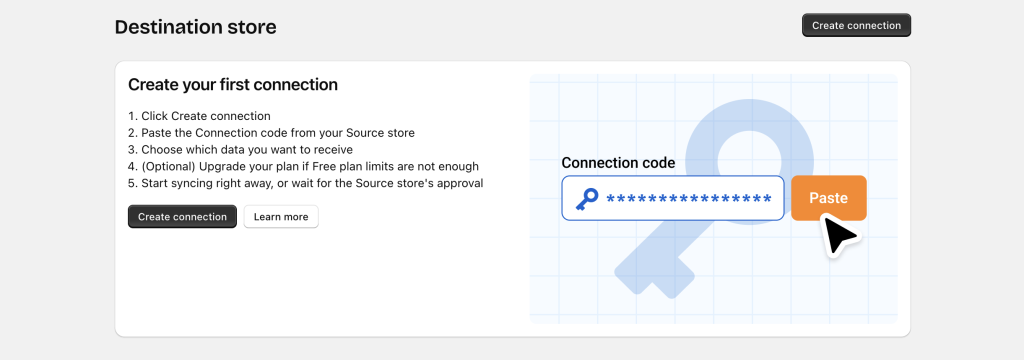
A popup will ask for the Connection Code provided by the Source store.
Enter the code and click Connect.
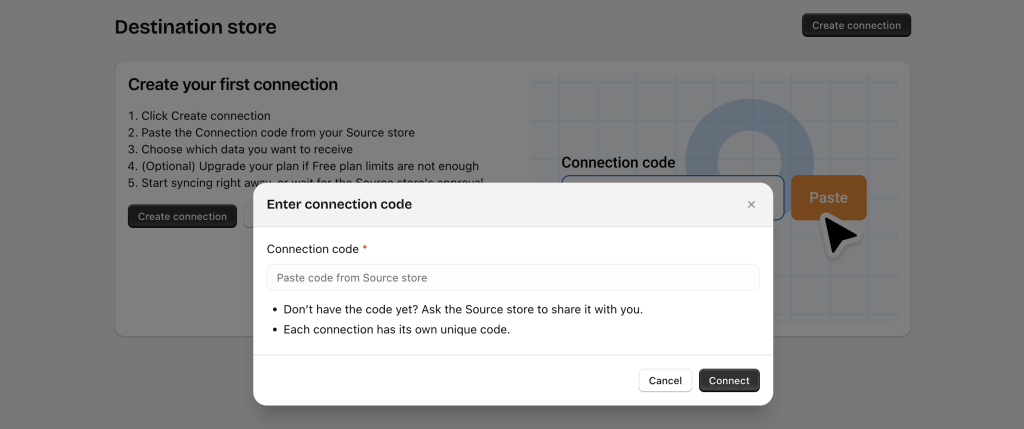
If the code is valid, the app opens the Connection details page.
1/ Review incoming data #
All data types allowed by the Source store are listed.
The Destination store can:
- Accept all sync data, or
- Disable any items that should not be received
Important: Set Location mapping for inventory sync
When syncing inventory, Source store locations must be mapped to Destination store locations. Inventory cannot sync without location mapping.
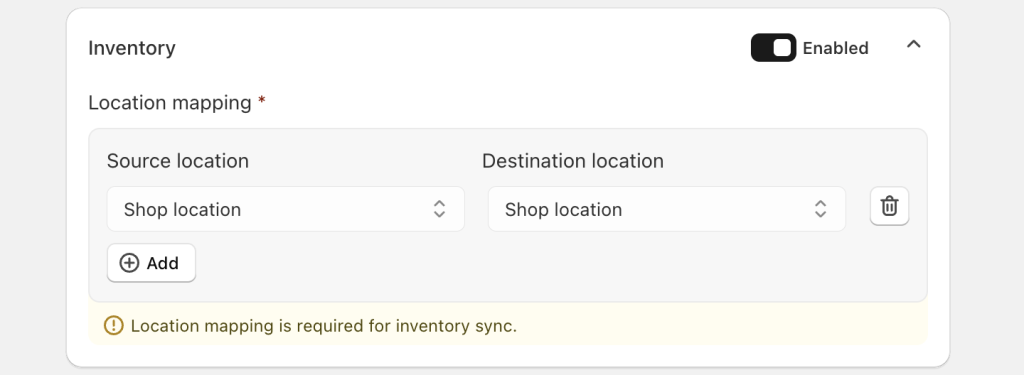
2/ Save the connection #
Save after location mapping is completed.
3/ Complete the connection #
If the Source store uses automatic approval (“Automatically accepted), the connection becomes active immediately.

If the Source store uses manual approval (“Pending moderation”), syncing will begin only after the Source store approves the request.

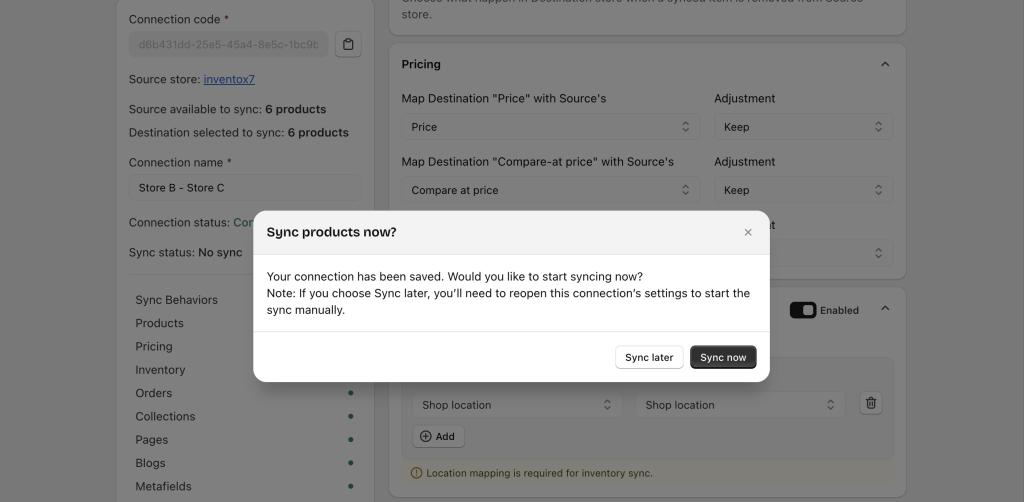
Step 3: Start syncing #
1/ If automatic approval is enabled #
The connection becomes active instantly.
The Destination store can choose to Sync now or Sync later.
2/ If manual approval is enabled #
The Destination store will wait for the Source store to approve the request.
Once approved, syncing starts automatically without requiring any action from the Destination store.
Tracking Synced Items #
After syncing, both the Source and Destination stores can review synced items anytime in Sync History.
Refer to the Sync activity tracking guide for more details.
Need Assistance? #
If you run into any challenges while connecting Source and Destination stores, feel free to reach out to us for assistance through our convenient in-app 24/7 live chat. We’re here to help!