This feature allows you to enhance your Shopify store by adding related products or product variants to option values in your option set. This enables you to achieve two main objectives:
Flexible Pricing: You can add extra prices to option values based on existing products. If the prices of your main products change in the future, the add-on prices of the option values will automatically update accordingly. Additionally, you can still add price add-ons independently without linking them to specific products if desired.
Efficient Inventory Management: By assigning option values to related products, when an order is placed including those options, the inventory of the associated products will be deducted accordingly, helping you to manage your inventory more effectively.
Example 1: Let’s say your store sells Flowers, and customers can choose from 3 types of cards (Anniversary, Birthday, Christmas). You can create an option to buy a card in the flower product page with different option values, each representing a different card type. Additionally, you have a separate Card product, with each card type as a variant. You can assign each option value to a specific card variant.
Example 2: Your store sells Birthday cakes that include candles. Customers can choose from 5 types of candles. You can create an option to buy candles in the birthday cake product page, with 5 option values representing each candle type. Meanwhile, you have a Candle product with 5 variants, each corresponding to a candle type. You can assign each option value to a specific candle variant.
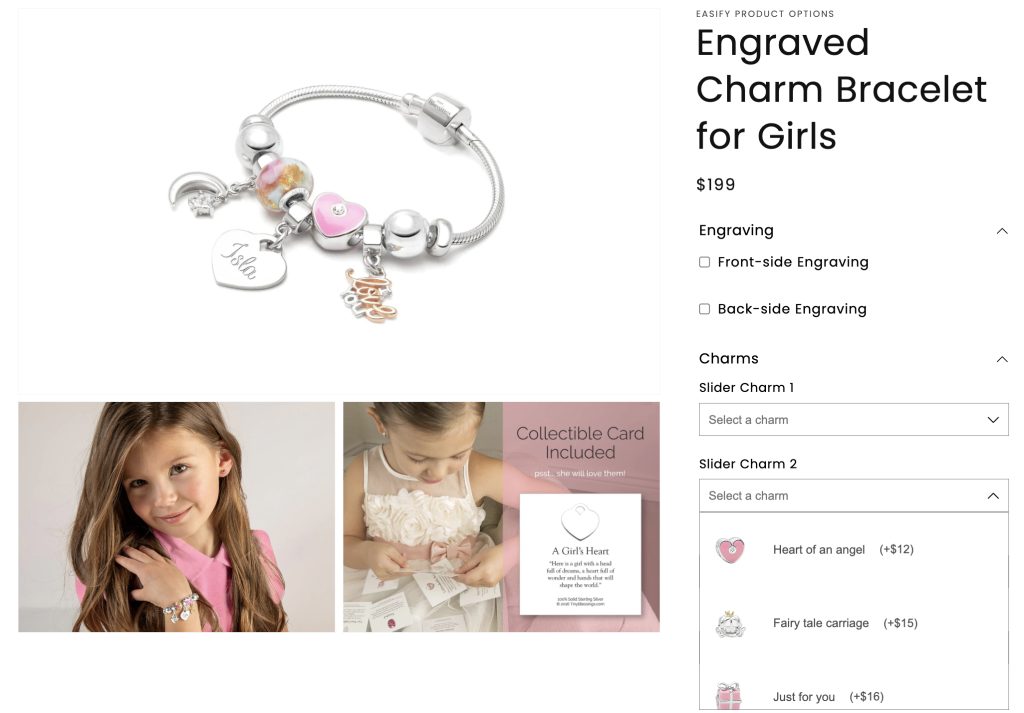
Example 3: Your store sells Charm bracelets, and customers can select 5 charms out of 10 options. You can create an option to choose Charms, with 10 option values, and then assign each option value to one of the 10 separate existing charm products.
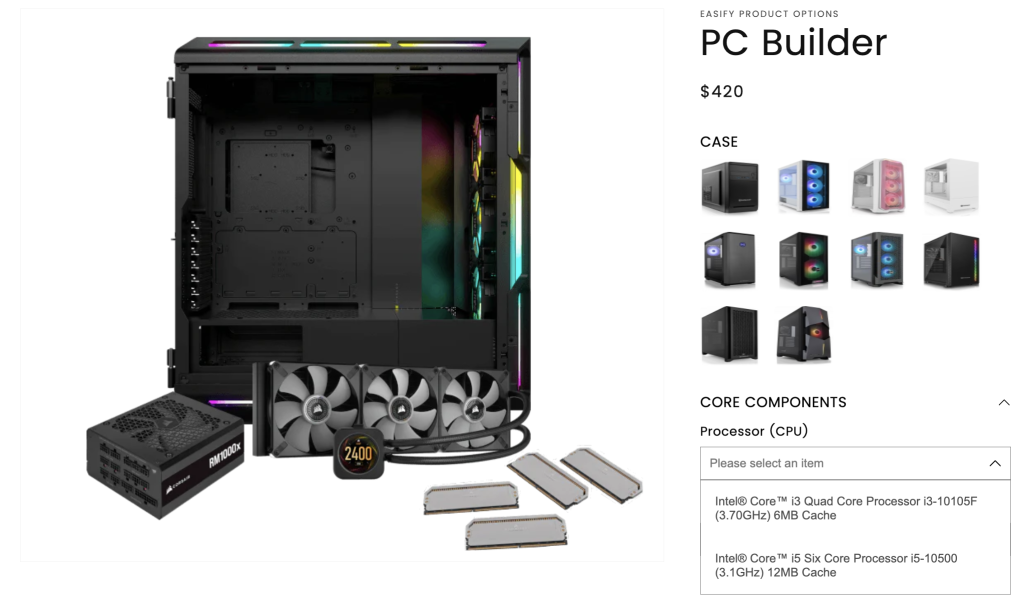
Example 4: Your store sells custom PCs, and customers can select different processors (e.g., Intel® Core™ i3 Quad Core Processor i3-10105F (3.70GHz) 6MB Cache and Intel® Core™ i5 Six Core Processor i5-10500 (3.1GHz) 12MB Cache). You can create a custom option for “Processor,” with 2 option values representing each processor, and assign them to the related processor products.
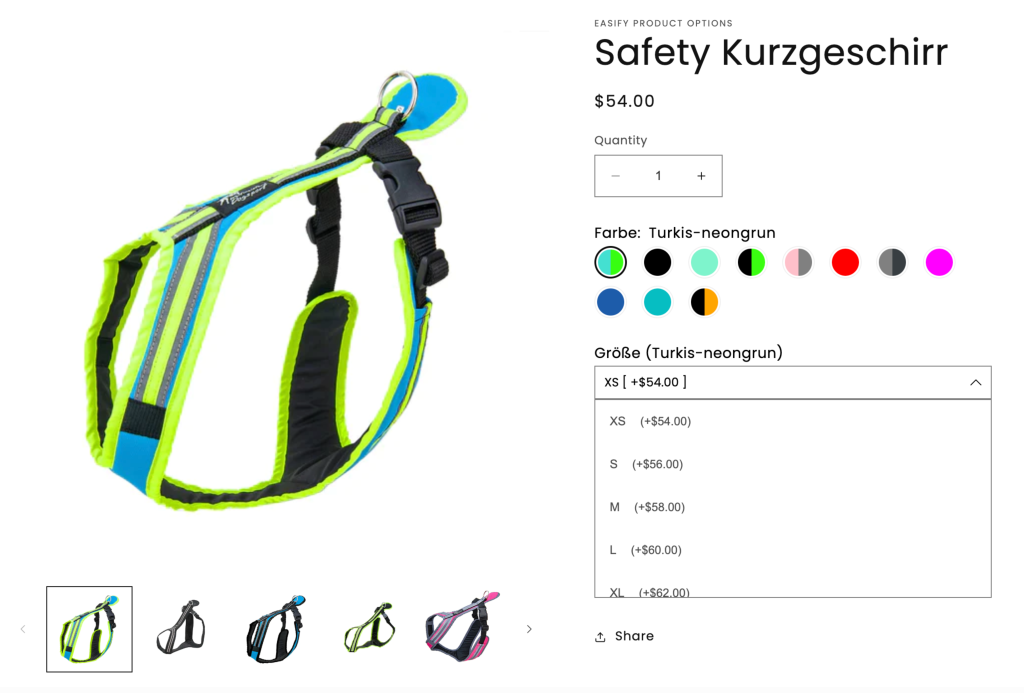
Example 5: If your product offers a wide range of Color (12 variants) and Size (10 variants) options, you might face a challenge since Shopify has a limitation of a maximum of 100 variants per product. To address this issue, consider leveraging Easify’s custom options along with the powerful Conditional Logic and Add-on product feature provided by the app. This combination allows you to efficiently manage and present your diverse product variants.
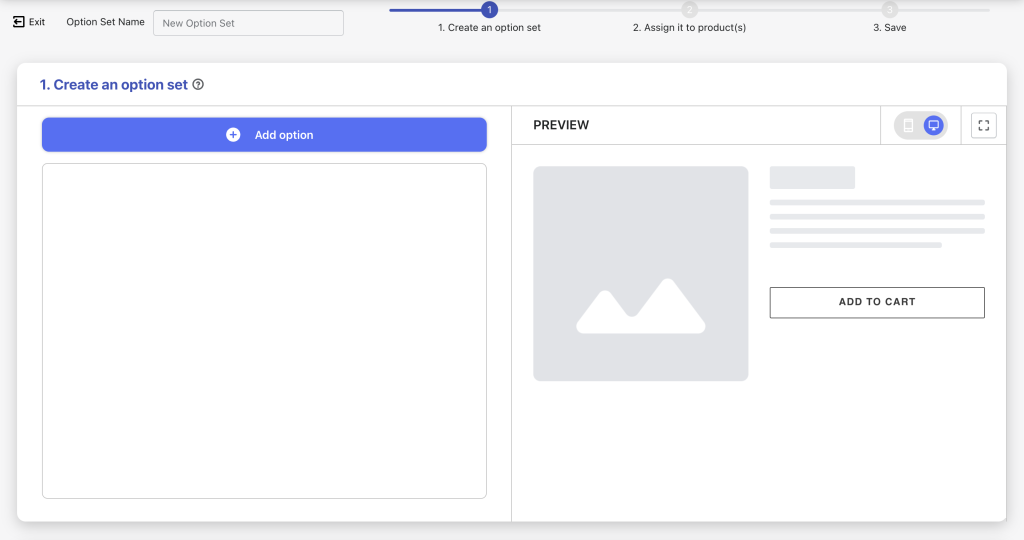
Navigate to Option Sets: In the app menu, select Your Option Sets. Click the New Option Set button to create a new option set.
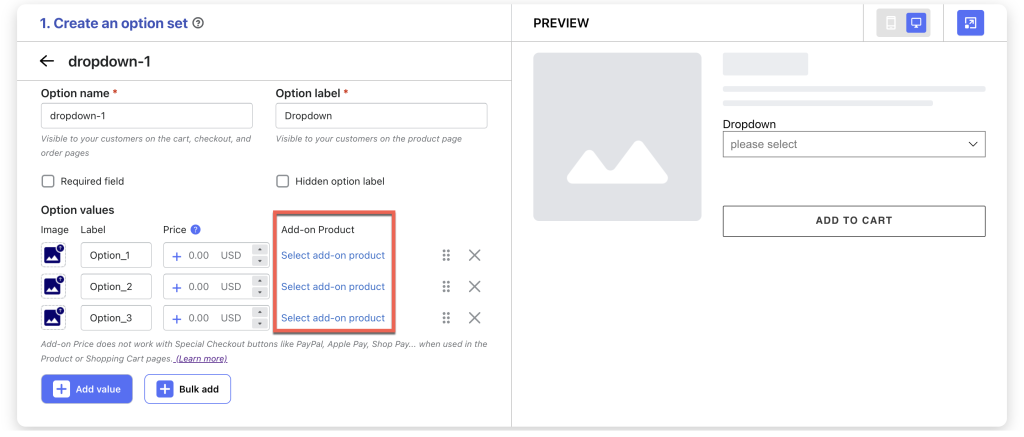
Choose Option Type: Select a suitable option type for your custom option (e.g., Dropdown) from 26 available choices.
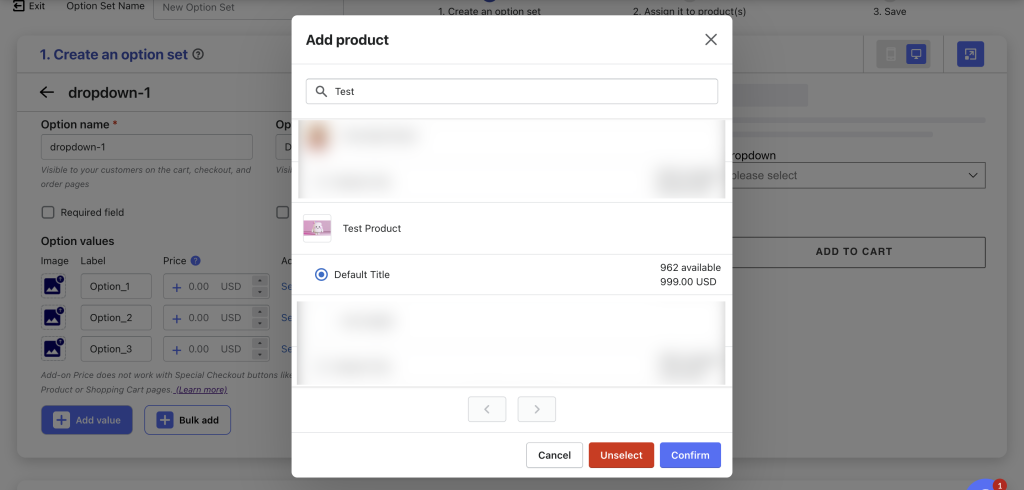
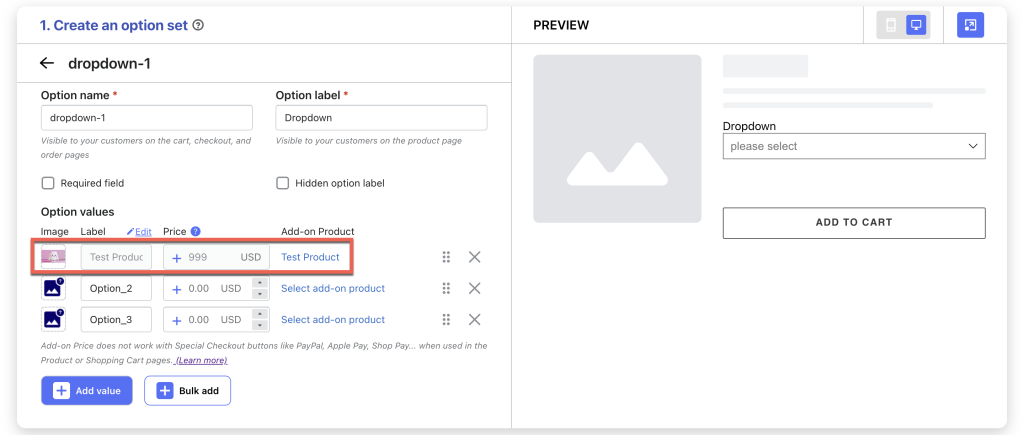
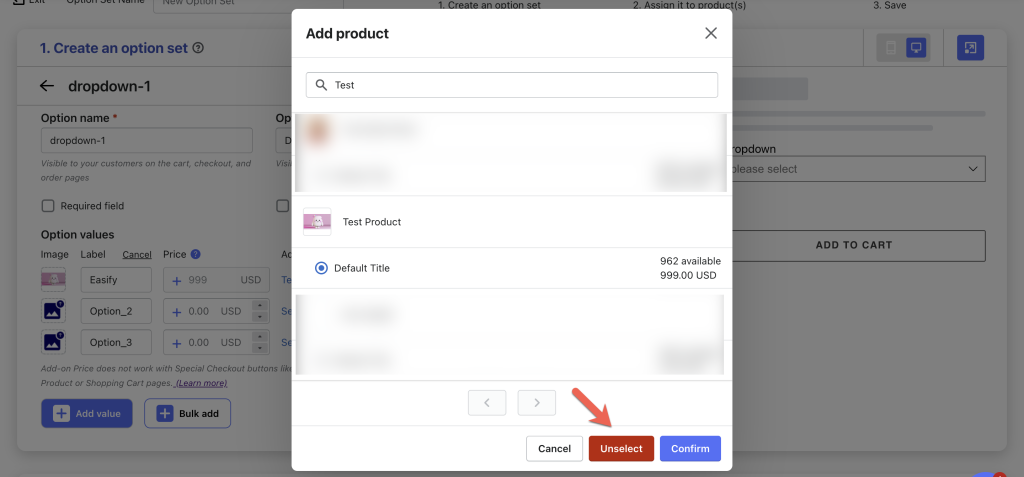
Assign Related Products: Click Select add-on product to choose a product that is associated with the option value you are creating. A pop-up will appear with available product options. Confirm your selected product, and its name will be displayed on the same line as its corresponding option value.
Notes:
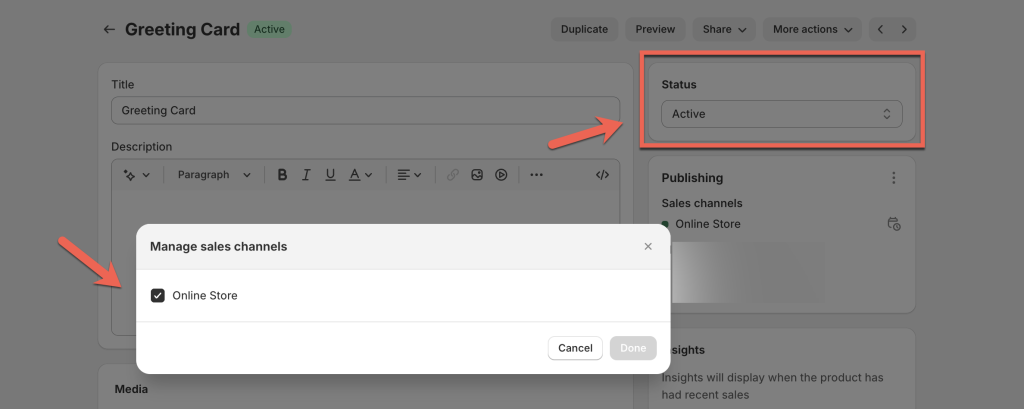
Ensure that the status of the assigned add-on products is ACTIVE (already published) within the Online Store. It is imperative that these products are not set to Draft for proper functionality.
If the intention is to utilize add-on products solely for inventory or pricing management without displaying them on the storefront, employ the meta.hidden metafield for these products. This allows efficient behind-the-scenes management without affecting the customer-facing aspect.
It’s also crucial to monitor the stock levels of the add-on products. If they become out-of-stock, the option values associated with them will also be disabled or hidden on the storefront (view demo).
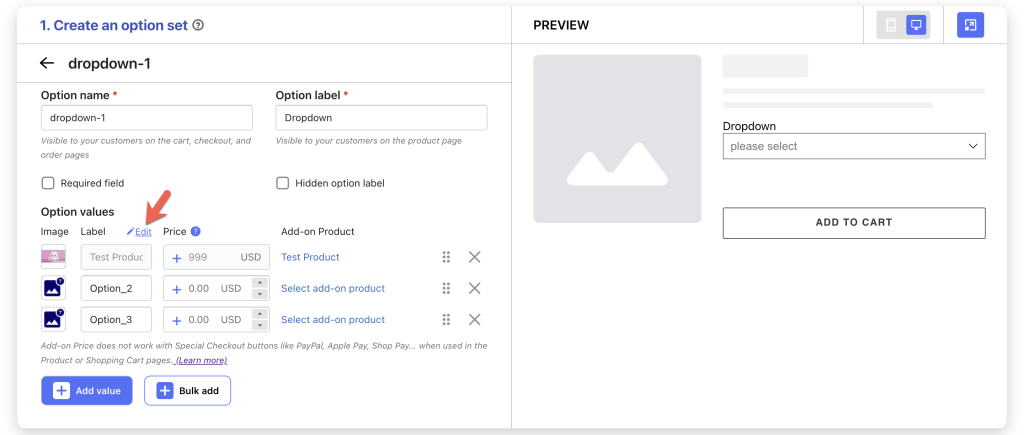
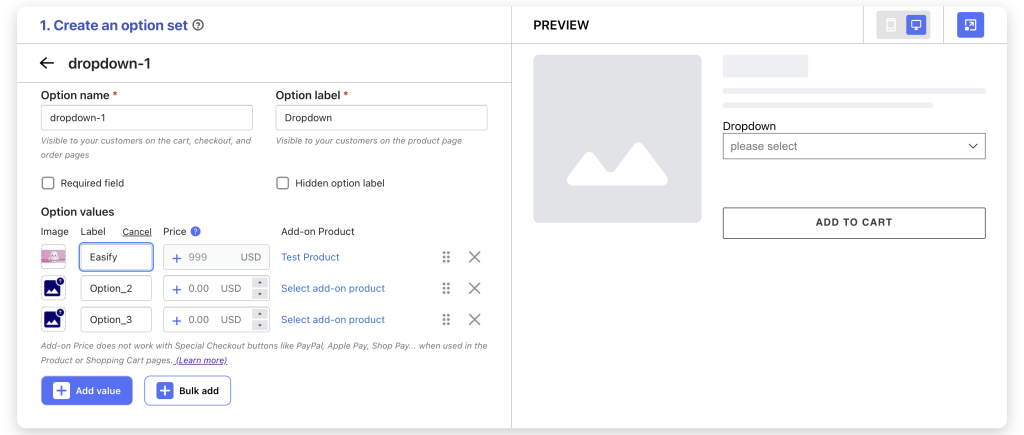
Change Automated Option Value Labels (Optional): Once you assign associated products, the images, labels, and price add-ons of option values will be seamlessly synchronized with those of your selected products or product variants. This automatic synchronization ensures consistency and eliminates the need for manual adjustments. Still, you can edit option value labels if they prefer alternatives to add-on product names or variant labels.
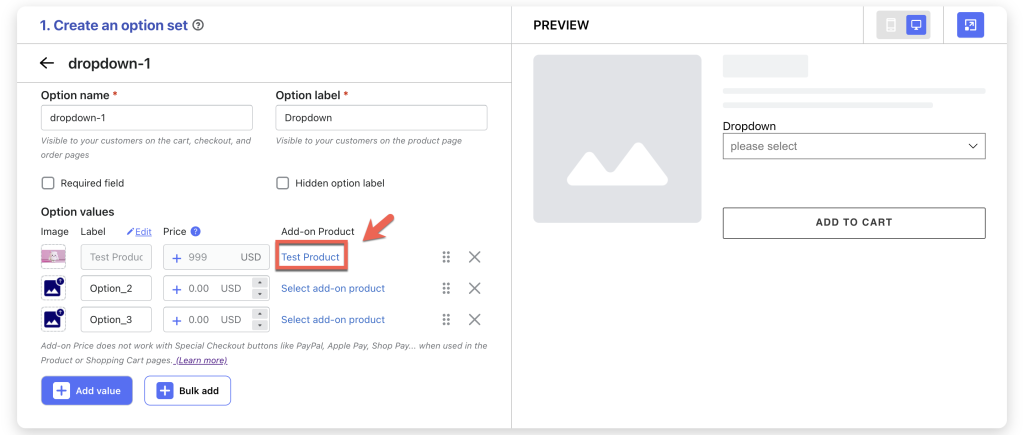
Change Associated Products (Optional): If you need to change the associated product, click on the product name, select another product from the pop-up, and click the Confirm button again.
Unassign Products (Optional): If you change your mind and no longer want to assign a related product to an option value, click on the selected product name and then click Unselect button in the pop-up.
If you run into any challenges while setting up the Add-on Products, feel free to reach out to us for assistance through our convenient in-app live chat, by submitting your request via our contact form, or by sending an email to support@tigren.com. We’re here to help!