Overview #
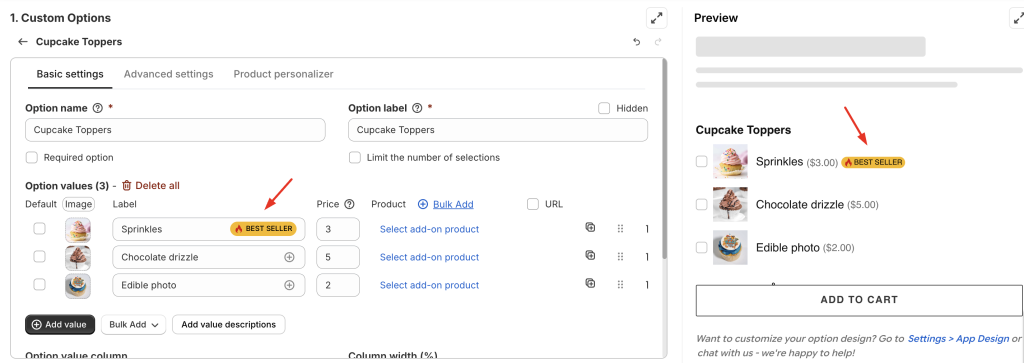
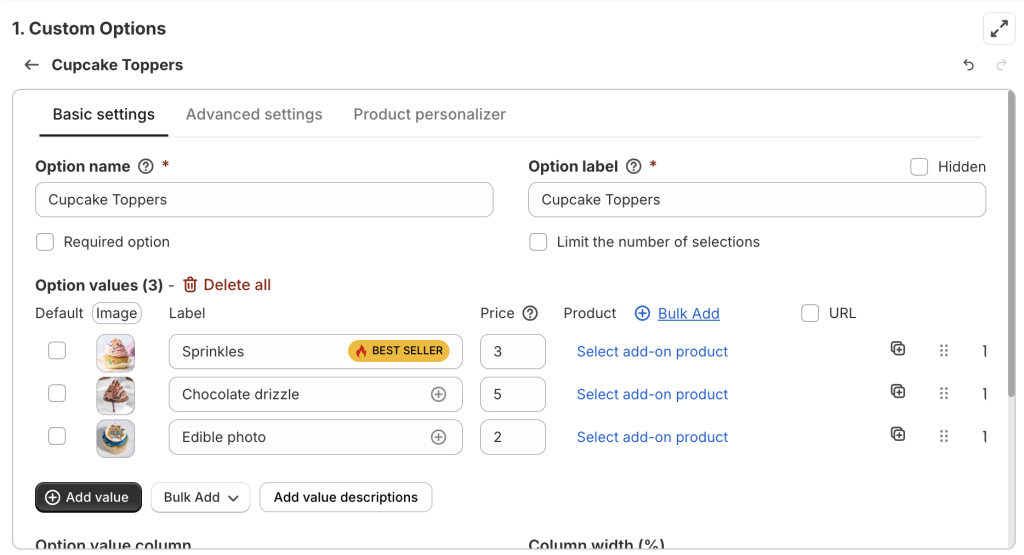
The Option Value Badge feature lets you highlight specific option values using small badges like “Best Seller”, “Hot”, “Limited” (or any message you prefer) so customers notice them instantly.
You can use badges to call attention to popular choices, special items, new arrivals, or anything you want customers to focus on. A badge can include an icon, text, or a combination of both, and appears right next to the option value on your product page.
This is a great way to guide customers visually without making your product page feel cluttered.
Available on Premium & Enterprise plans.
Supported option types #
- Dropdown
- Checkbox
- Color swatch
- Image swatch
- Button
- Radio button
- Product list
Demo #
…
Common Use Cases #
Here are some popular ways merchants use badges:
- Highlight “Best Seller”, “Hot”, “Trending”, “Most Picked”, or “Recommended” options
- Mark “Limited stock”, “Seasonal”, or “Last chance” items
- Promote upsell choices such as premium materials or gift wrapping
- Make new arrivals stand out with a “New” badge
- Communicate attributes like “Eco-friendly”, “Handmade”, or “Waterproof”
Badges help customers make quicker decisions and often lead to higher engagement and conversions.
How To Set Up Option Value Badges #
Step 1: Add your option and option values #
Create your option and enter all option values like you normally would.
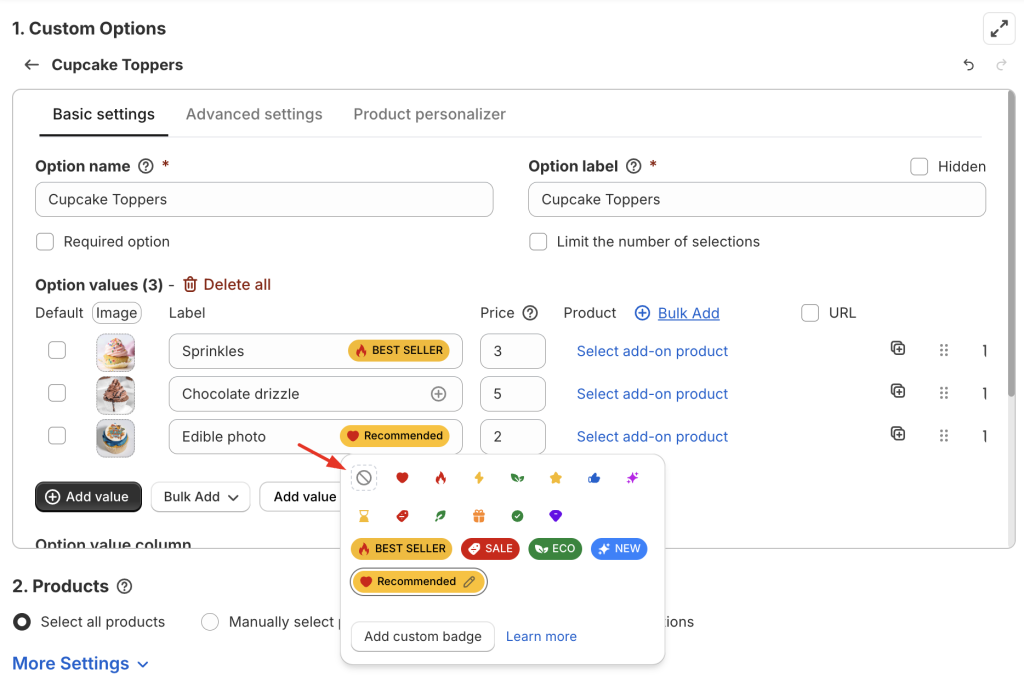
Step 2: Add a badge to your target option value #
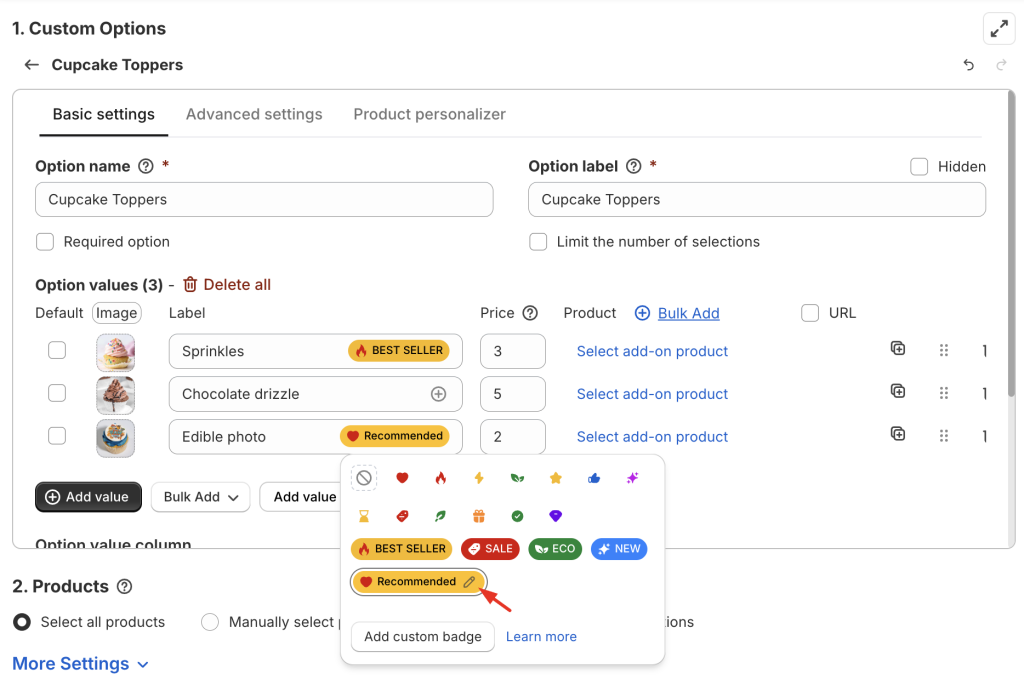
- Find the option value you want to highlight.
- Click the (+) button next to the Label field.

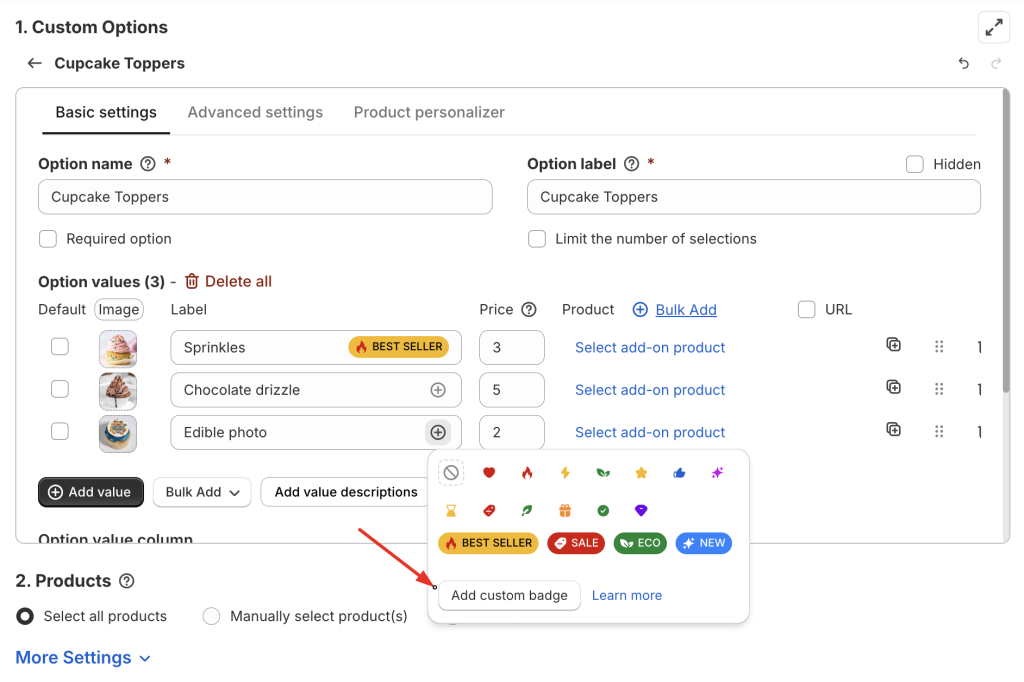
- Pick a badge from the list:
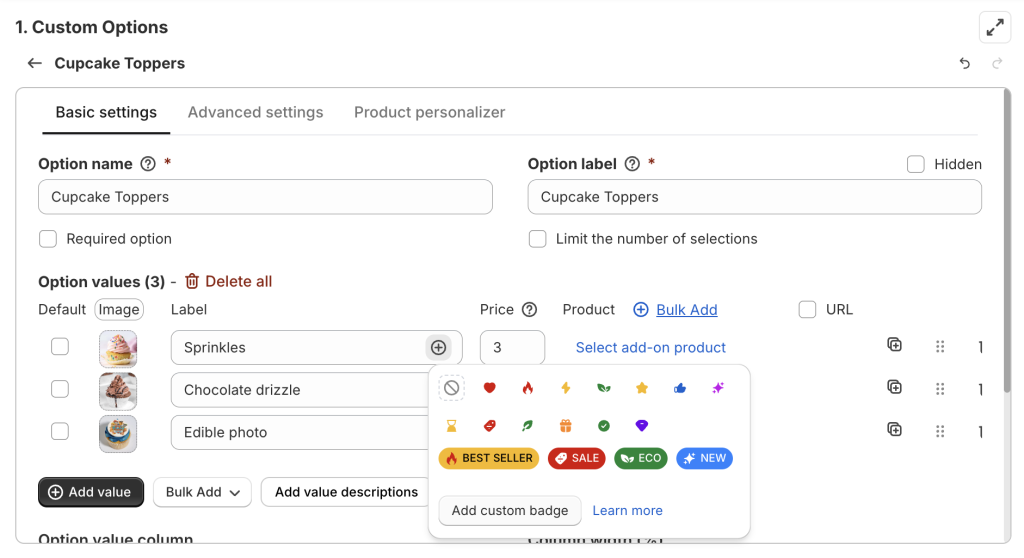
- Or click Add custom badge to design your own.
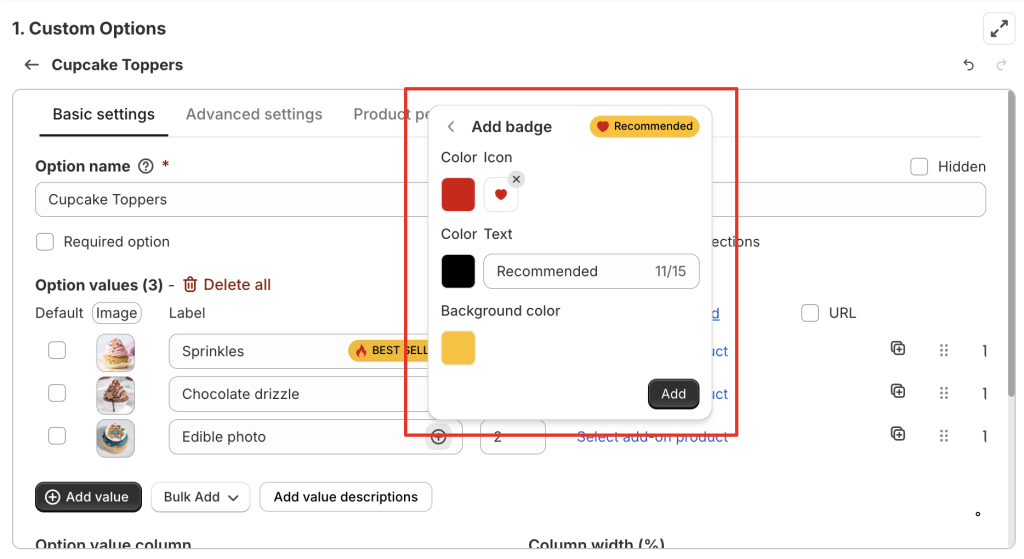
Custom Badge Settings #
When creating a custom badge, you can customize:
Icon
- Choose from our icon library and set the icon color.
- Or upload your own icon if you want branding consistency.
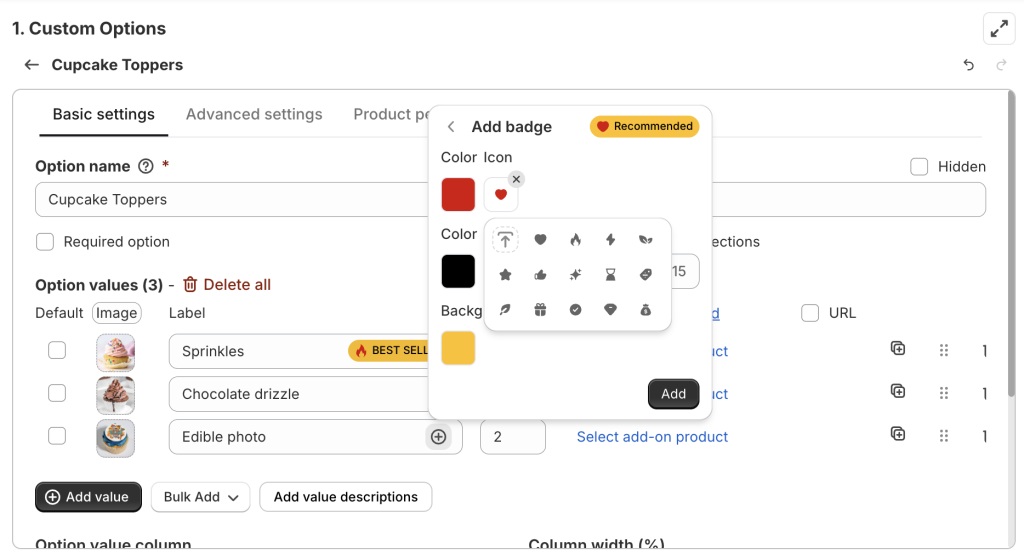
Simple icons usually work better because customers can understand them at a glance.
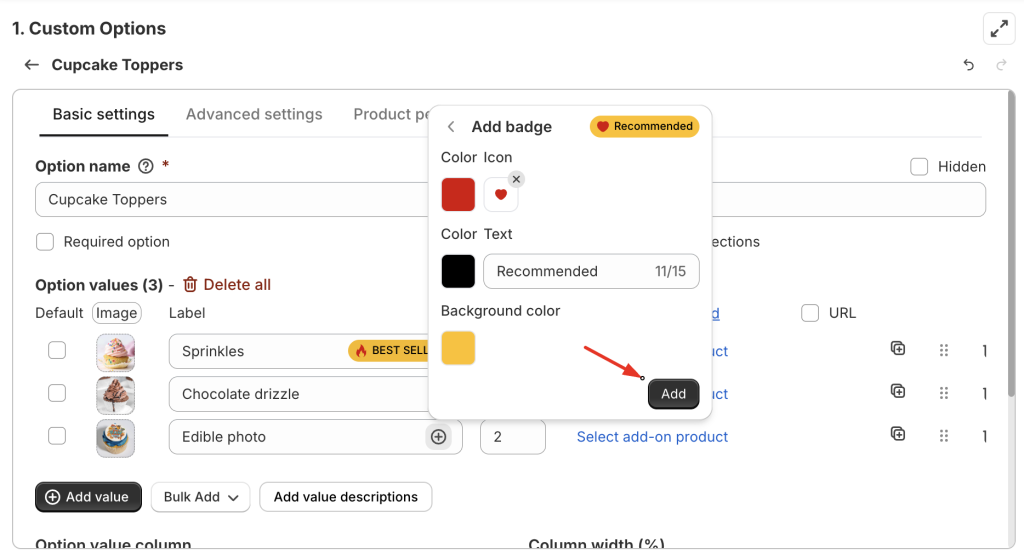
Text
- Add a short message (up to 15 characters).
- Choose a text color that stands out but still matches your theme.

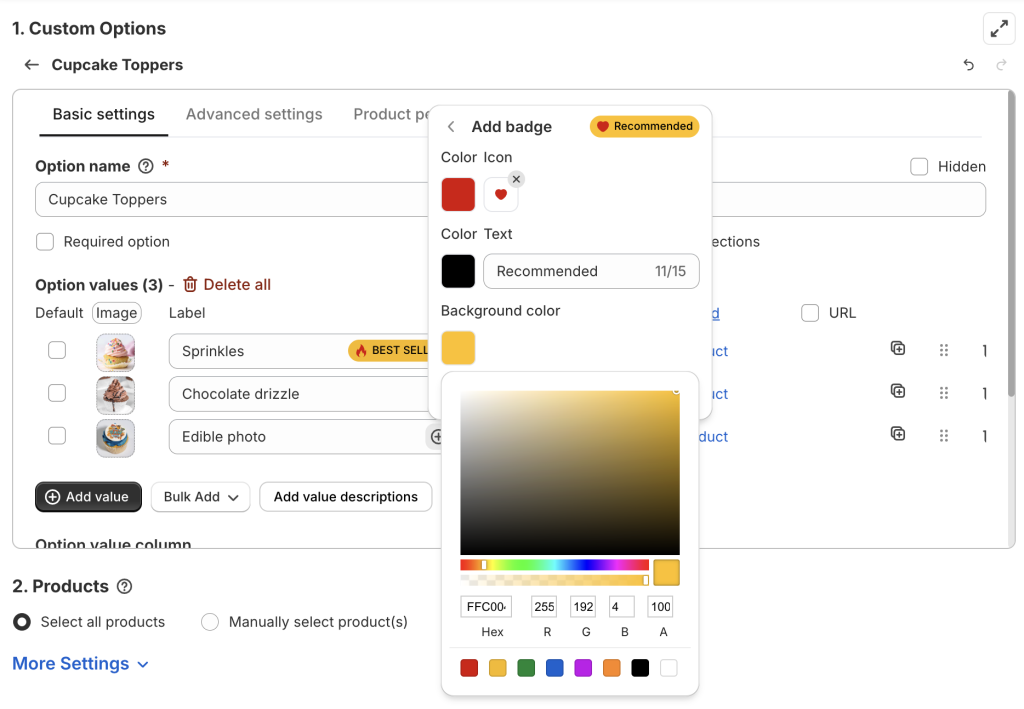
Background color
- Pick a background color that fits your design.
- If you don’t want a background, simply select white or increase transparency.
Once you’re satisfied, click Add and your badge will be saved.
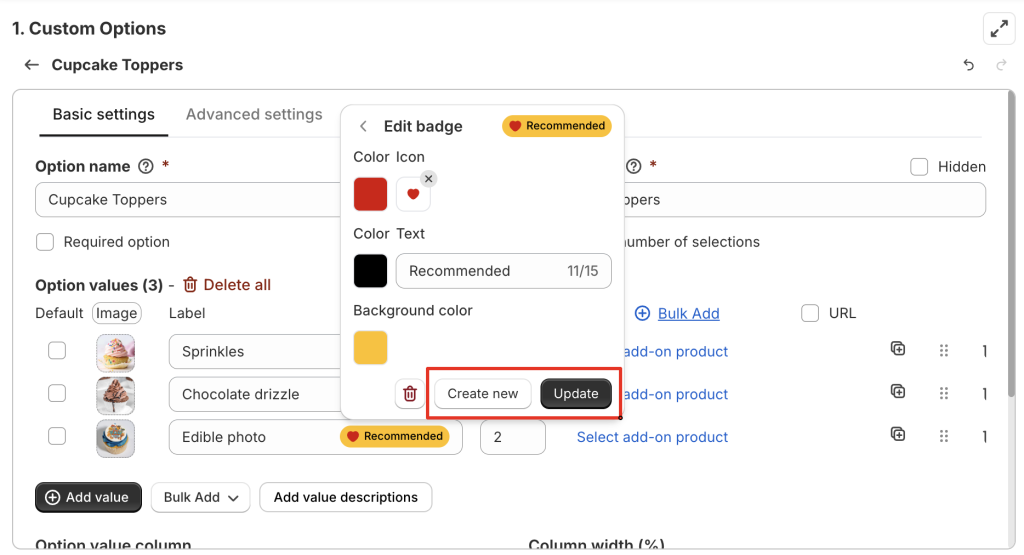
How To Edit a Badge #
To edit a badge, click it again inside the option value, then select the Edit icon.
Important #
After editing a badge:
- To apply the changes only to this option value, click Create new.
- To apply the changes to every option value in this option set that uses this badge, click Update.
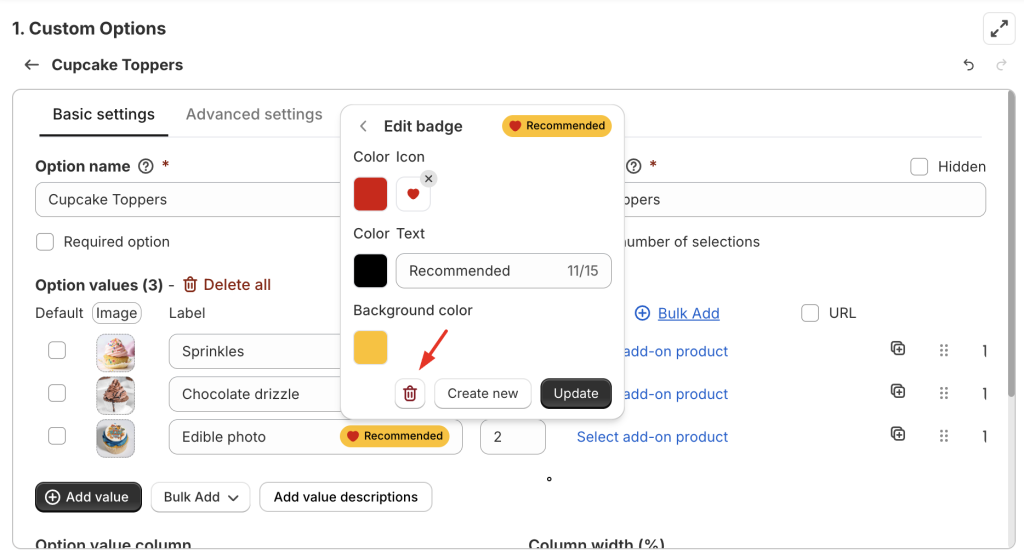
How To Delete a Badge #
(Click Edit > Delete)
Deleting a badge removes it from the icon library and from every option value in the same option set that uses it.
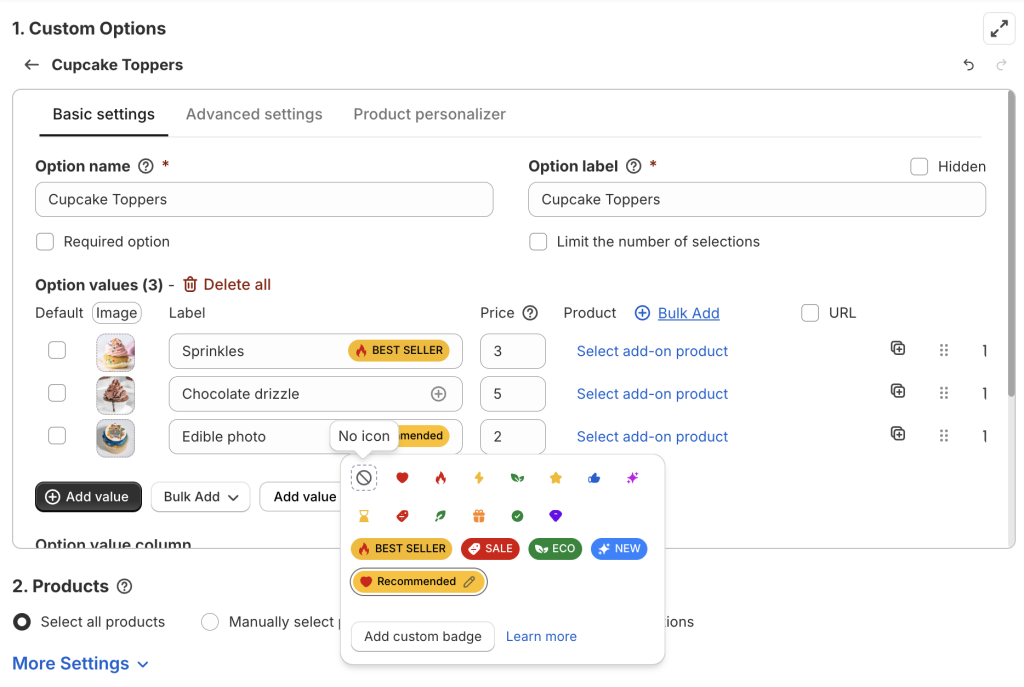
How To Remove a Badge (without deleting it) #
To remove a badge from just 1 option value:
- Click the badge again
- Select the Edit icon
- Choose No icon
Important #
Removing a badge is not the same as Deleting it.
- Delete = the badge is completely removed and disappears from all option values in the option set that use it.
- Remove = only this option value loses the badge.
How Badges Appear on Different Option Types #
Badge placement varies depending on the option type. Here’s what you can expect:
Dropdown, Checkbox, Radio Button, Product List #
Color Swatch, Image Swatch #
Button #
Need Assistance? #
If you encounter any issues or need help setting up your badges, our support team is always ready to assist you through the in-app live chat. We’re here to make sure everything works smoothly for you!