If your Shopify store supports multiple languages, it’s important to ensure that your box builder page content is fully translated for every customer. While the Shopify Translate & Adapt app can help translate your store’s general content, it cannot cover all texts from the Easify Box Builder app, especially:
- App default texts (e.g. buttons, labels, validation messages…)
- Your custom box content (e.g. box name, step name, heading, text, progress messages…)
This guide will show you how to translate app default text, which applies to all your boxes.
For translating specific content for each individual box, you’ll need to set up translations directly in that box’s Visual Editor. See this guide for detailed steps.
Step 1: Prepare Store Languages #
Before translating content in the app, you’ll first need to enable additional languages for your store and assign them to your domain.
To add languages to your store:
Option 1: From Shopify Admin #
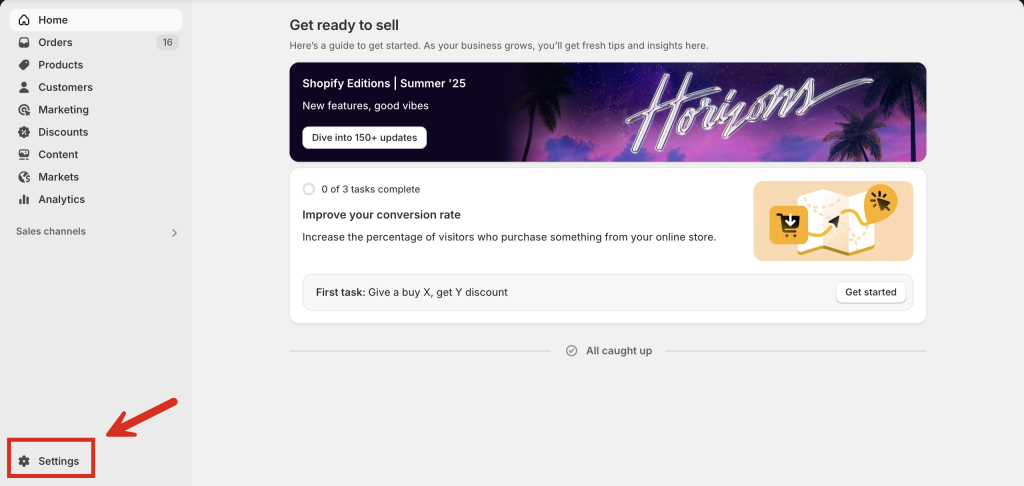
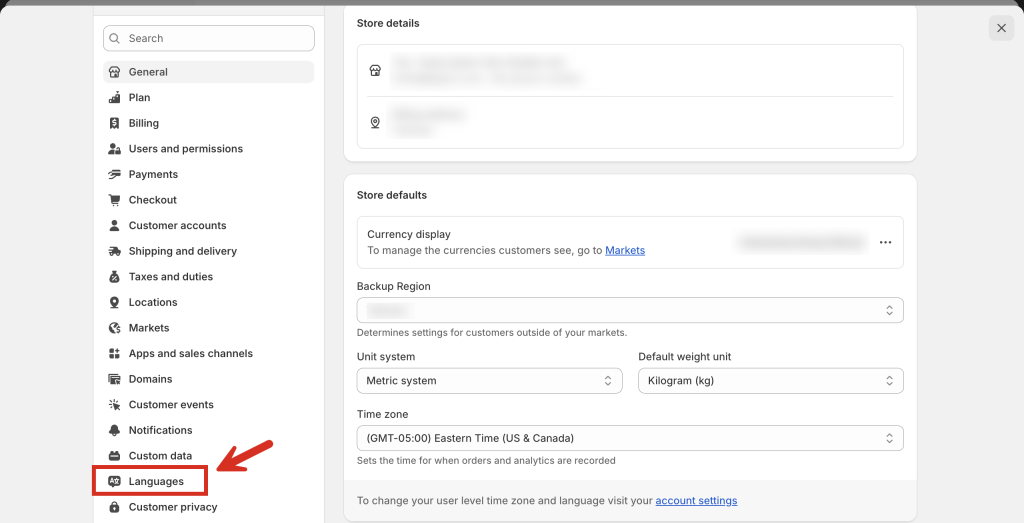
Go to Shopify admin > Settings > Languages
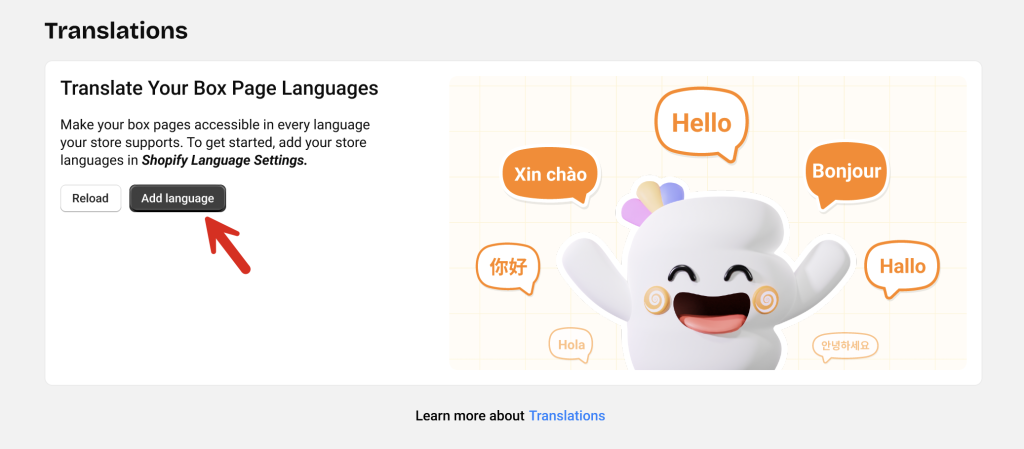
Option 2: From Easify Box Builder app #
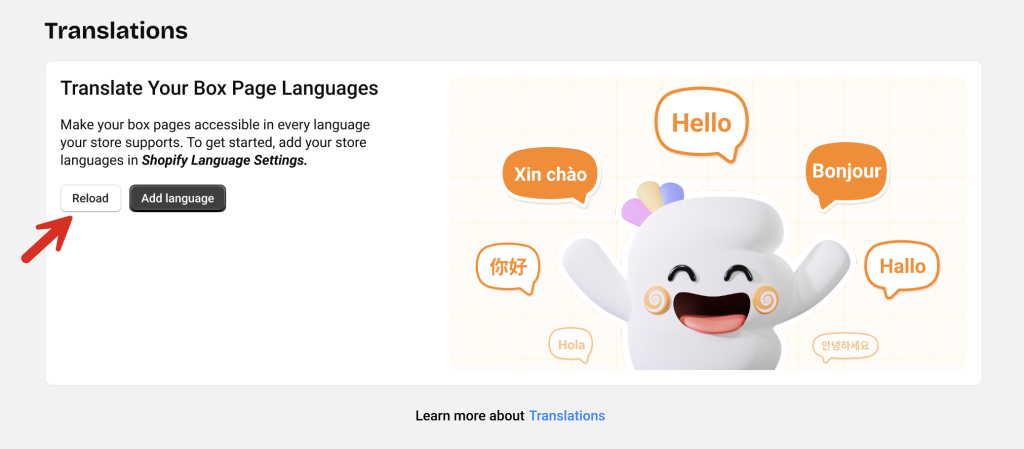
In the app menu, click Translations > then click the Add language button. This will take you to your store’s language settings.
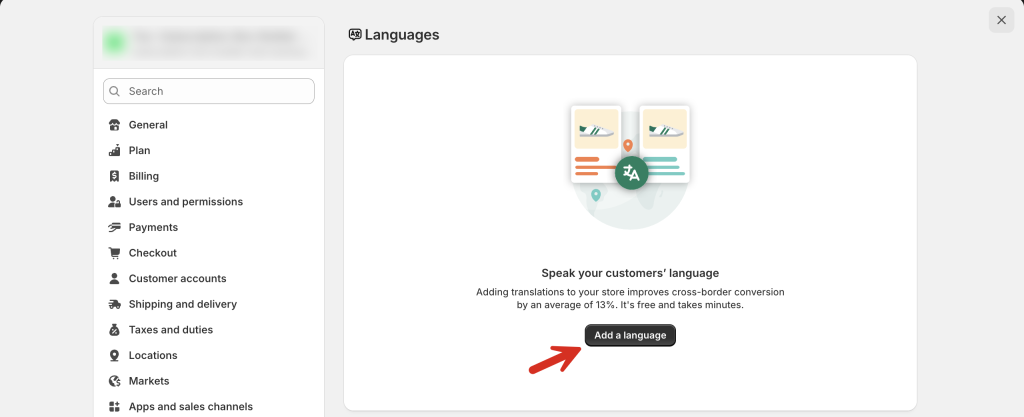
Once you’re in the Languages page:
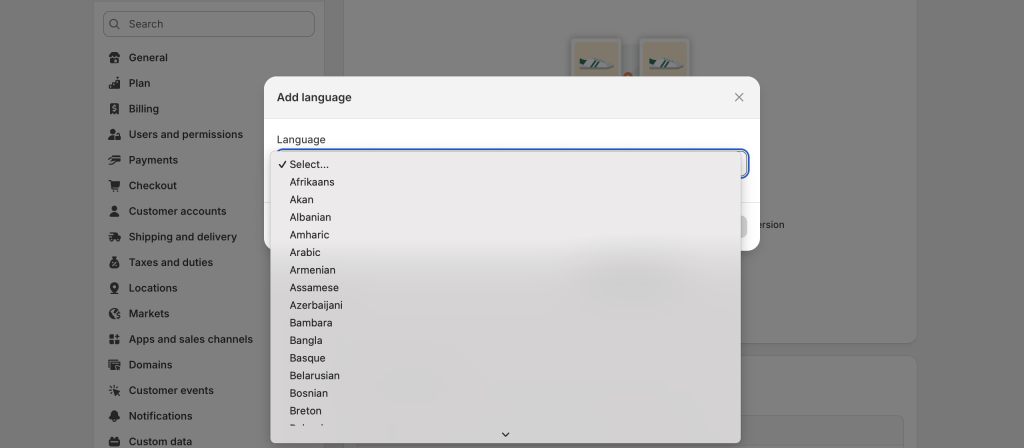
- Click Add a language
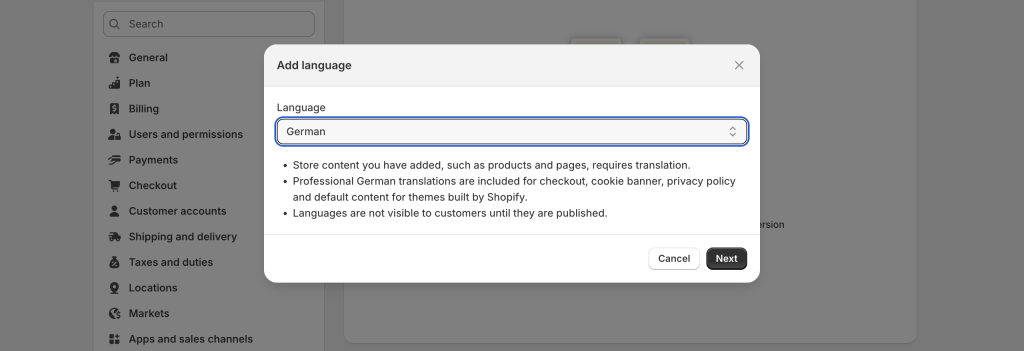
- Select the language you want to support
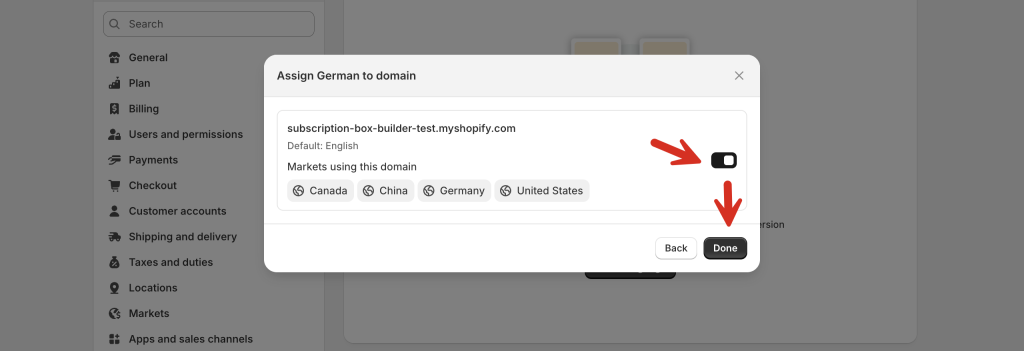
- In the popup, toggle the switch to assign the language to your domain
- Click Done
Then, use the Shopify Translate & Adapt app or another translation tool to translate your store content, and publish the new language.
Step 2: Translate App Default Texts #
Once your store languages are set up and published, go back to the Easify Box Builder app and open the Translations page.
If you added store languages while in a separate tab, simply reload the app’s Translations page to sync your available languages.
Under the General tab, you’ll find:
- Box Page
- Quick Summary
- Quick View
- Summary Page
- Cart Page
- Validation Messages
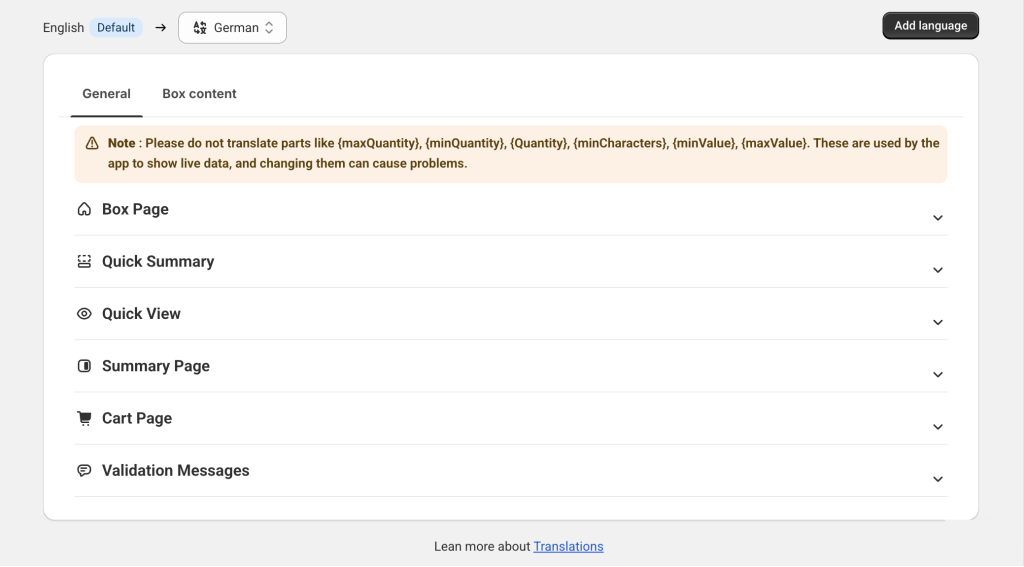
Each section includes 2 columns:
- Left column: Store’s default (base) language
- Right column: Editable fields for translating into your added languages
Currently, translations must be entered manually. But we’re working on an update that will auto-fill translations for app texts in popular languages – while still letting you edit them. Stay tuned!
After entering translations for one language, click Save, then repeat for any other languages.
💬 Need Help? #
If you run into any issues or have questions, feel free to reach out via our in-app 24/7 live chat. We’re always here to help!