EasifyApps EasifyApps
  • About
  • Apps
    Easify Product Options
    Easify Product Attachments
  • Resources
    Help Center
    Easify Product Options
    Easify Product Attachments
    Video Tutorials
    Easify Product Options
    Easify Product Attachments
  • Partners
  • Blog
  • Contact
All Easify Apps
EasifyApps EasifyApps
  • About
  • Apps
    Easify Product Options
    Easify Product Attachments
  • Resources
    Help Center
    Easify Product Options
    Easify Product Attachments
    Video Tutorials
    Easify Product Options
    Easify Product Attachments
  • Partners
  • Blog
  • Contact

Easify Product Options App

Getting Started
    Key Terminology Simplified
    • Custom options & variants
    • Option set
    • Option set templates
    • Option type (Option input)
    • Your option sets
    • Option label
    • Option name
    • Option value
    • Option group
    • Price Add-ons
    • Conditional logic
    • Live preview
    • Help text
    • Placeholder
    • Information (Tooltip)
    • Option widget
    Option Input Types
    • Design Layer
    • Text Box
    • Text Area
    • Number Text Box
    • Color Swatches
    • Image Swatches
    • Radio Buttons
    • Dropdown
    • Checkbox
    • Button(s)
    • Switch/ Toggle
    • Modal (Popup)
    • File Upload
    • Option Group
    • Product List
    • Date Range
    • Date Picker
    • Time Picker
    • Font Picker
    • Color Picker
    • Dimension
    • Quantity
    • Custom HTML
    • Heading
    • Paragraph
    • Spacer
    • Divider
    App Activation
    • Activate the app on your theme
    • Video Tutorial
User Guide (PO)
    Set Up Option Sets
    • Create A New Option Set From Scratch
    • Use Ready-made Templates To Create Your Option Set
    Conditional Logic
    • What is Conditional Logic (CL)?
    • Standard Conditional Logic – Among Easify Options
    • Advanced Conditional Logic – Show Easify Options Based On Shopify Variants
    Extra Pricing (Add Charges)
    • Set Up Extra Fees (New Version – From July 18, 2024)
    • Add-on Prices vs. Add-on Products (Old Version – Before July 18, 2024)
    • Set Up Add-on Prices (Old Version – Before July 18, 2024)
    • Set Up Add-on Products (Old Version – Before July 18, 2024)
    • Convert Add-on Prices To Add-on Products (Old Version – Before July 18, 2024)
    • Hide Specific Products from Shopify Storefront while Keeping Them Buyable
    Option URL
    • What is Option URL?
    • Establish Cross-Product Links Using Option URL
    • Include Detail Links For Add-on Products/Custom Options
    Option Design
    • Customize Option Styles
    • Distinct Option Styles for Light & Dark Themes
    • Modern and Classic Option Styles
    App Settings
    • General Settings
    • App Translation
    Tiered Wholesale Pricing
    • What is Tiered Wholesale Pricing?
    • Set Up Tiered Wholesale Pricing
    • Customize Tiered Wholesale Pricing Table
    Option Import/Export
      Option Export
      • Export All Option Sets
      • Export Specific Option Sets
    • Option Import
  • Add Option Value Descriptions & Tooltips
  • Show Image/ Color Swatch Slider
  • Track Real-time Analytics
  • View & Export Orders With Easify Options
  • Enable Image Editor for File Upload
  • Hide Main Product Price & Shopify Quantity Selector
  • Set Up Product Bundles
  • Set Up One-time Charge
  • Set Up Quantity Selector Per Option Value
  • Display Option Set In Popup Triggered By Button Click
  • Switch Product Images Upon Option Selection
  • Set Up Option/ Option Set Templates
  • Translate Option Set Into Multiple Languages
  • Separate or Combine Add-ons with Main Product in Cart
  • Reposition Option Set On Product Page
  • Show Custom Options On Order Confirmation Emails (To Customers)
  • Show Custom Options On New Order Notification Emails (To Staff)
  • Show Custom Options On Packing Slips
Product Personalizer (Live Preview)
  • What Is Product Personalizer – Live Preview?
  • How It Works
  • Ready-to-use Templates with Product Personalizer
  • Upcoming Features
Subscription & Billing
  • Pricing Plans
  • How to upgrade
  • How to cancel subscription
Customization & Support
  • App Maintenance Notification
  • Get support
  • Request a new feature
Frequently Asked Questions
  • Why does the app remain “Inactive” even after activation?
  • What to do if custom options aren’t visible on product pages?
  • Why weren’t custom option prices included in my customer orders?
  • How many custom options can I create per product?
  • Does the app work with Shopify Online Store 2.0?
  • Will the app slow down my website?
  • How can I stay informed about updates for the app?
  • What happens if I uninstall the app, and how does it affect my store?
Integrations
  • Easify Product Options x GemPages Landing Page Builder

Easify Box Builder App

Getting Started
  • Activate the app
  • Create New Box
  • Frequently Asked Questions
  • Get Support

Easify Inventory Sync App

Getting Started
  • Quick Start Guide
  • Frequently Asked Questions
  • Get Support
Inventory Groups
  • Create Inventory Groups Automatically by SKUs
  • Create Inventory Groups Manually
  • Events Triggering Syncs among Products in Inventory Groups
  • When do Inventory groups Fail to sync?
  • How to Set Up Common Cases
Bundle Groups
  • Create A New Bundle Group
  • How Master product inventory is Calculated from Component product inventory (Modified Quantity)
  • Events Triggering Syncs among Products in Bundle Groups
  • When do Bundle groups Fail to sync?
  • How to Set Up Common Cases
Inventory Thresholds
  • What is Inventory Threshold?
  • Set Up Universal Inventory Threshold
  • Create A New Inventory Threshold
Advanced Features
  • Bulk Edit Inventory Groups
  • Import/ Export Inventory Groups
  • Import/ Export Bundle Groups
  • Export Product Variant & Location IDs
  • Bulk Duplicate Products
Subscription & Billing
  • Pricing Plans (& FAQs)
  • How to Change Plans
Common Scenarios & Setup Guides
  • Roast Coffee
  • Loose Leaf Tea
  • Stationery Set
  • Retail & Wholesale Items
  • Blank & Personalized Tees
  • Unisex Tees
  • Baby Gift Hamper
  • Flowers
  • Chocolate Cookies
  • 3-Pack T-Shirts (mixed sizes & colors)
  • Batteries
  • Beverage (Inventory by Cans)
  • Beverage (Inventory by Packs)
  • Multivitamins (from Single Pack)
  • Multivitamins (from Double Pack)
  • Incense Sticks (Inventory by Packs)
  • Incense Sticks (Inventory by Sticks)
  • Candle Trio Set
  • Perfume Set
  • Pick n Mix Sweets
  • Top & Skirt Set (Same Size)
  • Top & Skirt Set (Mixed Sizes)
  • 2-Pack Tops (1 Color)
  • 2-Pack Tops (1 Color) – Only in Packs
  • 2-Pack Tops (Multicolor – Fixed)
  • 2-Pack Tops (Multicolor – Optional)
  • Custom Print Shirts
  • Shoes & Free Socks

Easify Product Attachments App

App Activation
  • Activate the app on your theme
  • Video Tutorial
User Guide
  • Upload Product Attachments
  • Upload Attachment Icons
  • Add Attachments To Templates
  • Import Bulk Product Attachments
  • Export Product Attachments
  • Add Attachments To Collapsible Rows On Product Pages
Customization & Support
  • Get support
  • Request a new feature

Recommended Shopify Apps

  • Page builder
  • Affiliate programs
  • Marketing
  • Invoices and receipts

Announcements

  • Limited Support During Lunar New Year (Jan 25th- Feb 3rd, 2025) – Your Patience Is Our Greatest Gift!
  • Go Beyond Options: Easify Product Options Premium Is Here!

Use Ready-made Templates To Create Your Option Set

Table of Contents
  • Why Choose An Option Set Template?
  • Accessing The Template Library
    • Via the Templates page
    • Within the Option Set editing page
  • Editing Templates & Finalizing Your Option Set
  • Need Assistance?

To set up a new option set, you have 2 choices: Create from Scratch or Use a Template. This guide will walk you through setting up an option set using one of our Ready-to-use templates. For a step-by-step on building from scratch, check out this guide.

Why Choose An Option Set Template? #

Using a template offers several benefits over building an option set from scratch:

  • Diverse Selection: Choose from over 50 templates across categories like Jewelry, Clothing, Pets, Gifts, Accessories, Food & Sweets, Arts & Prints, Beauty, and many more.
  • Data-Driven Designs: Our templates are crafted based on thorough research across hundreds of eCommerce stores. We’ve studied what works best to create options that meet real-world needs.
  • Flexible Combinations: Feel free to combine multiple templates to create unique, optimized option sets tailored to your store.
  • Time-Saving: Templates streamline your setup process, saving you significant time compared to starting from scratch.
  • Trusted by Thousands: With thousands of successful template uses, you’re in great company. Templates have proven effective for countless users – and they can be for you, too.
  • Constant Updates: We continually update our library to add new templates and improve existing ones, so you’re always using the best options available.

Accessing The Template Library #

You can access the template library in two ways:

Via the Templates page #

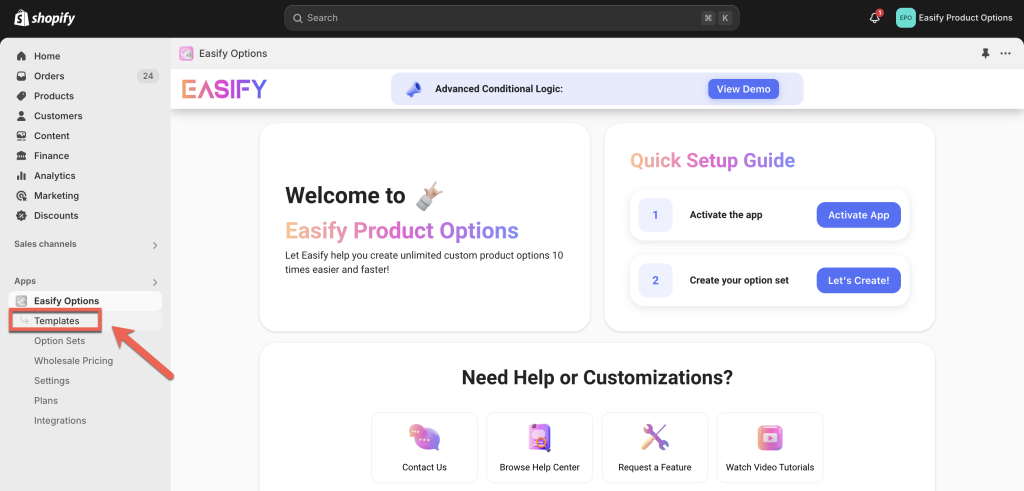
  • From the app navigation menu, select Templates.

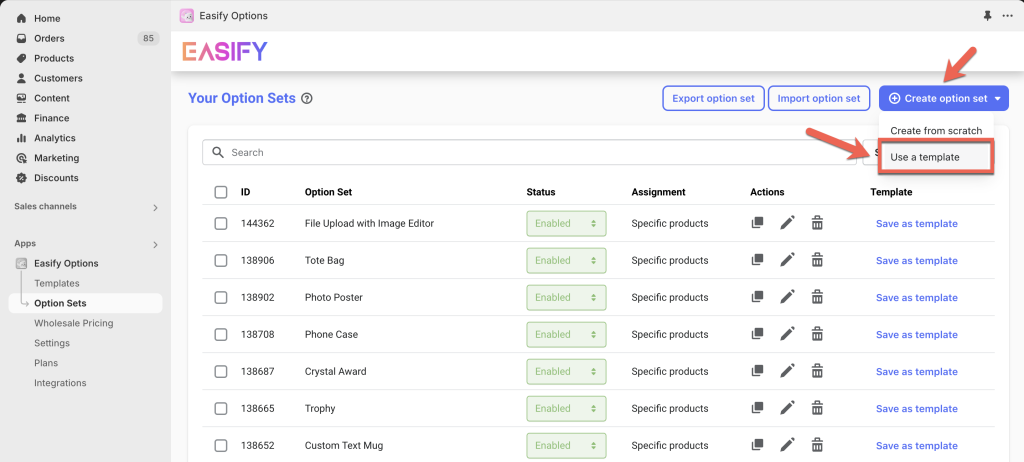
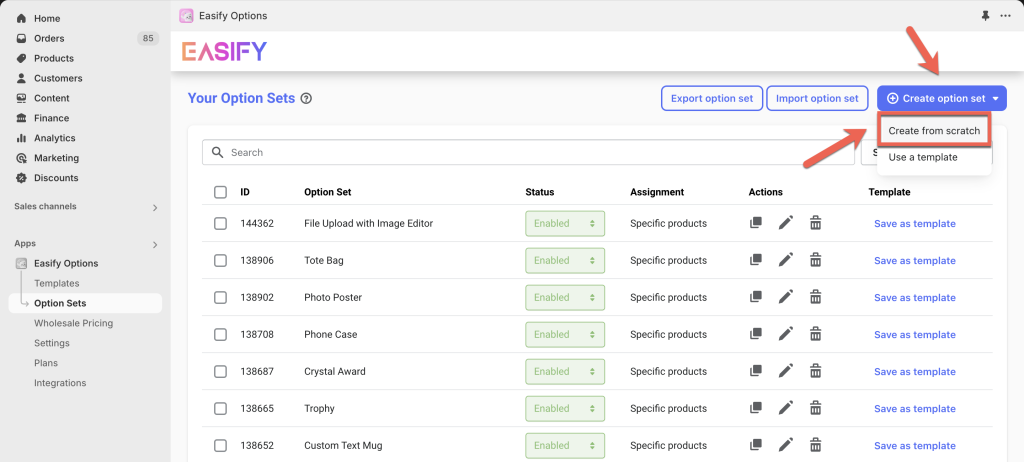
Or, go to the Option Sets page, click Create option set, and choose Use a template.

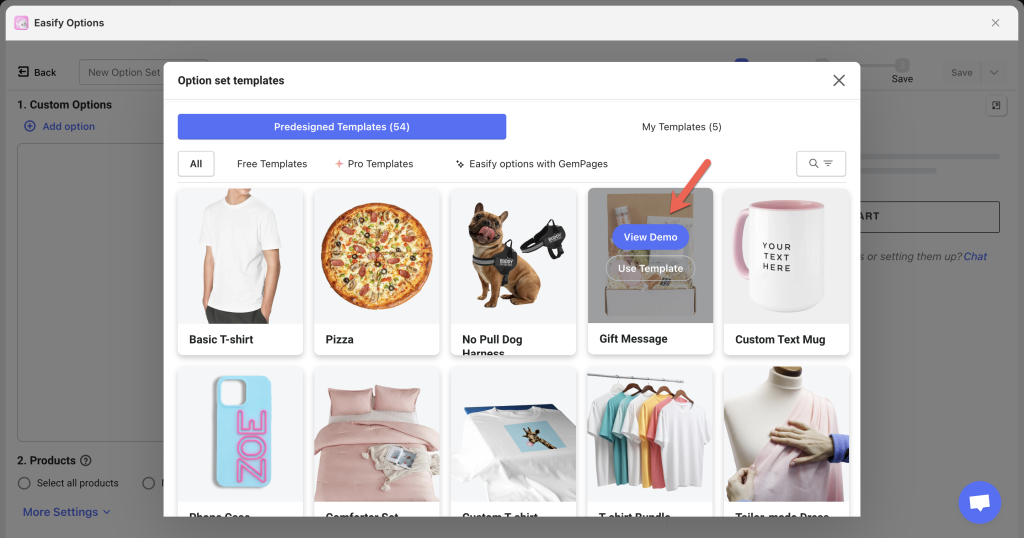
Here, you’ll see a list of all available templates. You can:

  • Hover over a template to show View Demo and Use Template buttons. Preview demos to find the best fit before applying.
  • Search for templates by name, category, or tag.
  • Filter by plan (Free, Pro, Premium) to find templates suited to your plan.

After finding the template you need, simply click Use Template to start customizing.

Within the Option Set editing page #

This method starts with a blank option set, where you can later add templates.

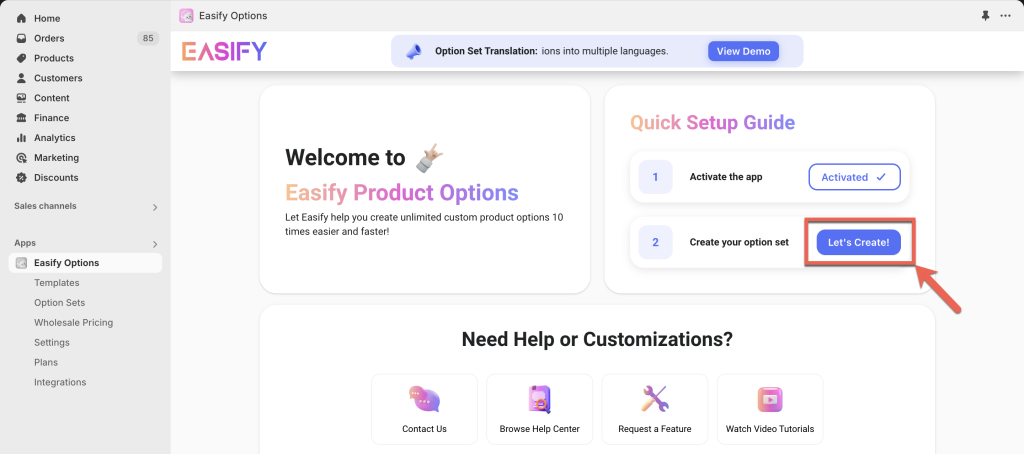
From the dashboard, navigate to Quick Setup Guide and click Let’s Create:

Or, on the Option Sets page, click Create option set and select Create from scratch“:

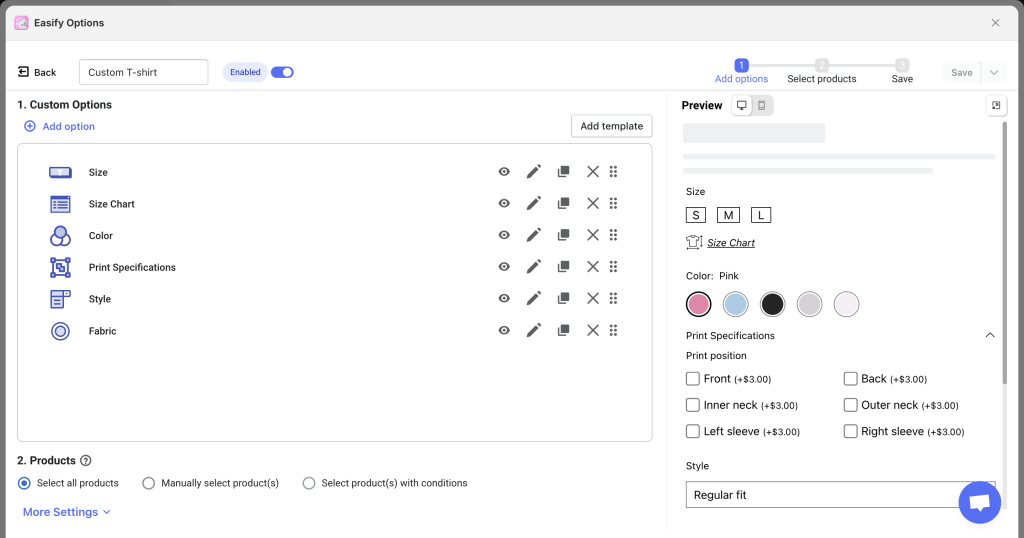
In the new option set page, click Add template to open the template library in a popup.

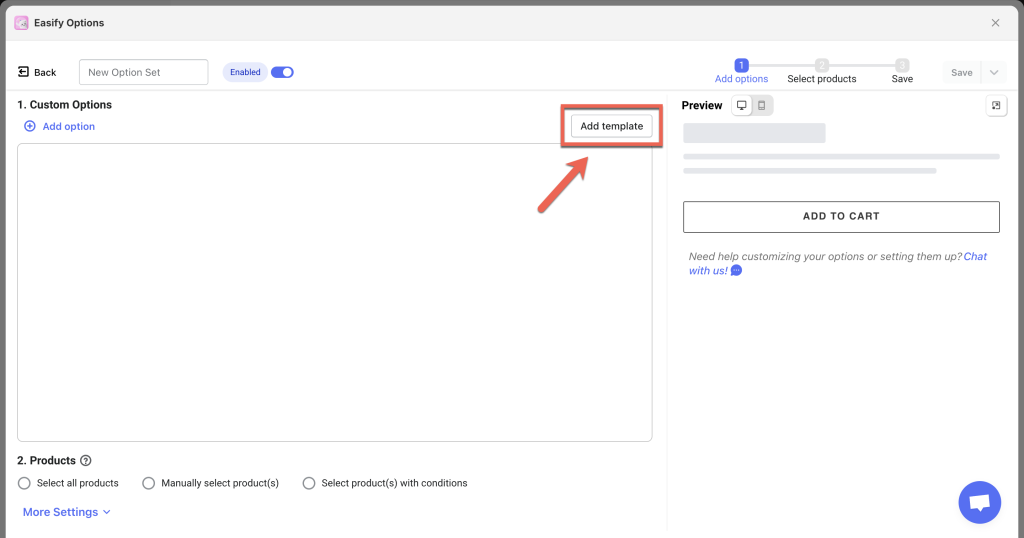
This popup provides the same templates as the Templates page, letting you view demos and select templates directly from within the option set.

Tips:

You can add one or multiple templates to your option set, allowing you to mix and match options to suit your needs.

Editing Templates & Finalizing Your Option Set #

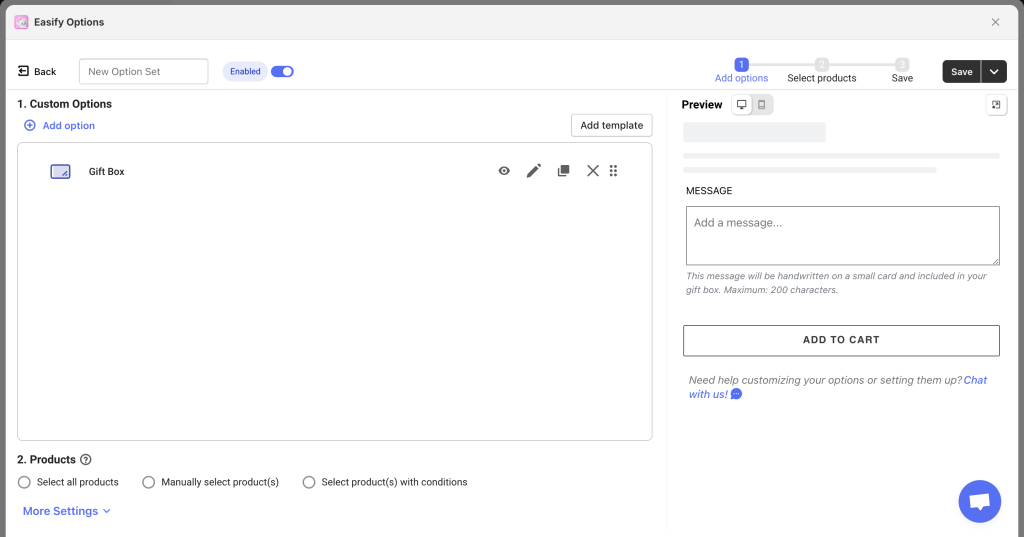
Once you’ve applied a template, feel free to customize it as needed. You can:

  • Edit, remove, duplicate, or rearrange template options.
  • Add new options to meet specific requirements.

After customizing, scroll to the 2. Products section to assign your option set to the appropriate products.
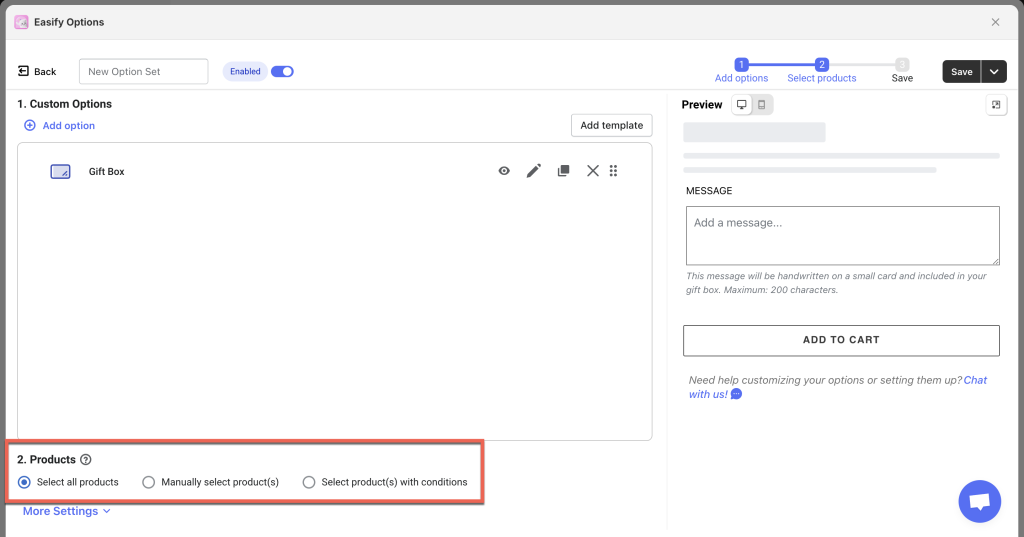
You have 3 choices:

  • Select all products: Apply the option set to all products.
  • Manually select product(s): Choose specific products from the list and apply the option set to them.
  • Select product(s) with conditions: Set conditions based on product title, price, vendor, type, tag, handle or collection to automatically apply the option set to matching products.

Notes: You can save an option set without assigning products, allowing you to finalize it and assign it later.

Setting Customer Group Visibility (Optional)

Determine which customer groups can see your option set on the storefront:

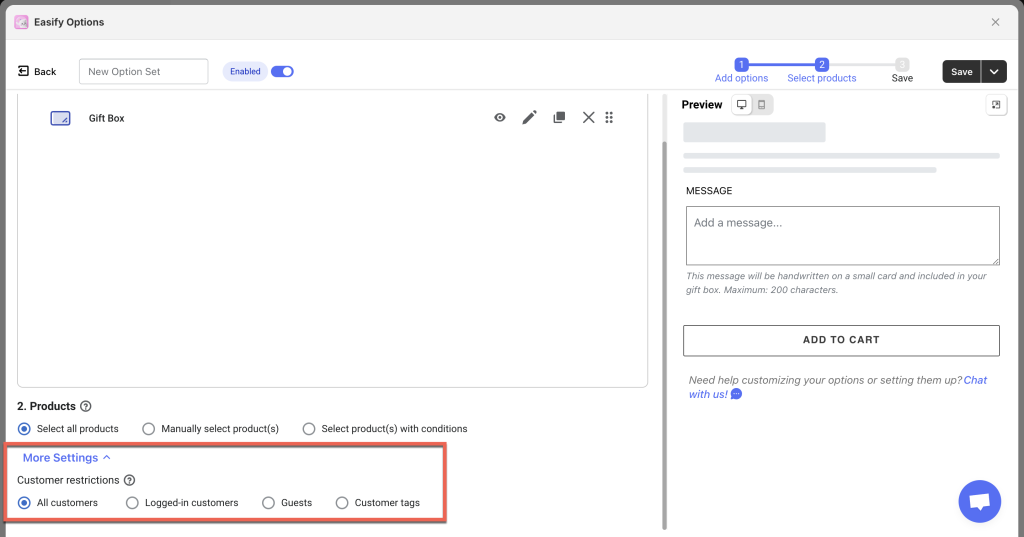
  • All customers: Default option, visible to all customers.
  • Logged-in customers: Only for customers logged into their accounts.
  • Guests: Visible to customers not logged in.
  • Customer tags: Shows the option set only to customers with specific tags.

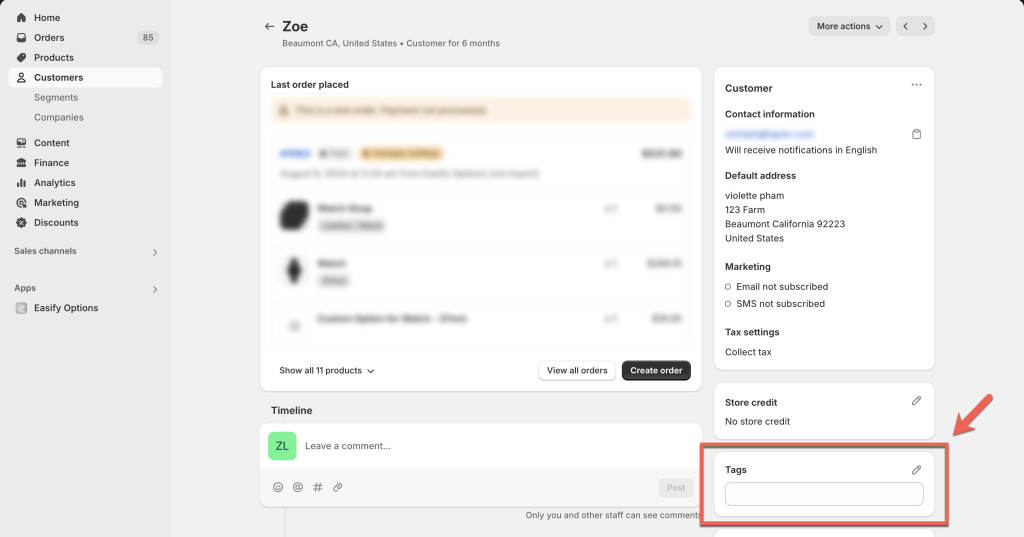
To add a tag for a customer, follow these steps:

  • Go to Customers in the Shopify Admin.
  • Choose the customer you want to add a tag to.
  • Enter the new tag(s) you want to assign to the customer (or select from existing tags if any).
  • Click Save to apply the tag to the customer.

Naming and Publishing

Give your option set a descriptive name to make it easy to manage.

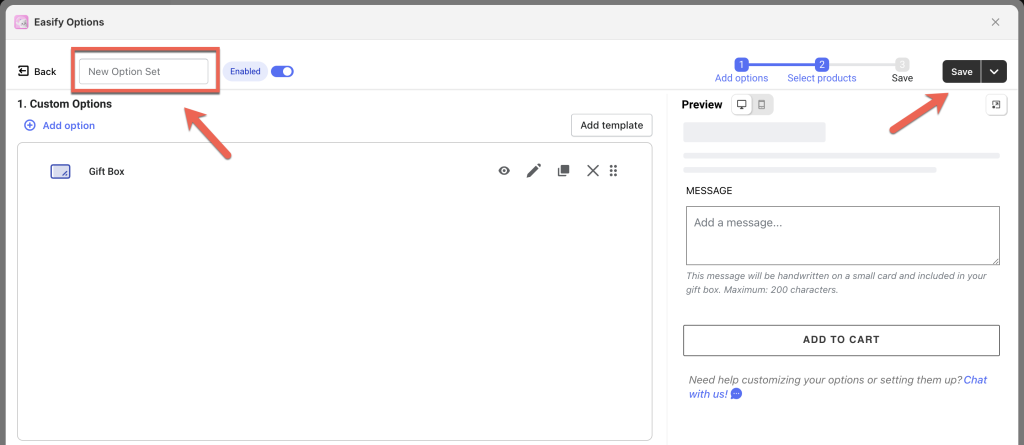
Once you have finished customizing the option set and assigning it to the desired products, click Save to save all the settings and publish the option set.

Checking Your Option Set on the Storefront

To ensure your option set appears as expected:

  • Select one of the products to which your option set is applied.
  • Visit the product page and ensure that the option set is shown properly.
  • If you need to make any further changes, go back to the option set editor page.

Notes: If you encounter any issues where the option set is not appearing on your storefront, please follow these steps:

  • Check app activation: Ensure that the Easify Product Options app is activated on your theme.
  • Verify option set assignment: Confirm that your option set is correctly assigned to your test product(s). Double-check the product assignment settings to ensure that the option set is applied.

Need Assistance? #

If you have any problems when creating your option set or use template, dont hesiatate to reach out to us via in-app live chat for quick assistance.

Table of Contents
  • Why Choose An Option Set Template?
  • Accessing The Template Library
    • Via the Templates page
    • Within the Option Set editing page
  • Editing Templates & Finalizing Your Option Set
  • Need Assistance?
Essentials Logo

Make the Complex Simple for Shopify Stores

Our AppsHelp CenterPartner ProgramAffiliate ProgramBlogContact Us

Copyright © 2023 Easify. All rights reserved.

Close
Search

Hit enter to search or ESC to close

cookie By using this website, you agree to our cookie policy. Close