The Easify Inventory Sync app offers robust import/export functionality for Inventory Groups, catering to various needs:
- Editing multiple inventory groups via CSV files.
- Adding groups with products of different SKUs in bulk.
- Creating backups before making significant changes.
How To Export Inventory Groups #
If you need to edit existing inventory groups, follow these steps to export them:
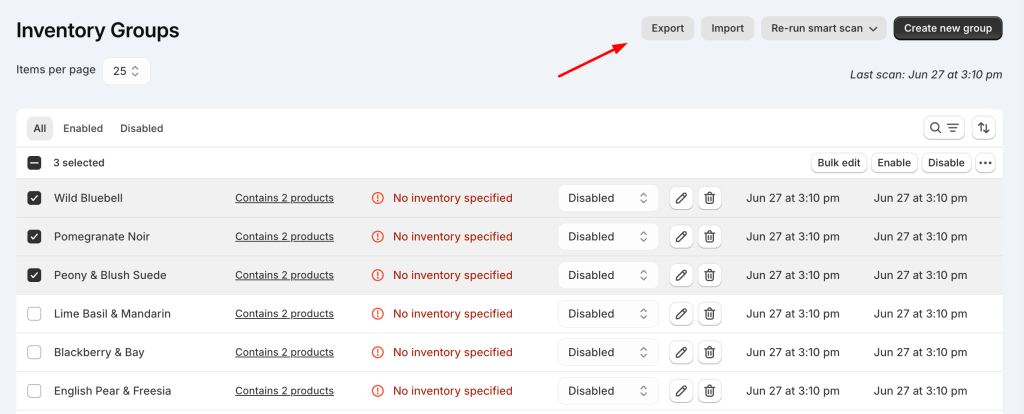
Step 1: Select Groups to Export #
Navigate to the Inventory Groups page from the app’s menu.
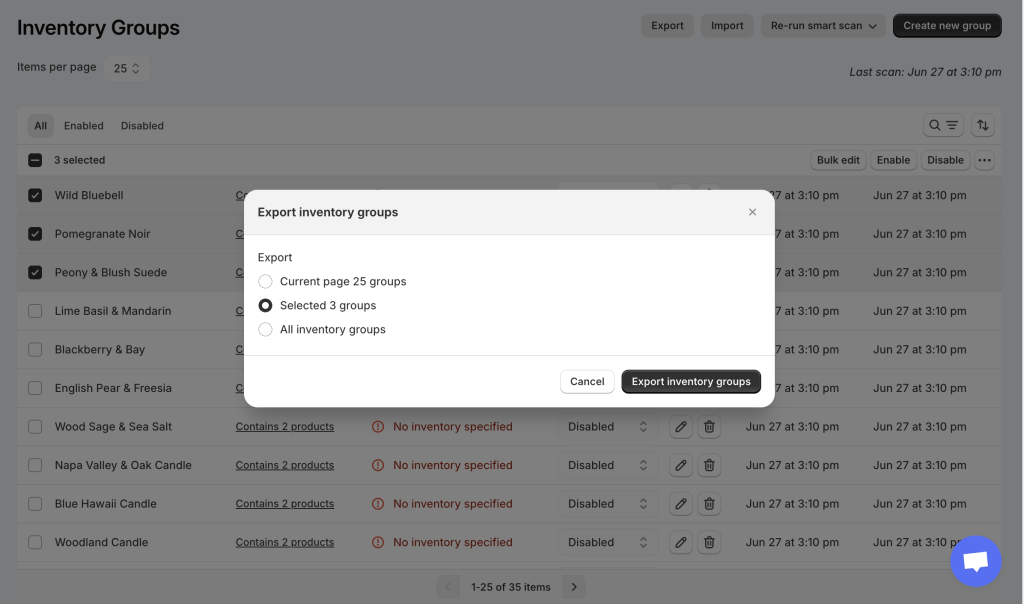
To export specific groups, select them using the checkboxes in the table. Click Export, then choose the “Selected X groups” option from the Export popup. Click Export inventory groups to download the CSV file.
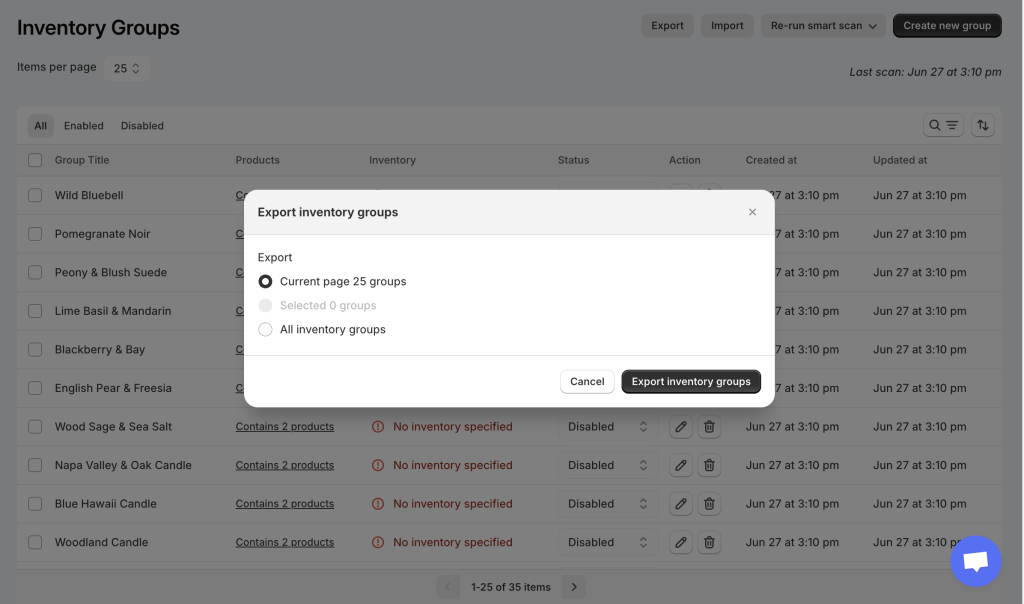
To export all groups visible or across all pages, click Export without selecting any group. Choose the “Current page X groups” or “All inventory groups” options from the popup and export the file.
Step 2: Edit Your Exported File #
Open the downloaded CSV file in compatible software to make desired changes.
Step 3: Import the Edited File #
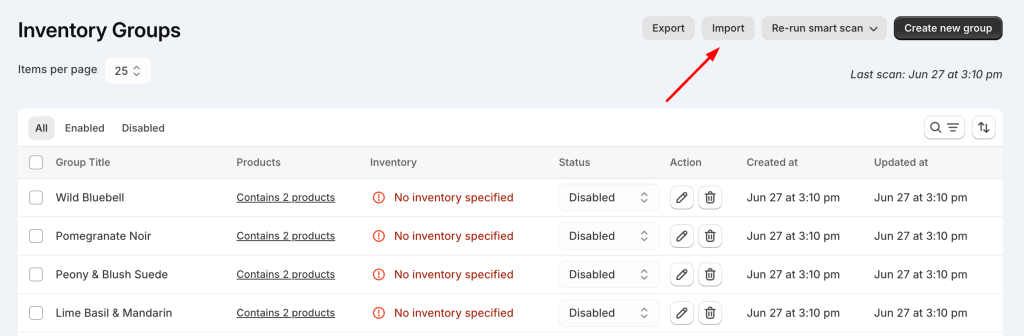
Return to the Inventory Groups page, click Import:
Click Add file to upload your edited CSV file.
Click Import to apply changes.
Notes:
- Updates to existing groups will apply if IDs match.
- New IDs will create new groups upon import.
How To Import Inventory Groups #
If you need to add multiple new inventory groups at once, or if you haven’t created any groups yet, you can utilize the Import feature.
The Import feature is especially useful when you need to create groups containing products with different SKUs. For groups with similar SKUs, the Smart Scan feature can automatically detect and suggest groups to expedite the process.
Step 1: Click the Import Button on the Inventory Groups Page #
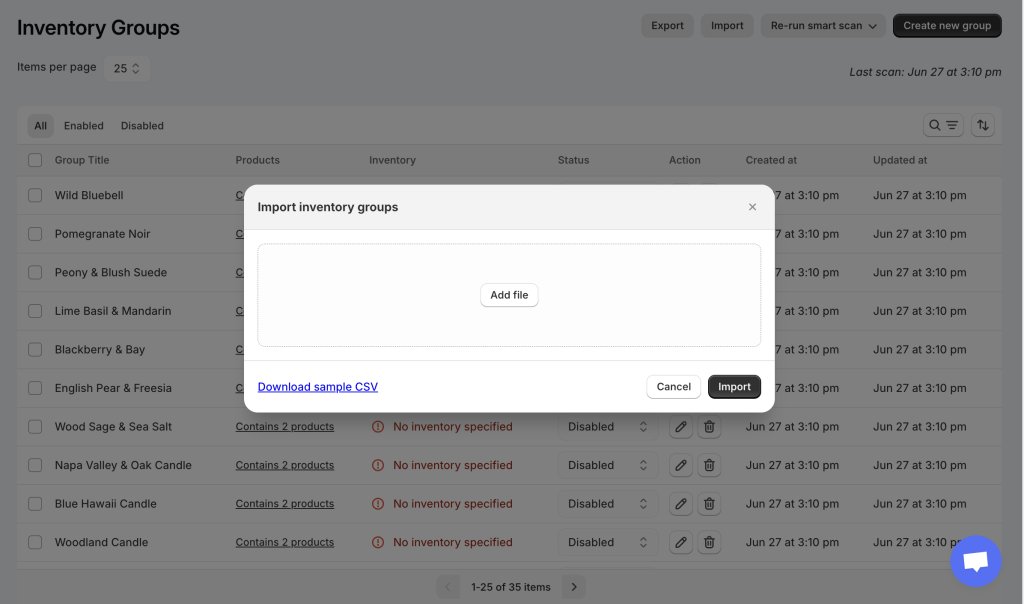
Navigate to the Inventory Groups page and click on the Import button. This action will prompt a popup where you can upload your import file.
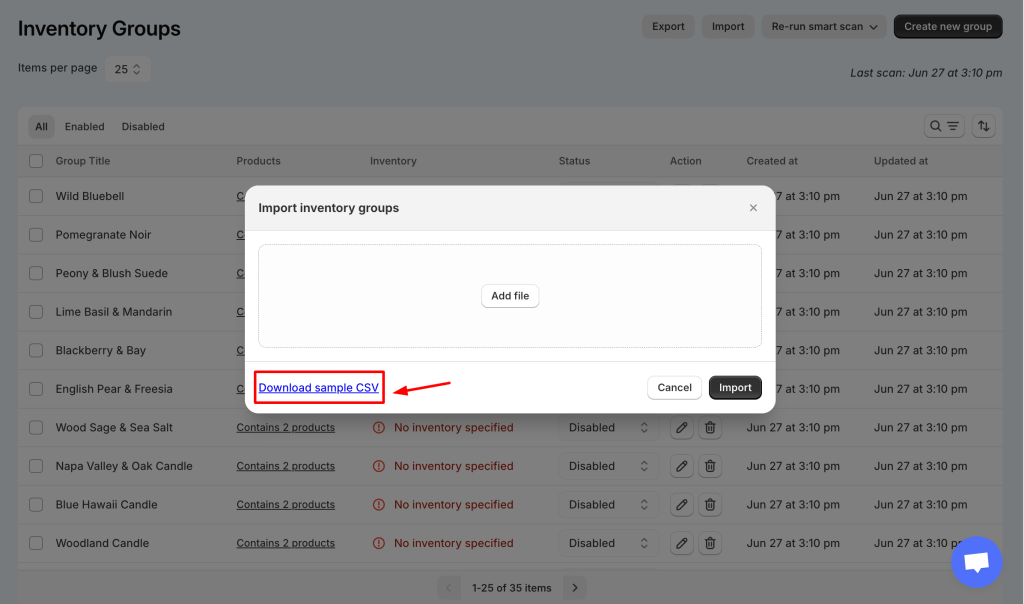
Step 2: Download the Sample CSV File #
Before creating your CSV file, download our sample CSV to ensure your file is correctly formatted. This step is crucial as importing a file that deviates from our format may cause issues with the import function.
The sample file provides detailed explanations on its contents and guidelines for preparing your own file:
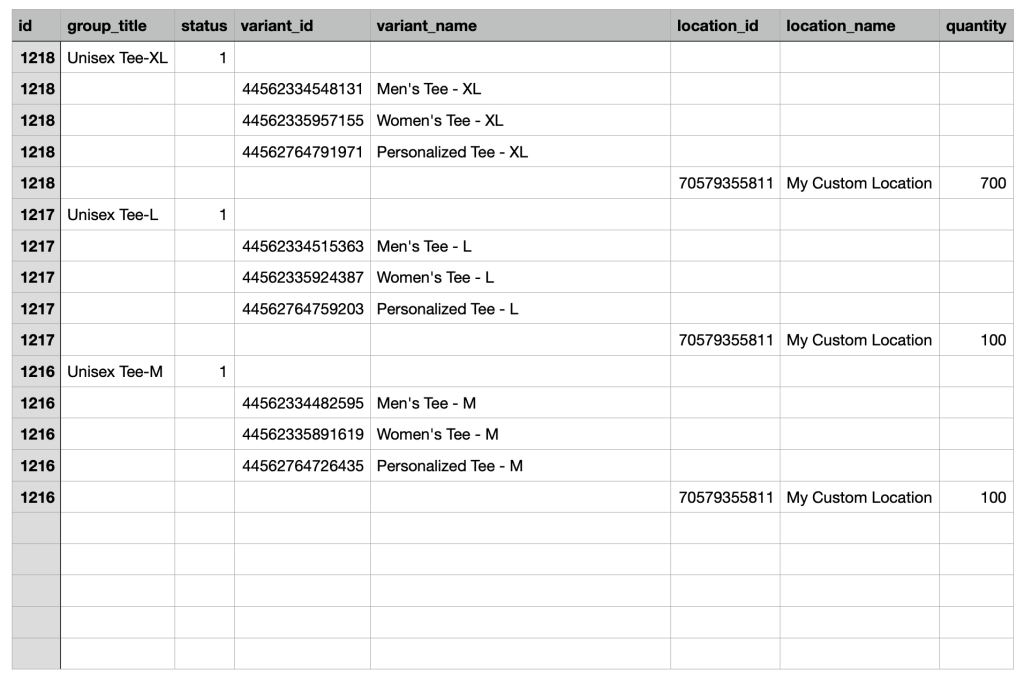
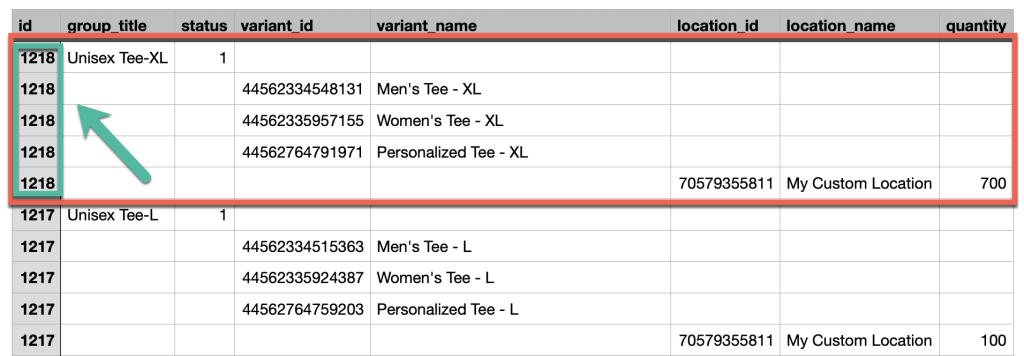
- id (required): Each inventory group must have a unique ID specified in your CSV file. Groups without IDs cannot be imported. Ensure every row for a group contains an ID.
- group_title (required): Assign a title to each inventory group, for example: “Unisex Tee-XL”.
- status (required): Set “1” to enable the group immediately after import, or “0” to import the group as disabled.
- variant_id (required): Include the variant IDs of products within each group, with each ID listed on a separate row.
- variant_name (optional): Include variant names corresponding to the variant IDs on the same row.
- location_id (required): Specify the location IDs where the product variants in each group are located. You can list one or multiple locations, each on a separate row.
- location_name (optional): Provide names for the locations listed alongside their IDs.
- quantity (required): For each location, specify the quantity representing the total inventory of all product variants in that group at that location.
Notes:
By default, Shopify does not export product variant and location IDs. To obtain these values for your CSV import file, use the Export Variant & Location IDs feature within the Easify Inventory Sync app.
Step 3: Import Your CSV File #
Return to the app and upload your prepared CSV file to import your new data.
Need Assistance? #
If you run into any challenges while importing/ exporting the Inventory Groups, feel free to reach out to us for assistance through our convenient in-app live chat. We’re here to help!