To streamline the process of adding multiple attachment files to various products, consider utilizing bulk import through a CSV file instead of manual entry. Follow these steps to efficiently achieve this:
Step 1: Download our sample CSV file #
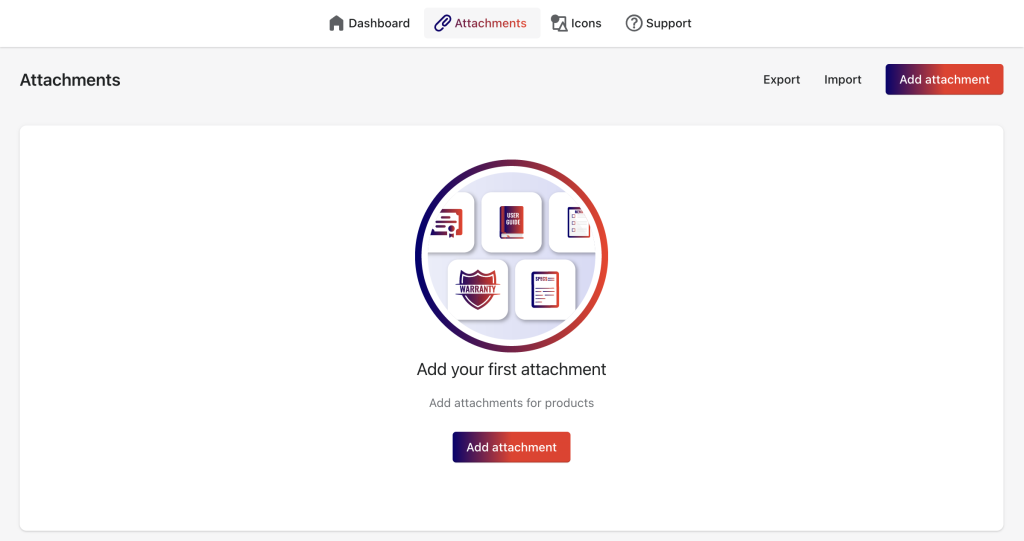
- Navigate to the Attachments tab on the app menu.

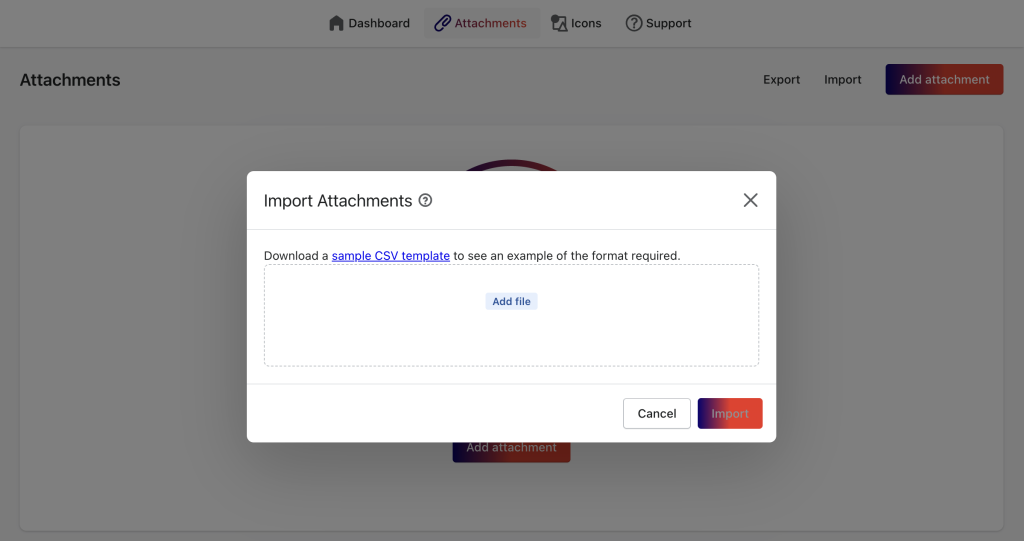
- Click Import then it will display a popup with a link to download the sample CSV file.

Step 2: Prepare your CSV file #
Carefully examine our sample file and use it as a guide to prepare your own CSV file.
Here’s an explanation of the file’s contents:

| Column | Guide |
| title | Enter the attachment file name that will be displayed on your storefront. |
| status | Clarify the status of the attachment file, whether it’s active (enabled) or inactive (disabled). |
| link | First, upload your file to the Shopify’s Files folder. From your Shopify admin, go to Content > Files, click Upload files, select up to 20 files to upload, and click Open. After uploading, copy the associated file links and paste them into the link column in the CSV file. |
| attach | Specify whether you want to add the attachment files: – Enter Product to add attachment files to specific product(s). – Enter All to add attachment files to all products in your store. – Enter Collection to add attachment files to specific collection(s). |
| product_name | If Product is selected in the attach column, enter the name(s) of your product(s) in this column to add the attachment files. Leave this column blank otherwise. Separate multiple product names with a comma. |
| collection_name | If Collection is selected in the attach column, enter the name(s) of your collection(s) in this column to add the attachment files. Leave this column blank otherwise. Separate multiple collection names with a colon. |
| note | Enter an optional note for internal use, helping you distinguish files with the same title/name. The Note column is also visible on the app’s all attachments listing page. |
| description | Provide an optional description for the attachment file, displayed under the file name on your storefront. Use it to explain the file’s purpose to your customers. |
Once you have prepared your CSV file containing all the attachment file data, navigate back to the Attachments page in the app.
Click Import, triggering a popup window. In the popup, select Add file to upload the previously prepared CSV file from your computer.
After selecting the file, click on the Import button to submit the file and initiate the import process, seamlessly importing your attachment data into the app.