In this guide, we’ll cover common scenarios and provide solutions for each. Here are some typical cases you might encounter:
- Separate Shirt Products Based on Designs:
- Scenario: Each shirt design is a separate product with color and size options. All shirt products draw from the same inventory of blank shirts, and the designs are just illustrations, made to order.
- Challenge: Since each design is a separate product, their inventories are not linked, making it difficult to manage the actual inventory based on the stock of blank shirts.
- Products with Quantity based on Prints:
- Scenario: Each shirt design is a separate product with color and size options, and the designs are ready-to-use prints.
- Challenge: The store needs to manage product inventory based on the number of prints available. However, it’s impossible to set quantities for each color-size variant based on the number of prints, which can lead to overselling.
- Custom Print Shirts with Mix and Match Options:
- Scenario: Stores sell custom print shirts, allowing customers to mix and match shirt options (color and size) with print options (design). The mix-and-match shirt product is separate from the blank shirts (or pre-mixed ones) and might be priced higher.
- Challenge: There is no inventory link between the shirts in the mix-and-match product and the blank shirts (or pre-mixed ones), complicating inventory management.
Note: If your situation is not covered here, please contact us via in-app live chat. We will examine your specific needs and suggest appropriate solutions.
Suggested Solutions for Mentioned Cases #
Case 1: Separate Shirt Products Based on Designs #
Solution: Create Inventory Groups to link the inventory of shirts sharing the same stock of blank shirts.
Notes: The number of inventory groups you need to create depends on the number of variants in each product.
Example: Suppose you have 2 products: Tees (Design 1) and Tees (Design 2). Each product has Color options (White & Black) and Size options (M, L, XL), resulting in 6 variants per product.

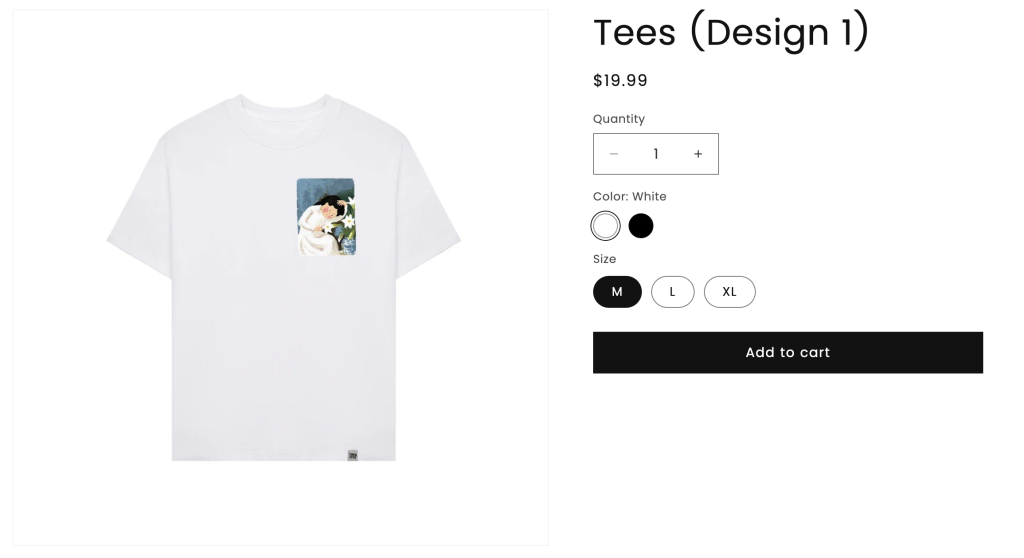
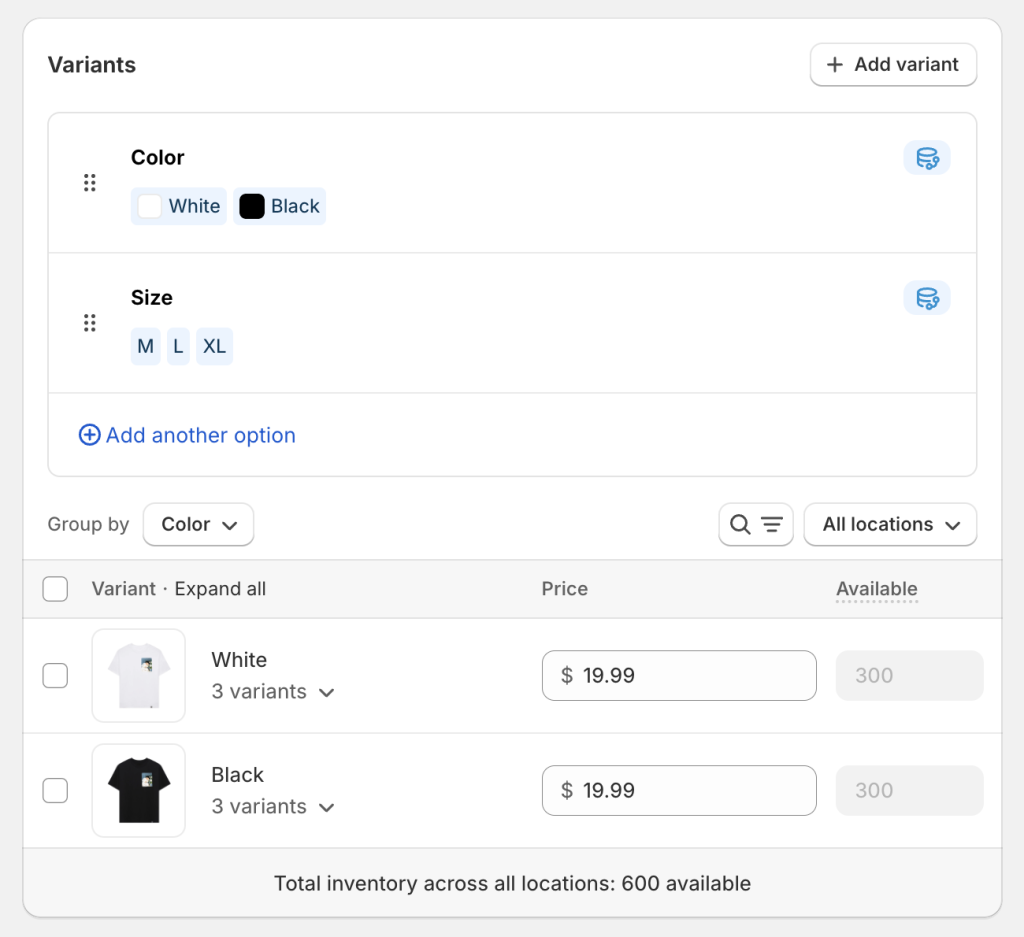
To connect the inventories of these 2 products, you must create 6 groups, each linking the inventory of a variant in Tees (Design 1) with the corresponding variant in Tees (Design 2).
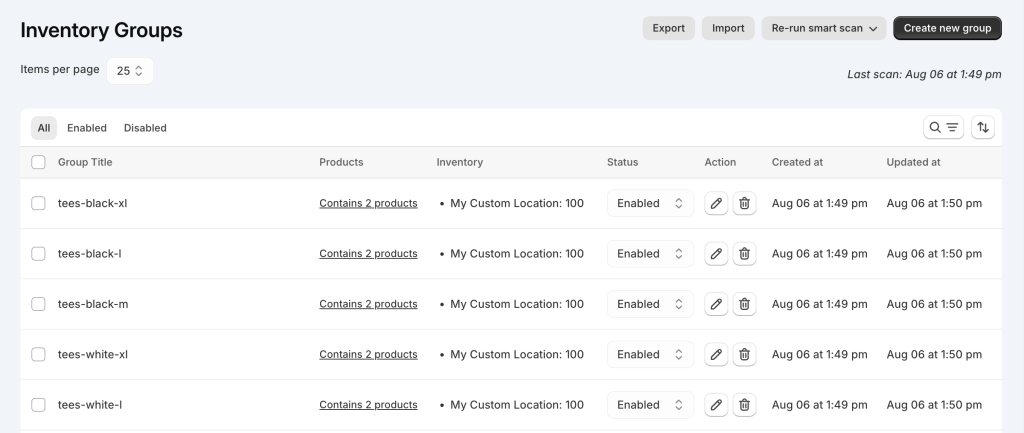
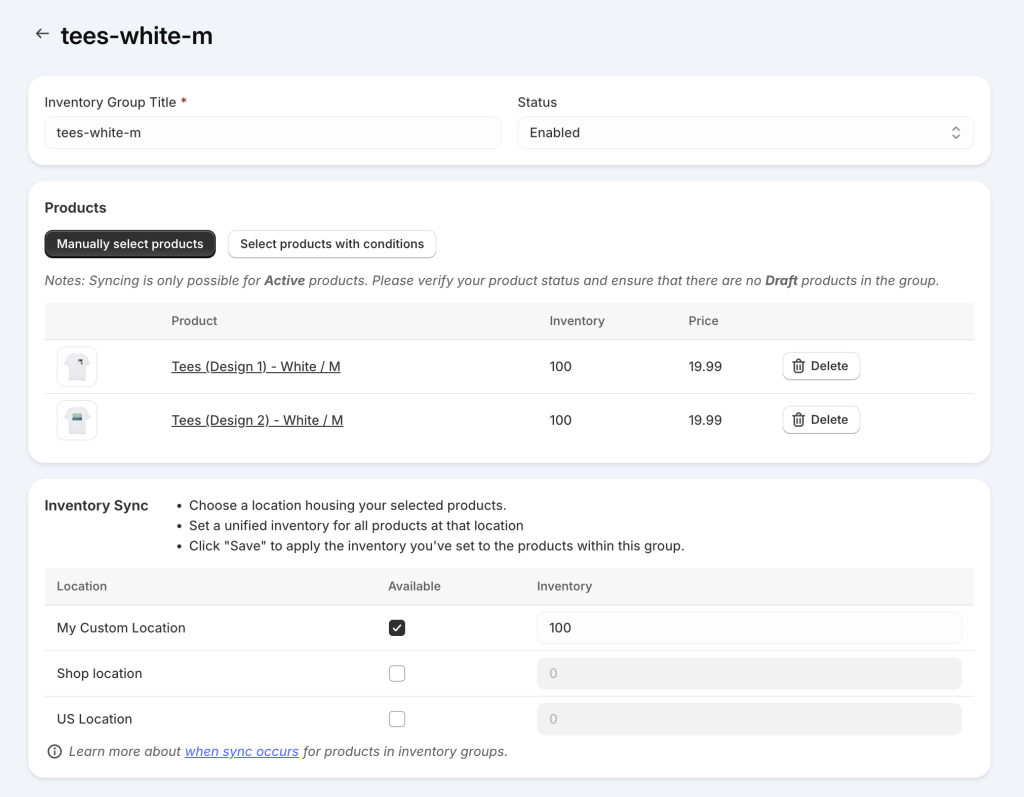
Methods to Create Inventory Groups:
- Using the Smart Scan Feature:
- If your separate products have the same variant SKUs, you can use the app’s Smart Scan feature. This feature auto-detects and suggests inventory groups, allowing you to set them up in just a few minutes.
- Manual Creation:
- If your products have different variant SKUs, you must manually create the inventory groups. This involves individually linking each variant of one product to the corresponding variant of the other product.
Learn more
Create Inventory Groups Automatically by SKUs
Case 2: Products with Quantity based on Prints: #
Solution:
To manage your product inventory effectively when the quantity is based on the number of prints, you can create Inventory Groups. This will connect the inventory across all variants of your product, set a shared inventory level, and sync it among all variants.
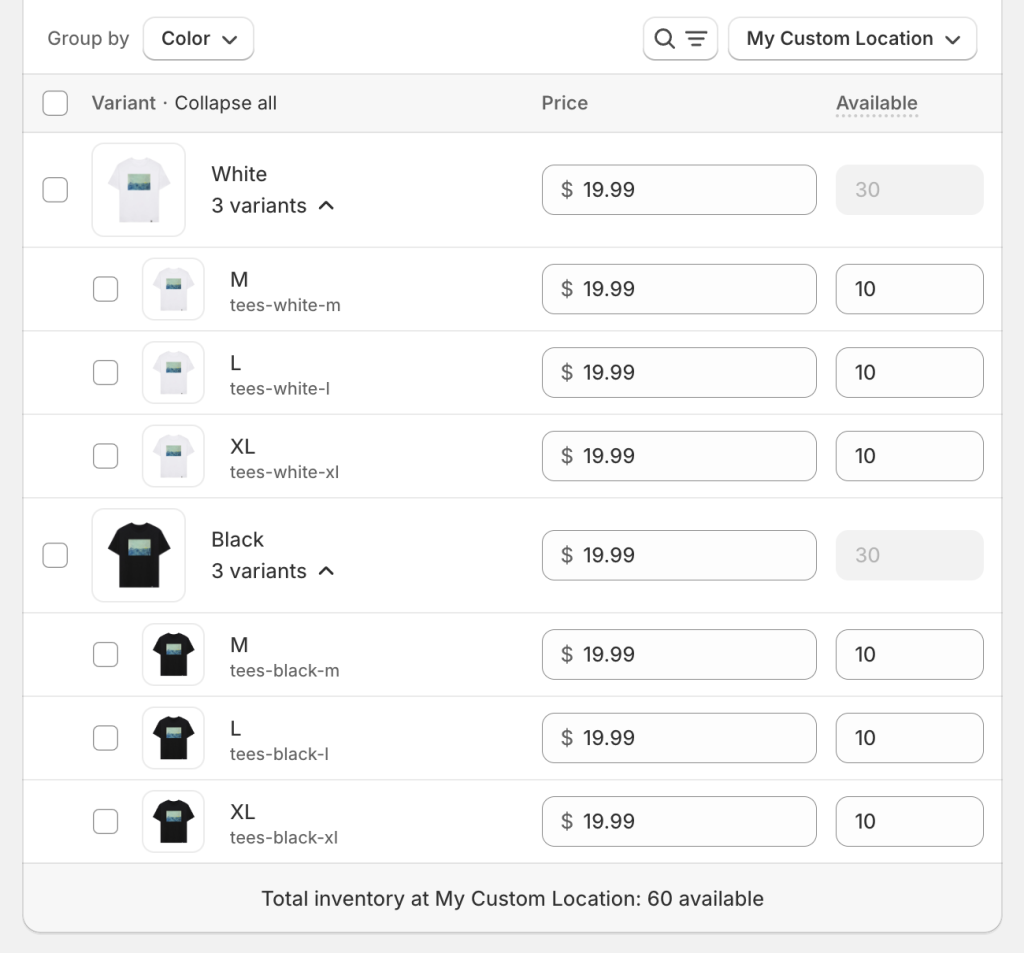
How to Create Inventory Groups:
- For each design, create an inventory group. For example, for the “Tees (Design 1)” product, create a group that includes all its variants (sizes, colors, etc.).
- Set the mutual inventory for all variants to match the number of available prints (e.g., 10 prints).
- Save the group and apply this shared inventory to all product variants.
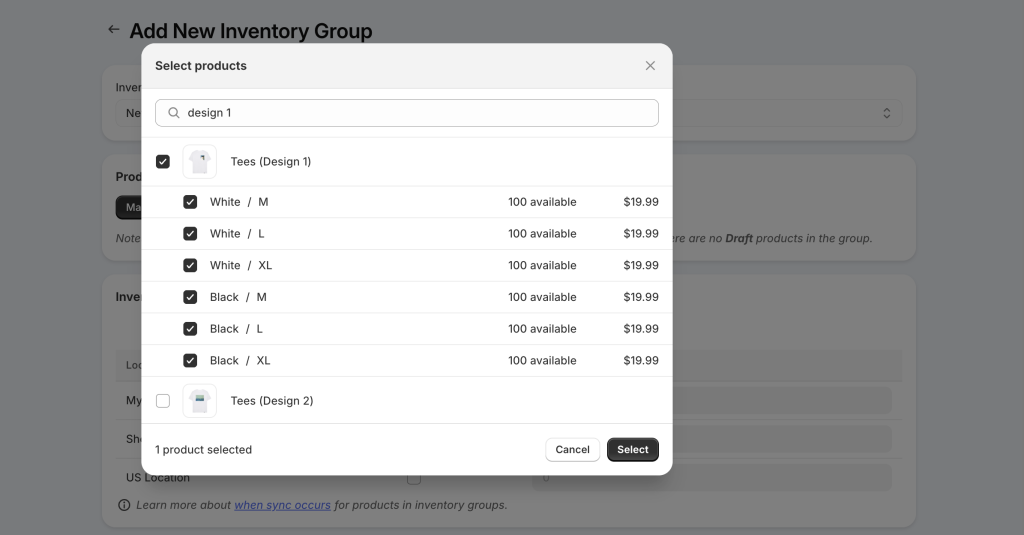
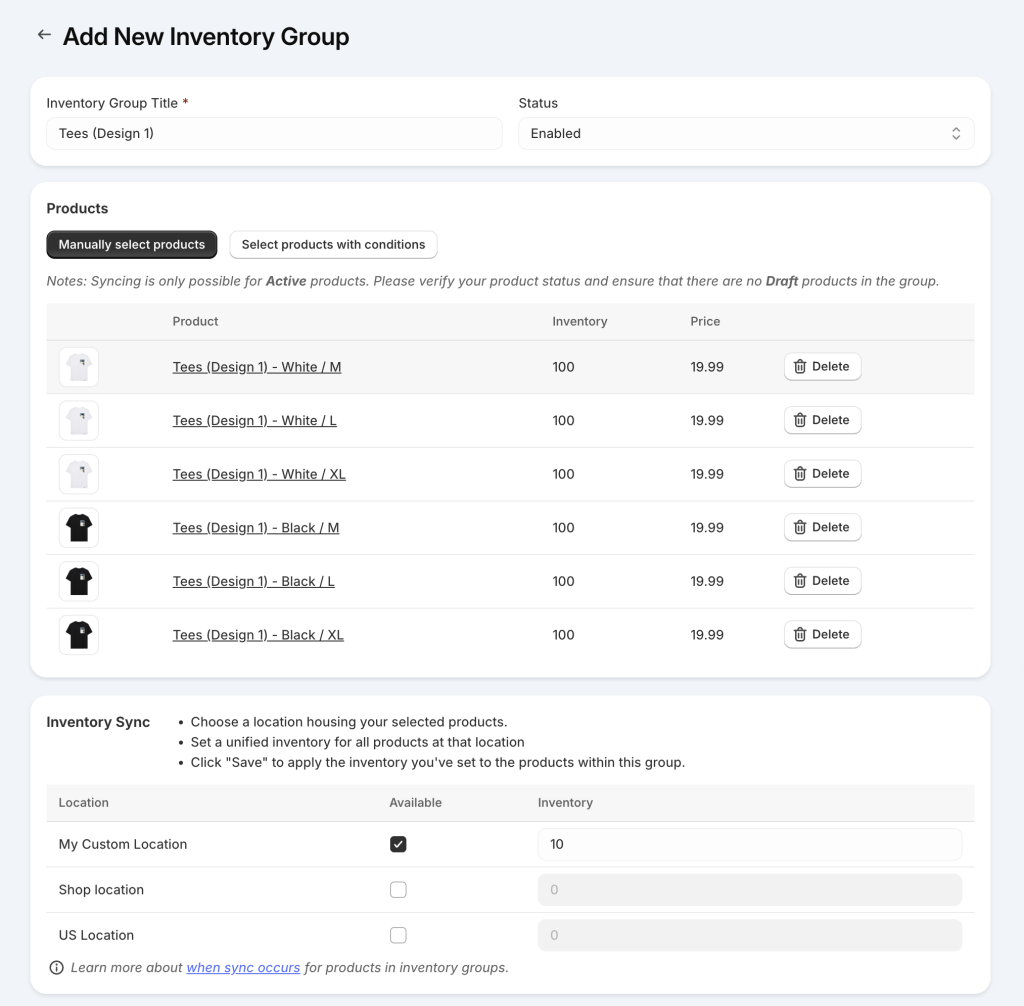
Notes:
Inventory for product variants is synced after an order is placed.
Therefore, there may be rare cases where multiple product variants of the same design are purchased in one order, and your inventory is too low to fulfill the entire order. Since the inventory syncs after the order is placed, this can lead to overselling.
To avoid overselling, enable inventory threshold alerts to receive low stock notifications and refill your stock before it runs out. Alternatively, enable sync failure notifications to handle overselling orders quickly.
Learn more
Another option to consider is using the Easify Product Options app. This app allows you to create color and size options separately from the main Tees product. This way, you can set the quantity for the Tees product equal to the number of prints without the inventory being affected by different colors and sizes.
Case 3: Custom Print Shirts with Mix and Match Options #
Solutions:
There are multiple solutions for managing custom print shirts with mix and match options. Below is one suggestion:
1/ Create a Mix n Match Print Shirt Product:
- Create the mix n match product (e.g.: Custom Print Shirts) with only Color and Size options (no Print option).
- Set the quantity for this product to be the same as your blank shirt inventory.
- You can set a higher price for this mix n match shirt if needed.

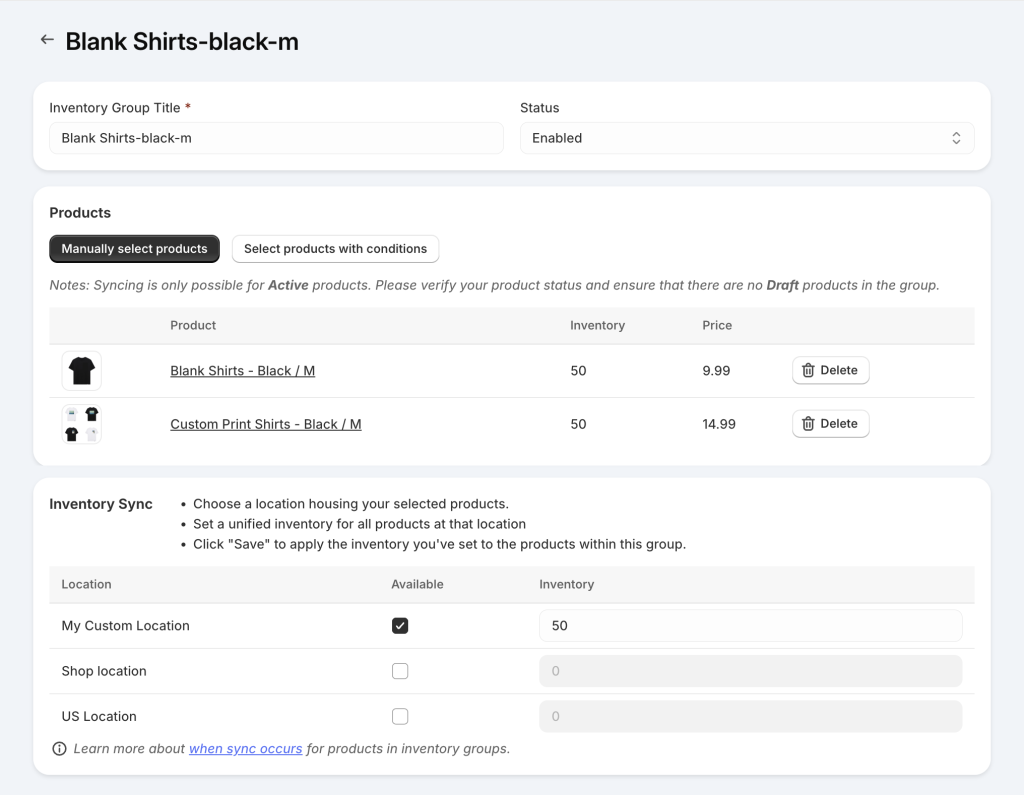
2/ Sync Inventory:
- Use the Easify Inventory Sync app to connect and sync inventory between your blank shirts and Mix n Match shirts.
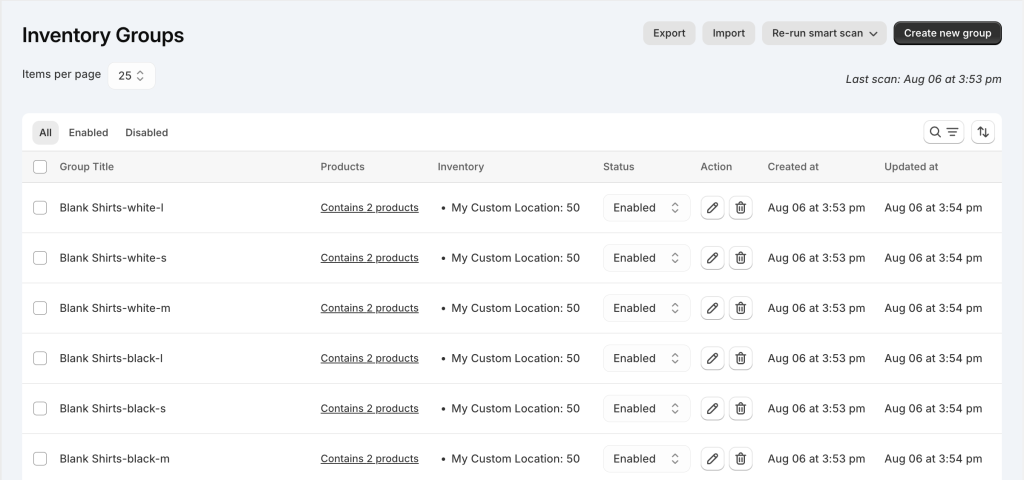
3/ Add Print Options:
- Use the Easify Product Options app to create Print options using the Image Swatches option type.
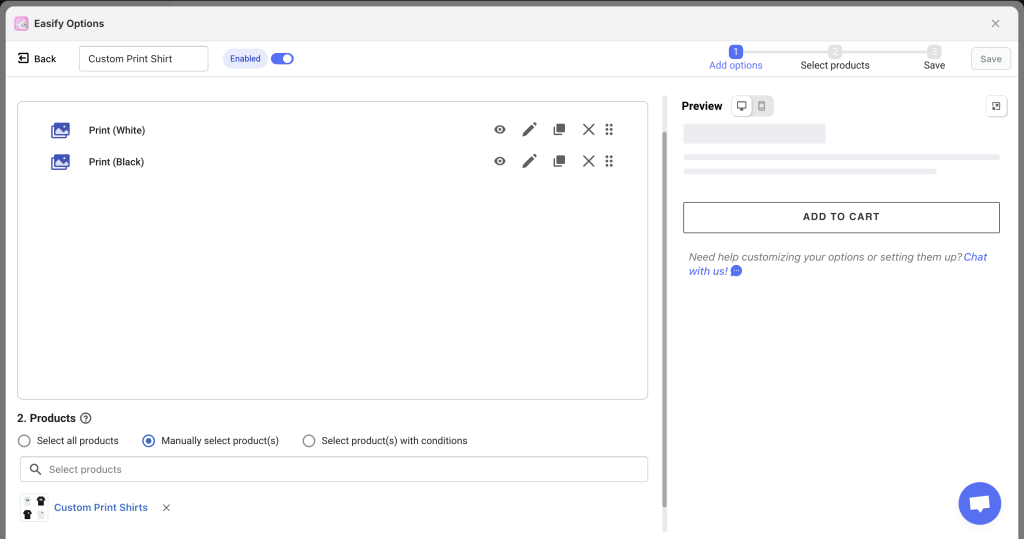
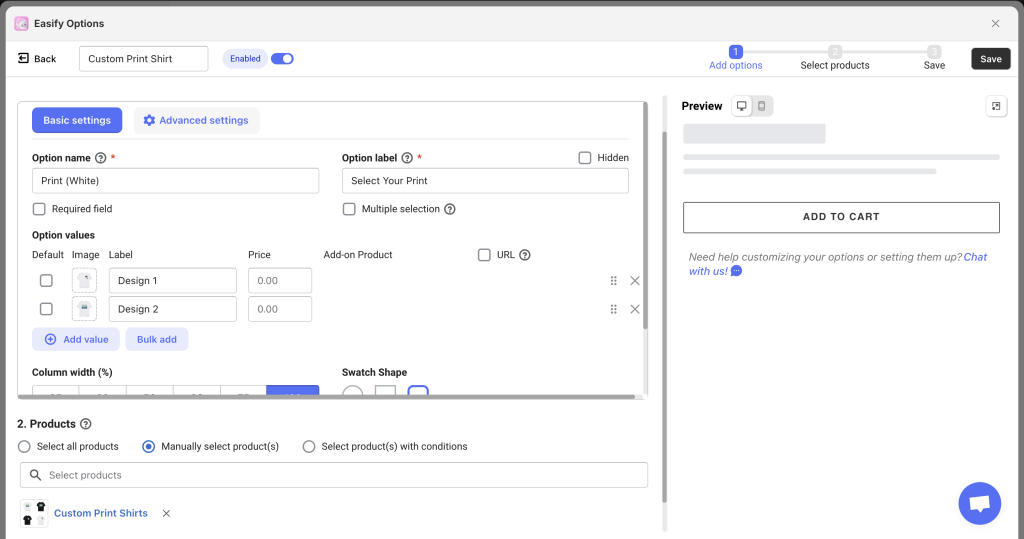
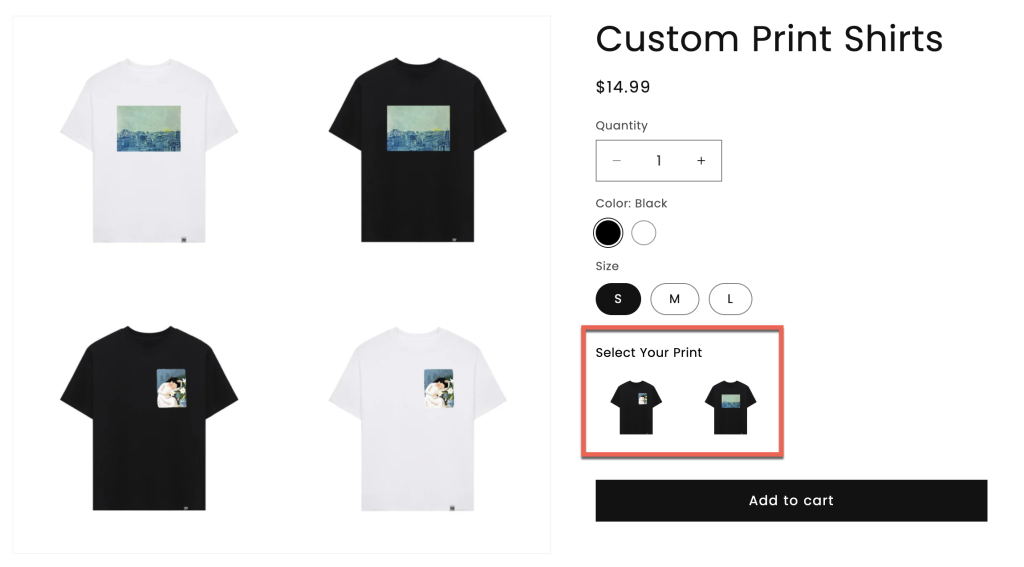
- Add these Print options to your Mix n Match shirt product. This way, customers can still select prints, and the prints do not affect the Mix n Match shirt inventory.
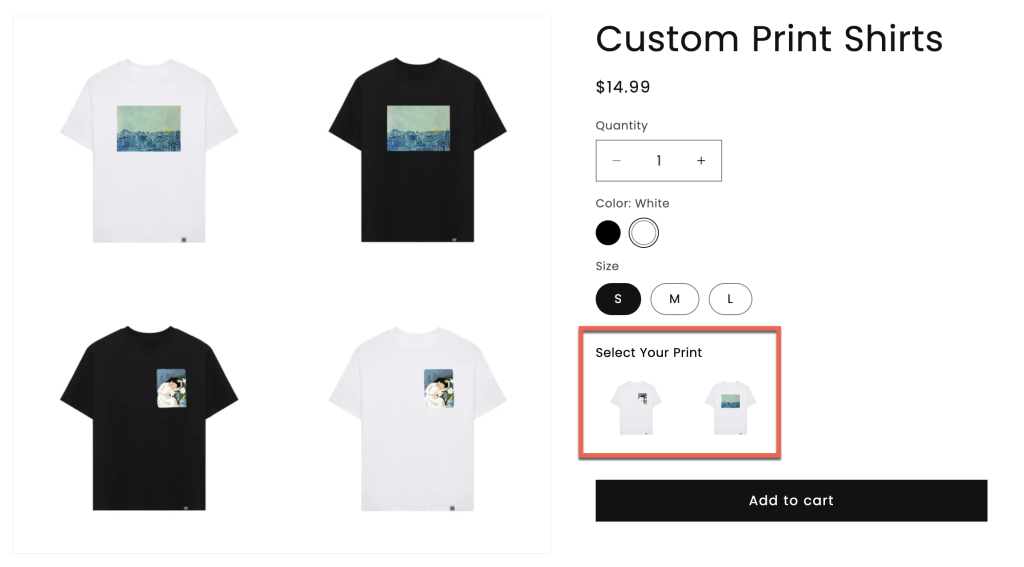
Notes:
If you want to track the inventory of the prints to avoid overselling shirts when the prints are low, create the prints as separate products. Then, link these print products with the Print options in the Easify Product Options app to track their inventory. Also, set the Print options as required. This way, even if the shirts are in stock, orders won’t be fulfilled if the selected prints are out of stock.
Need Assistance? #
If you run into any challenges while setting up your inventory groups, feel free to reach out to us for assistance through our convenient in-app live chat. We’re here to help!