Using Cross-product Links will facilitate customers in seamlessly transitioning between different products that share certain commonalities (e.g., design, print, etc.) but differ in other aspects (e.g., materials, product types, colors, etc.).
Why is this so crucial for Shopify store owners?
Enriched Product Catalog: Some store owners prefer showcasing products separately rather than consolidating them using Shopify variants. This choice enriches the product catalog, particularly beneficial for stores with limited inventory. Leveraging Easify’s Cross-product Links feature effectively links related products, enabling easy navigation on product pages without merging them into one product. This mimics the Shopify variant experience, despite transitioning between distinct products.
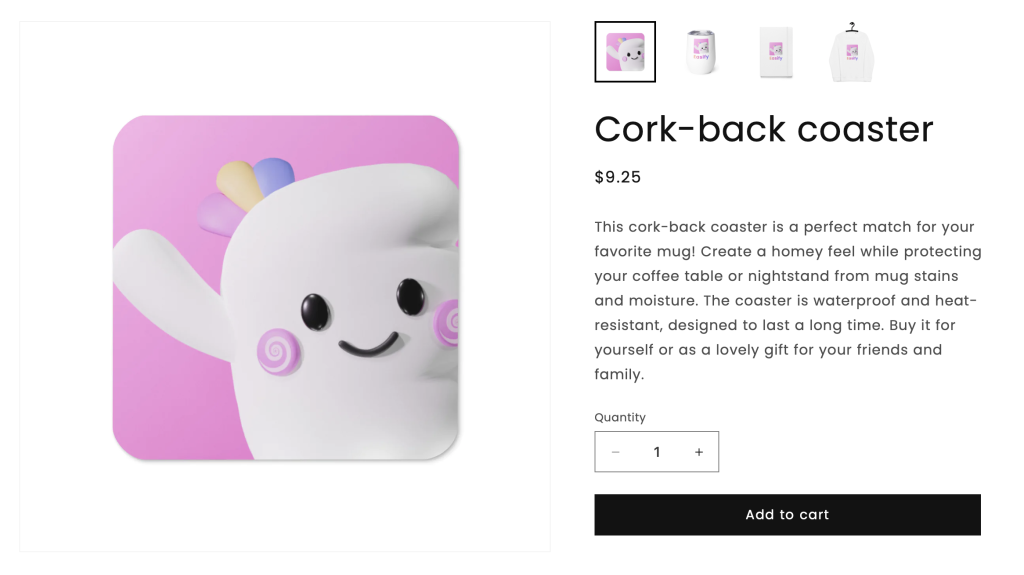
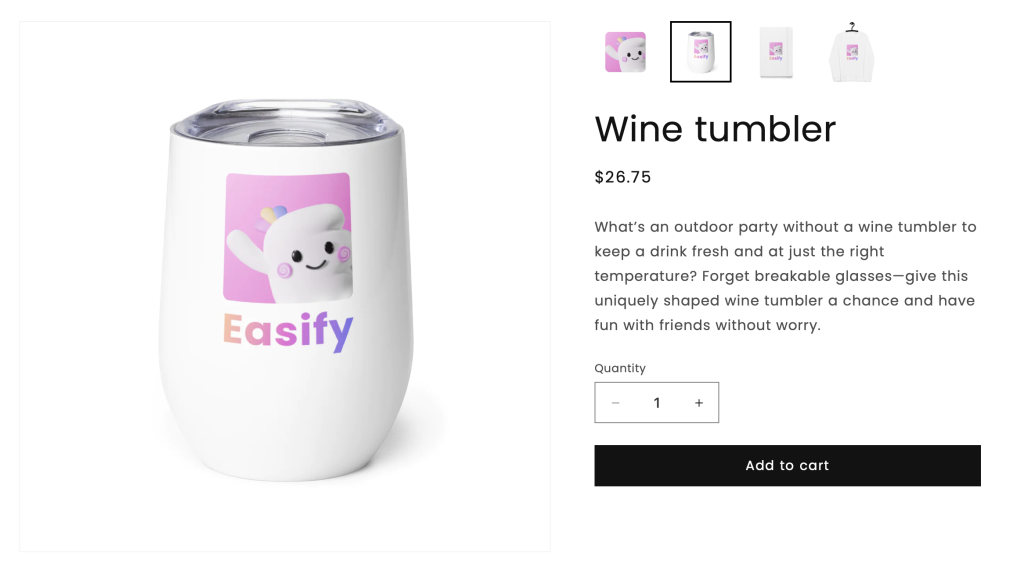
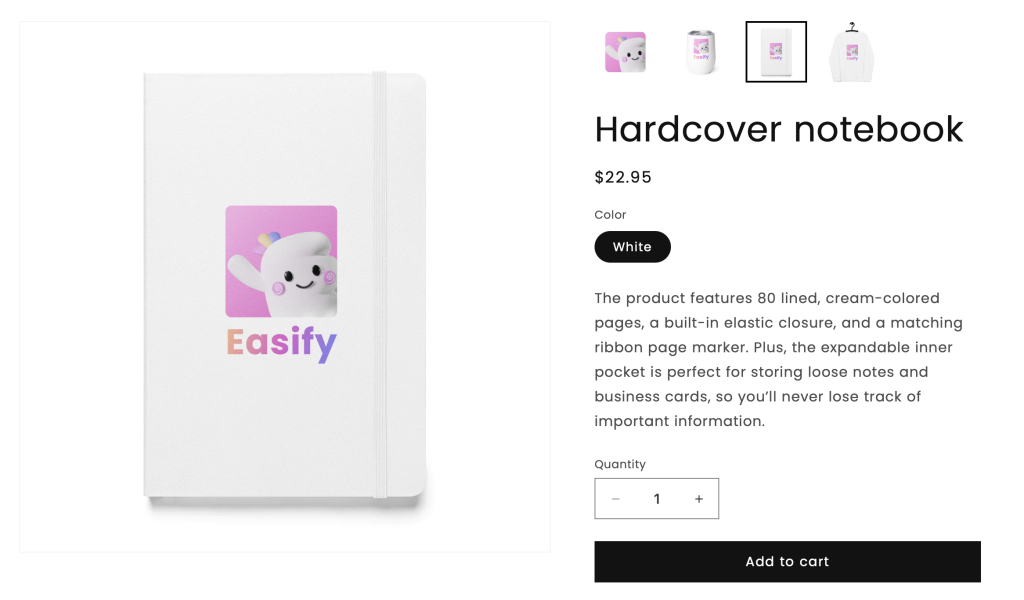
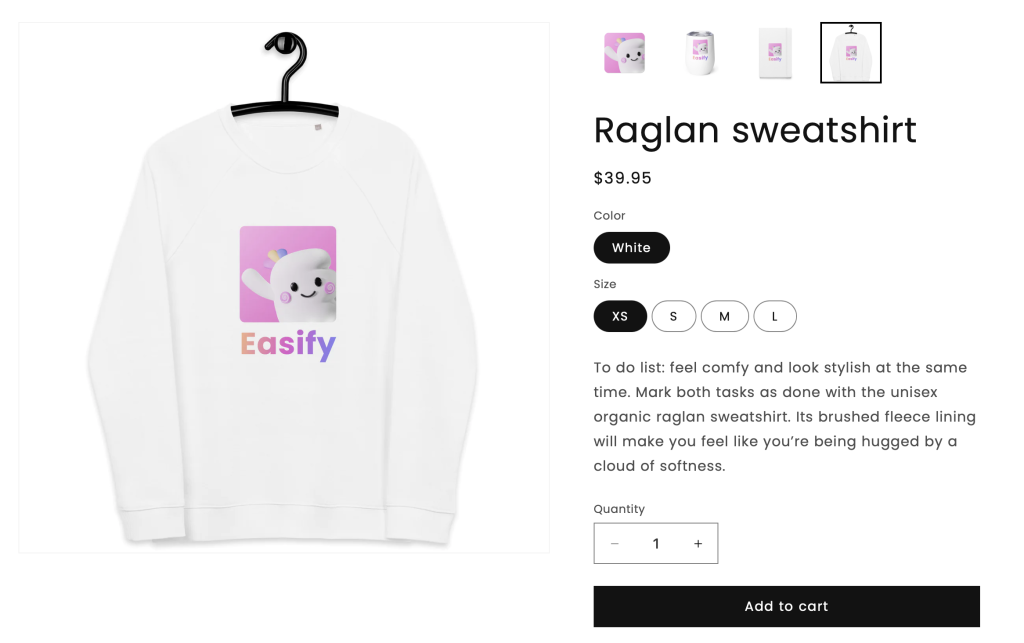
Linked Separate Products In Print-on-Demand (POD) Stores: In POD stores, it’s common for multiple product types to share the same custom design. However, merging or combining these products into one using Shopify variants isn’t feasible due to restrictions imposed by POD apps, which can only process orders with separately generated products from the apps. Addressing this challenge, the Cross-product Links feature offers a solution by linking products with identical designs, presenting them as options on each product page while maintaining their status as separate entities.
Internal Link Building – SEO Benefits: An unexpected yet valuable advantage of utilizing Cross-product Links for establishing cross-product links within your product pages is its contribution to robust Internal Link Building for the store’s SEO strategy.
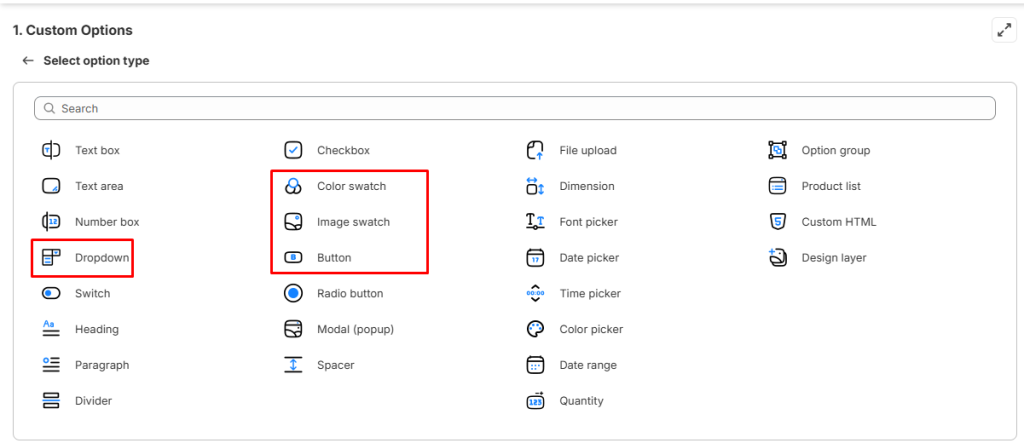
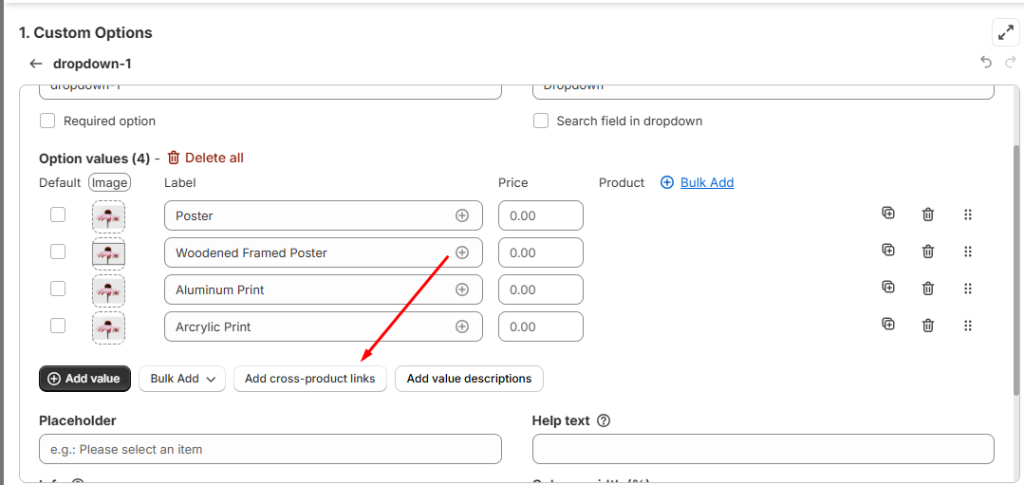
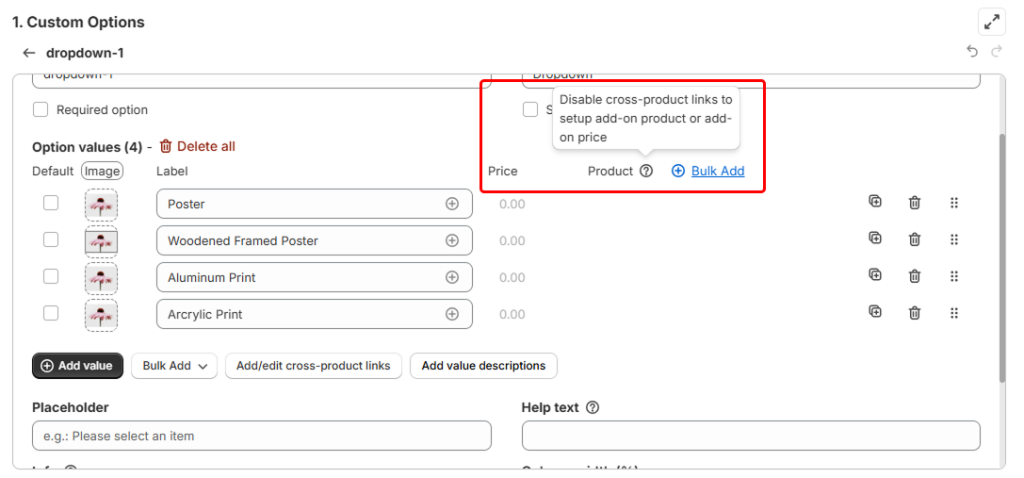
Notes: In other option types, they are designated for another purpose which is providing access to additional add-on product/ option details instead of linking relevant products in your Shopify store.
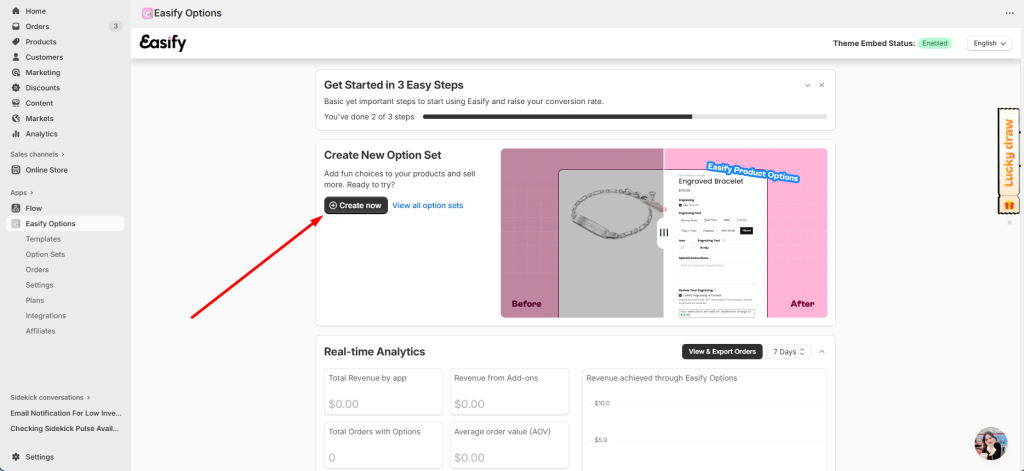
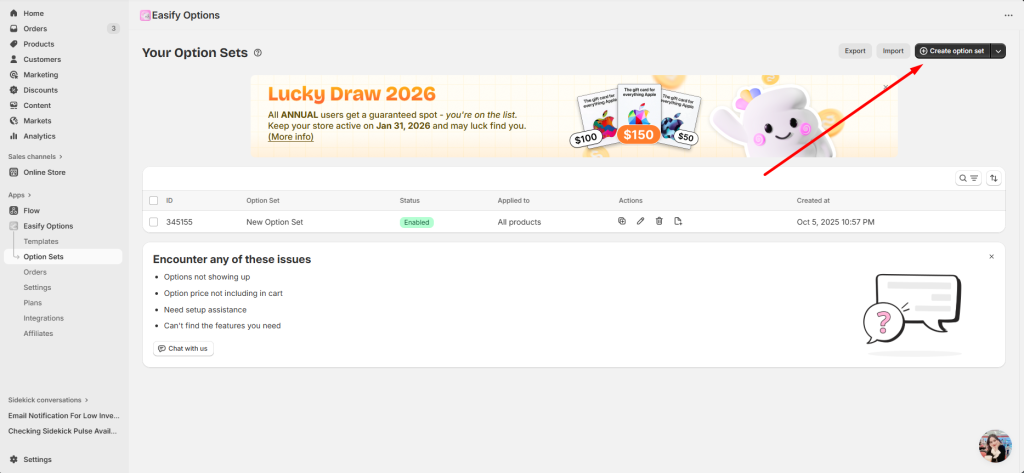
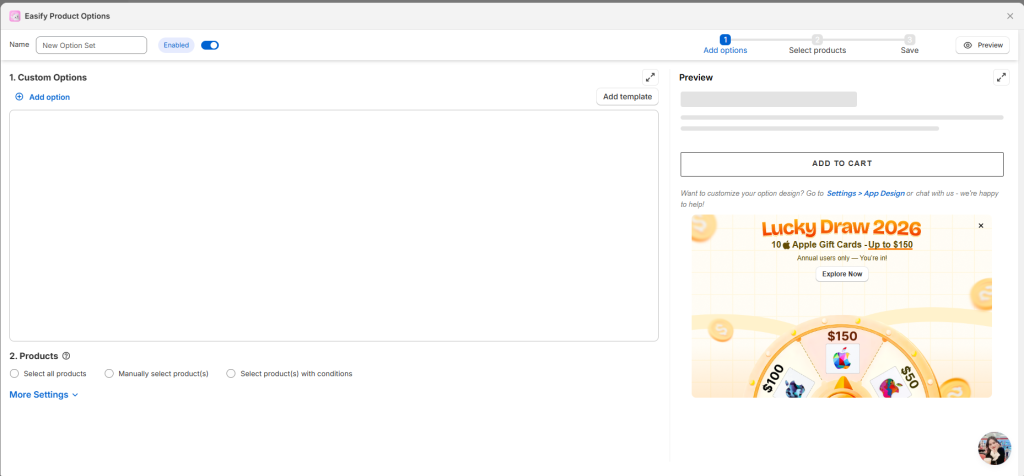
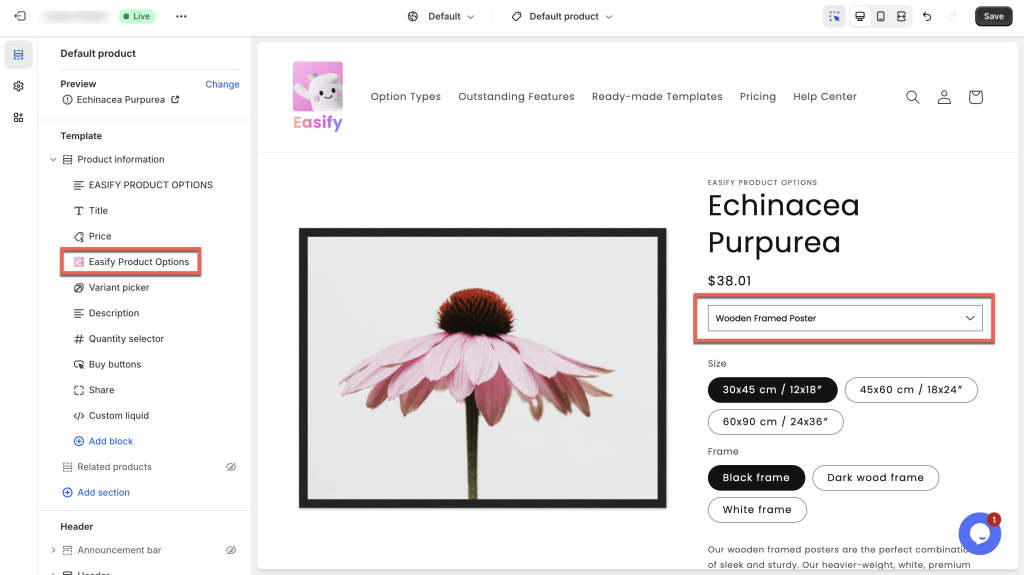
Begin by creating a new option set within the app.
Upon accessing the app for the first time, you’ll be guided through a Quick Guide that conveniently directs you to the page for creating a new option set. Alternatively, from the app dashboard, simply click on the Let’s Create! button.
or click on the New Option Setbutton on the “Option Sets” page:
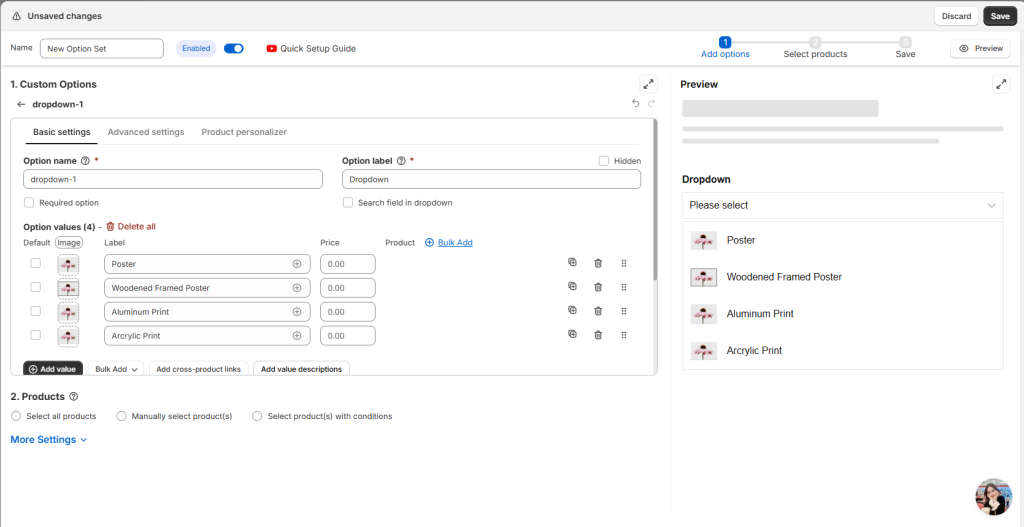
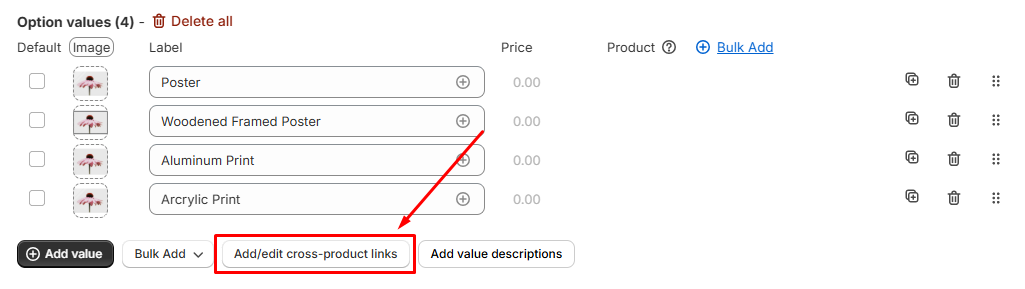
Firstly, click at the Add cross-product links button right below the option values.
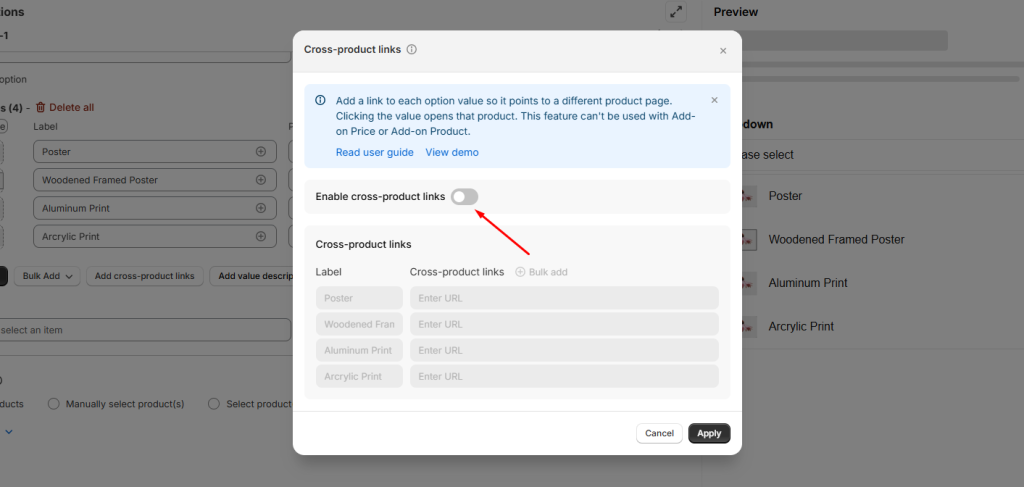
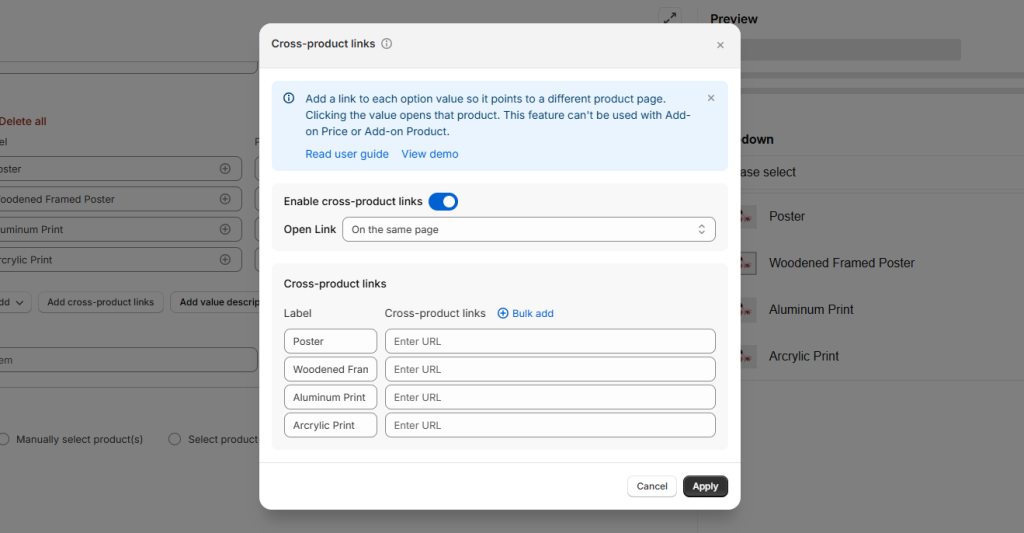
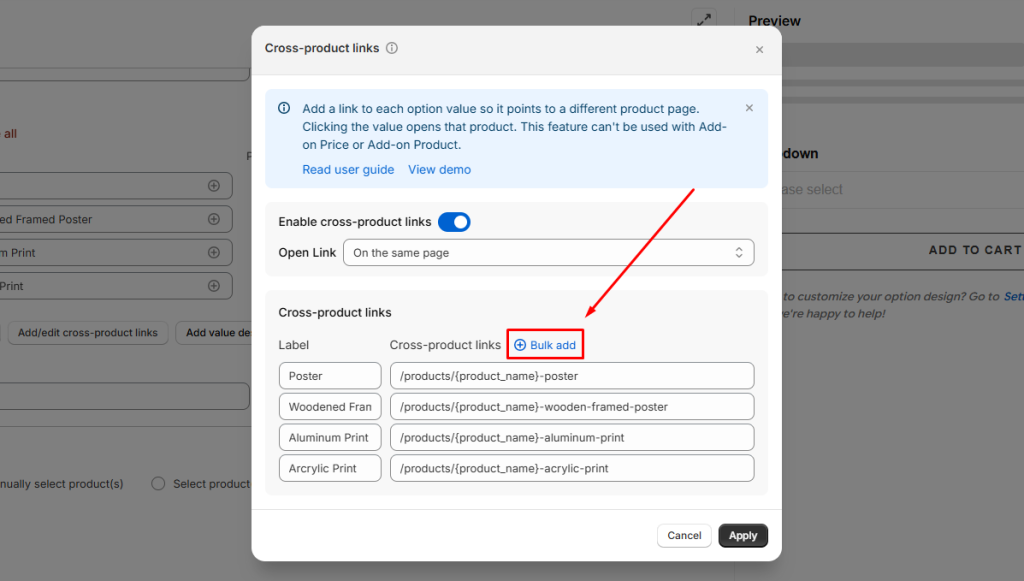
Secondly, switch on the Enable cross-product links to start configuring.
You can choose whether to open the cross-product links of the associated product on the same page or in a new tab. By default, the link will open on the same page, creating a seamless shopping experience similar to switching among normal Shopify variants.
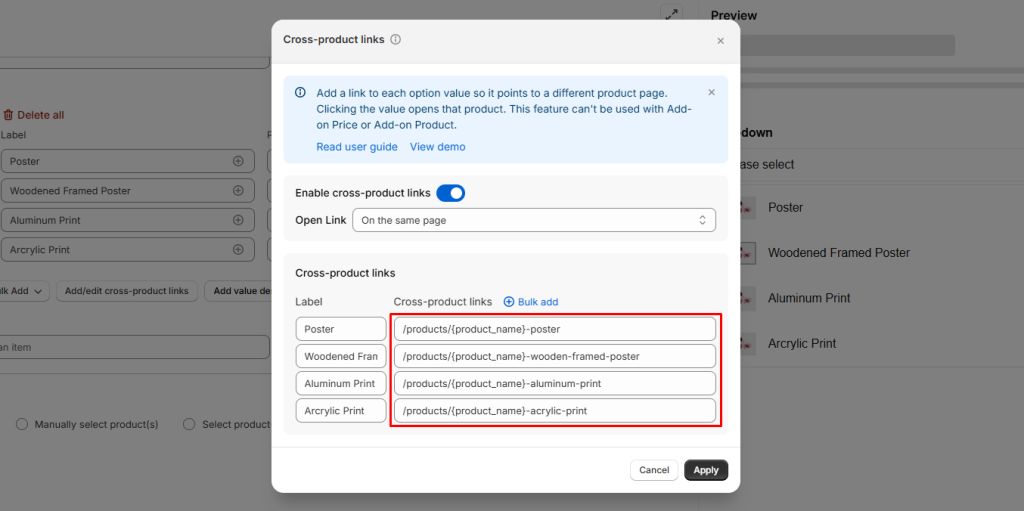
Thirdly, enter the URL for each product corresponding to its option value. You have 2 approaches to choose from:
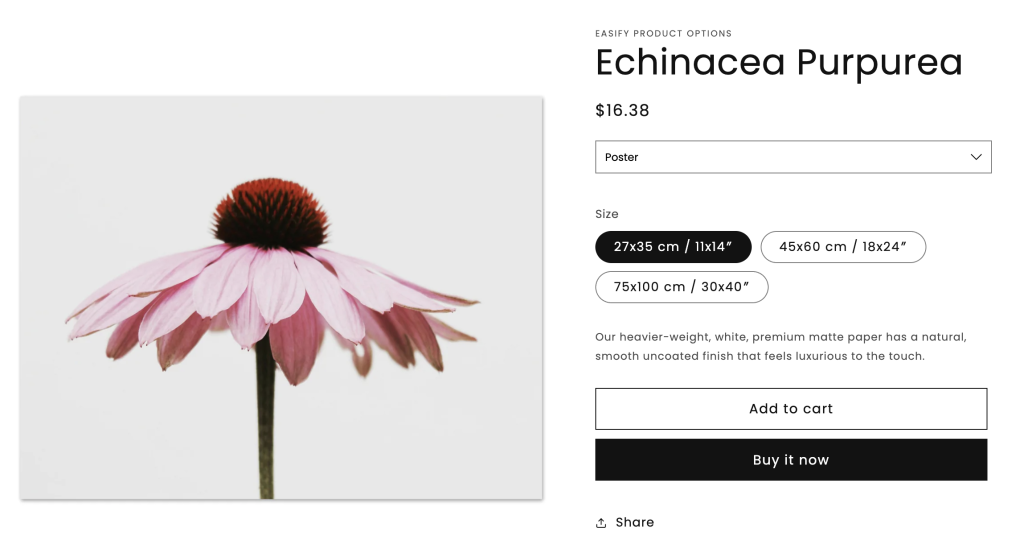
Enter the exact URLs: For instance, you can input the full URL “https://easify-product-options.com/products/echinacea-purpurea-poster” or a shortened version (excluding the site domain) such as “/products/echinacea-purpurea-poster” for the “Poster” option value.
Enter the URLs using variables of product name: If you want to apply the option set to numerous products sharing similar URL structures (e.g., including the product name and print type), you should utilize variables for automatic URL assignment. For instance:
/products/{product_name}-poster
/products/{product_name}-wooden-framed-poster
/products/{product_name}-aluminum-print
/products/{product_name}-acrylic-print
The app will then fetch the product names of assigned products (in Step 5) to link with the respective option values.
A common case: Suppose your store sells 100 art prints, each with 4 print types. By utilizing the second approach of employing {product_name} variables, you can streamline your process by creating just 1 option set for all art print products sharing the same print types, rather than creating a separate option set for each individual art print.
After you add cross‑product links to the options, the Add cross‑product links button will update to Add/Edit cross‑product links. You can return at any time to make adjustments.
Notes: Enabling the Cross-product links feature disables the Add-on Price & Add-on Product features, as these options are created solely for cross-product linking purposes, not as product options for the main product.
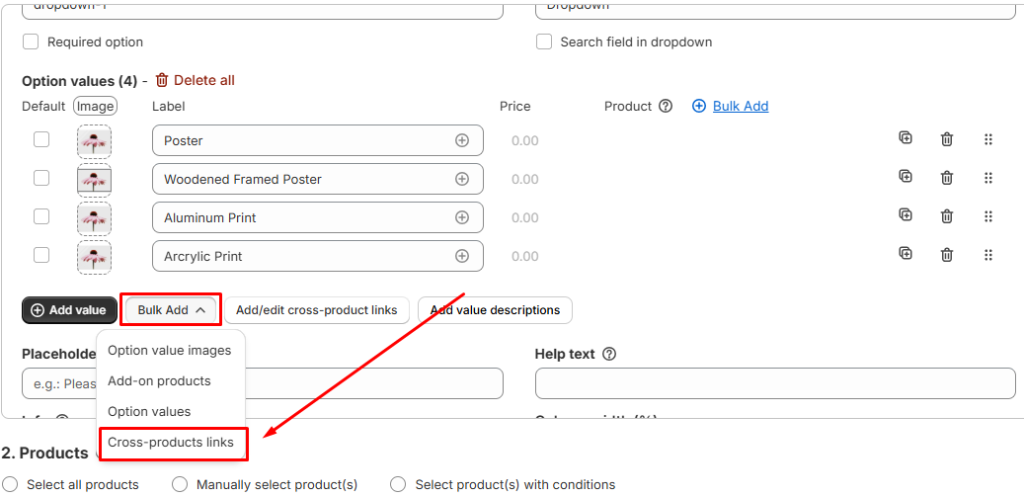
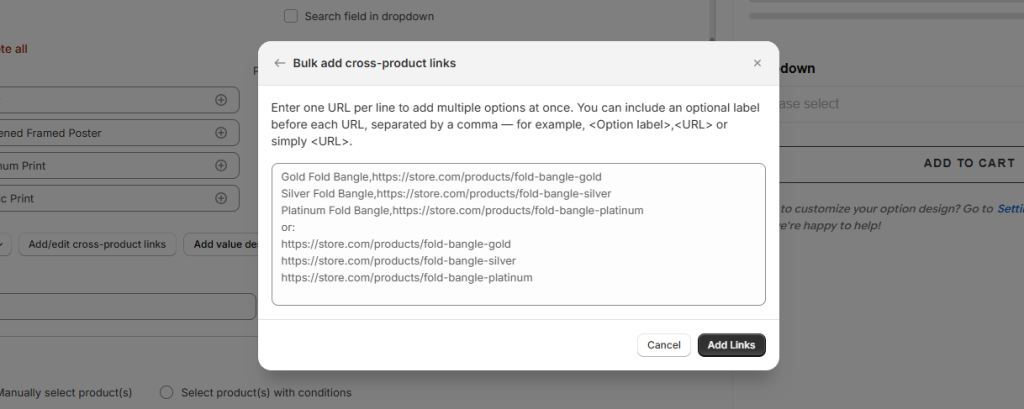
💡 Tip: You can use the Bulk Add feature to save time when entering URLs. The Bulk Add feature can be accessed in two ways:
From Bulk Add → Cross‑product links
In the Cross‑product links popup, select Bulk Add
ℹ️Note: When you use Bulk Add to insert links, it will automatically create new options in the option set. If you have a large number of cross‑product links, it’s best to use Bulk Addbefore adding or editing options in the option set.
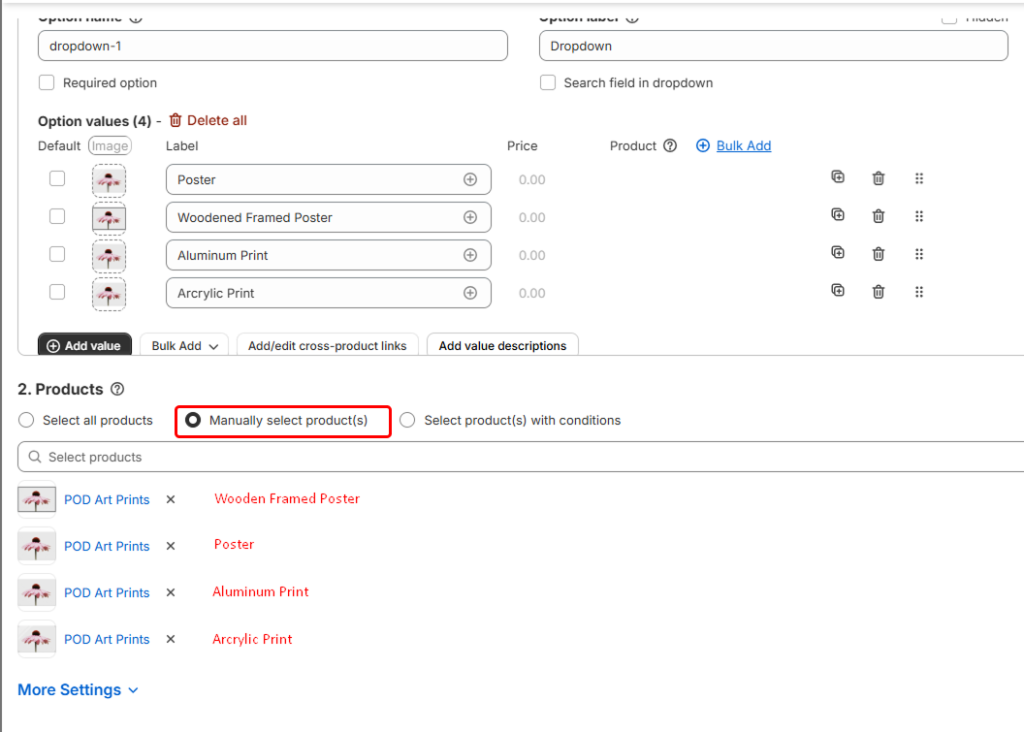
Now, select all the products you want to connect to each other (by using the Option URL feature) to assign them to the option set.
Manual Selection: If you’re working with a small group of products that share something in common, manual selection is the way to go. Simply choose each product individually and link it to the option set. For instance:
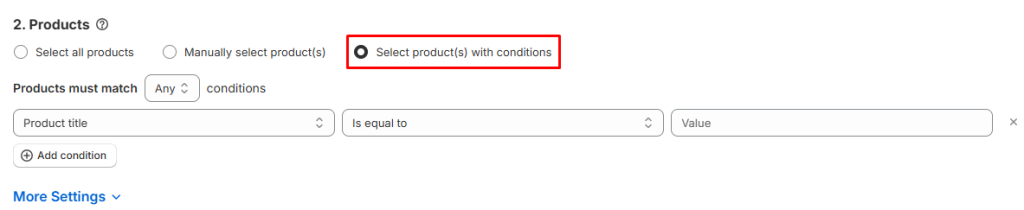
Automatic Selection: For a larger pool of products, you can leverage the power of conditional product assignment. This allows for seamless bulk assignment of the option set based on predefined criteria. For instance, you can set conditions to apply the option set to products within specific collections or of certain product types. This method pairs perfectly with setting up URLs with {product_name} variables in Step 4, streamlining the cross-product linking setup process for efficiency and accuracy.
Finally, remember to Save all settings after creating each option set.
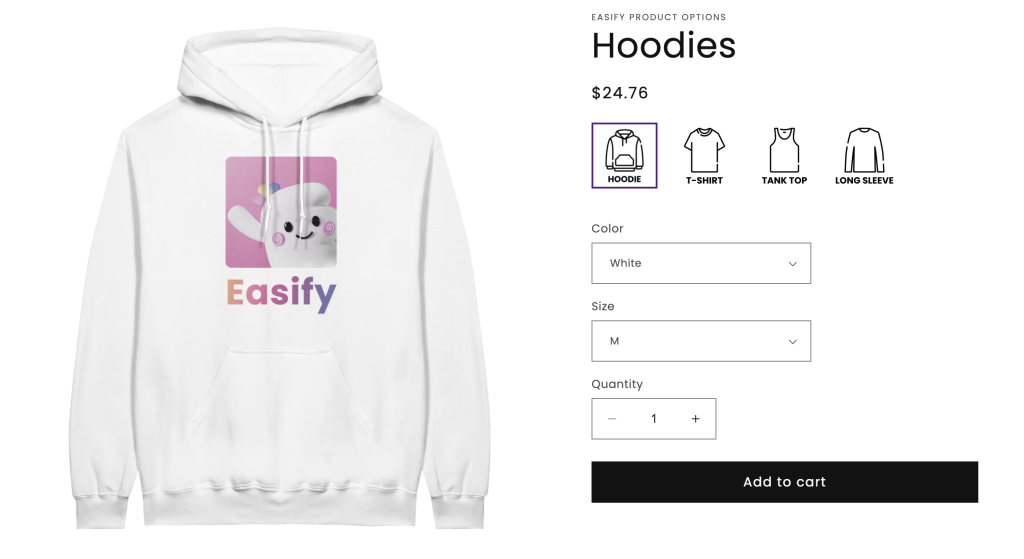
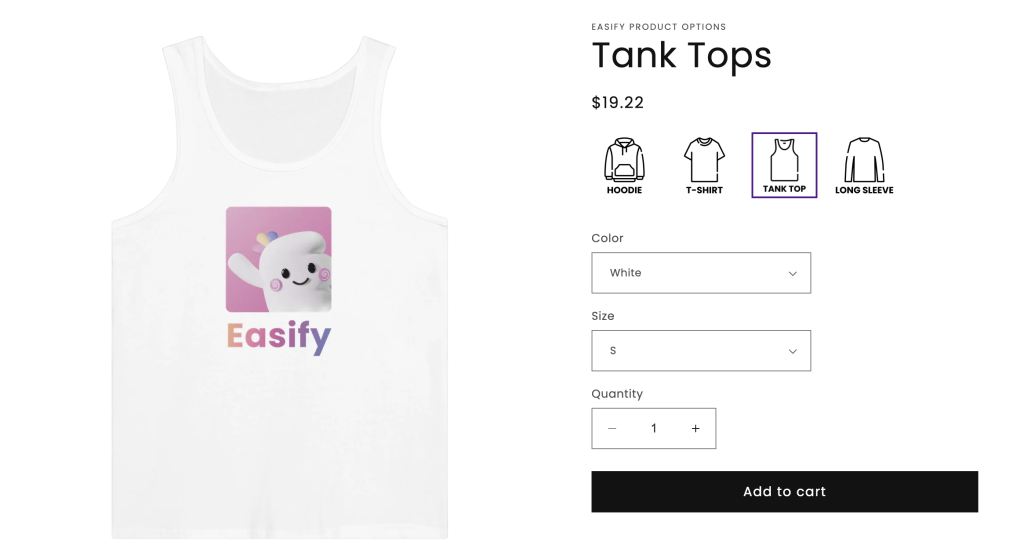
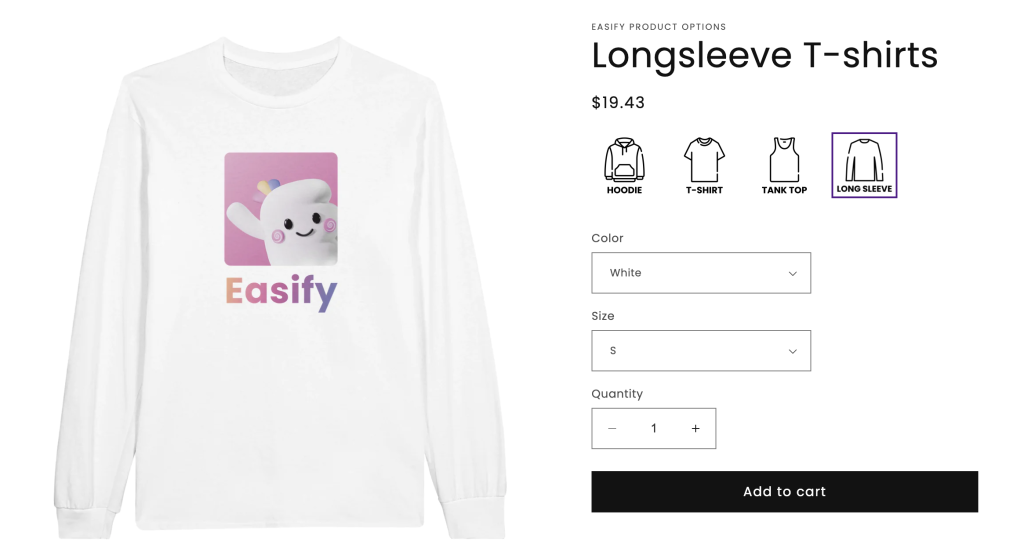
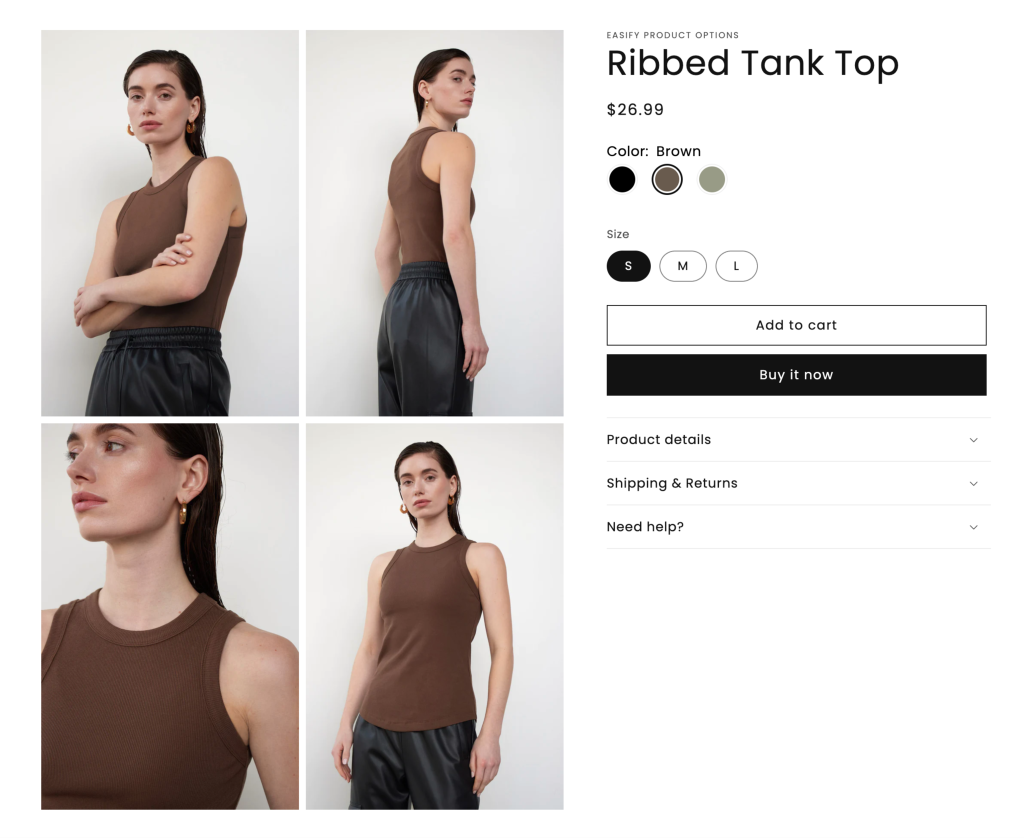
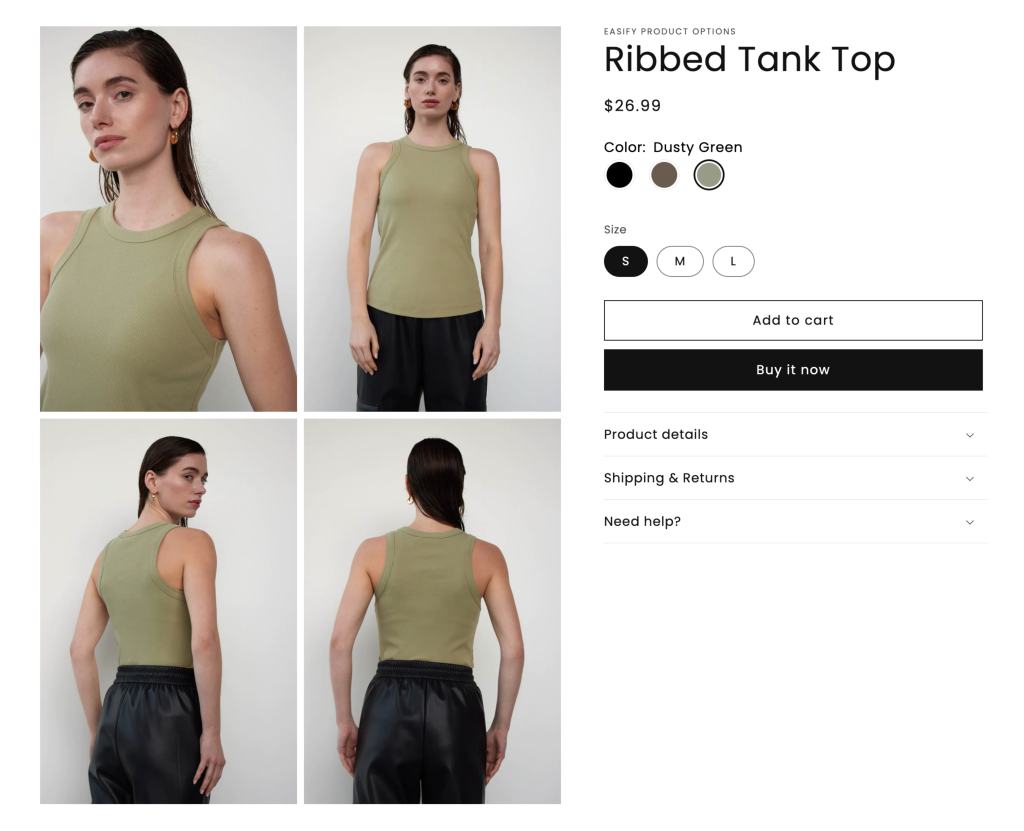
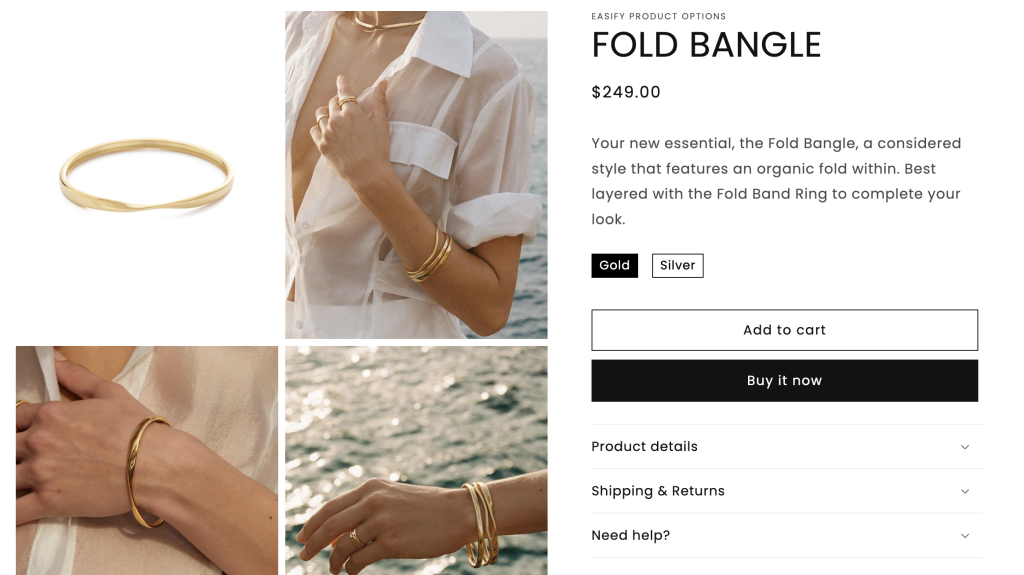
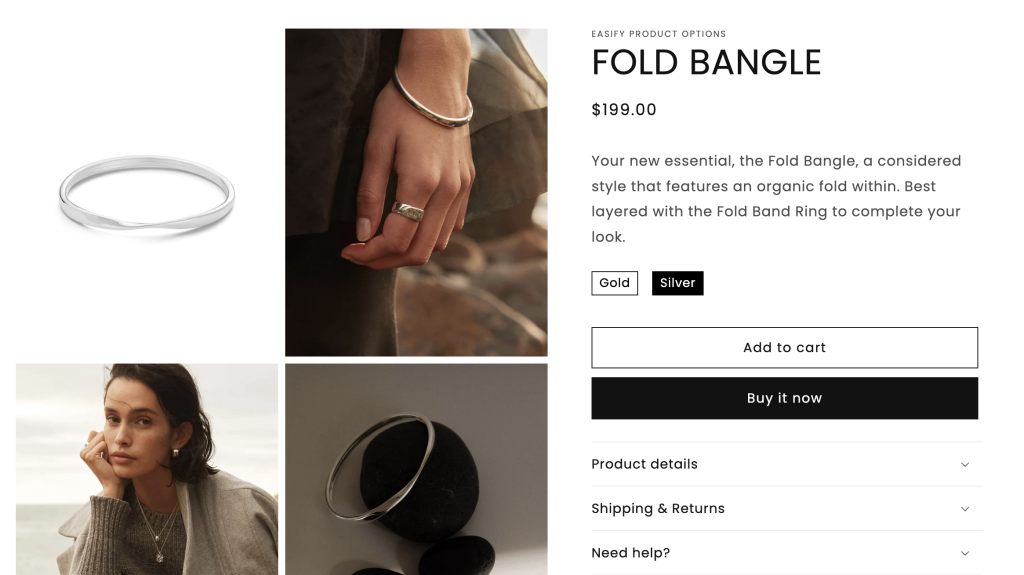
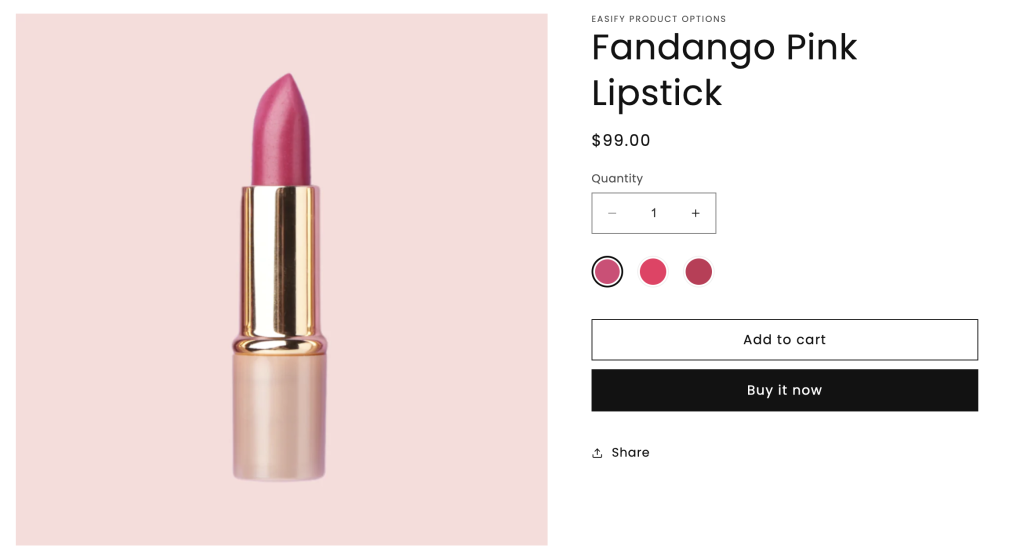
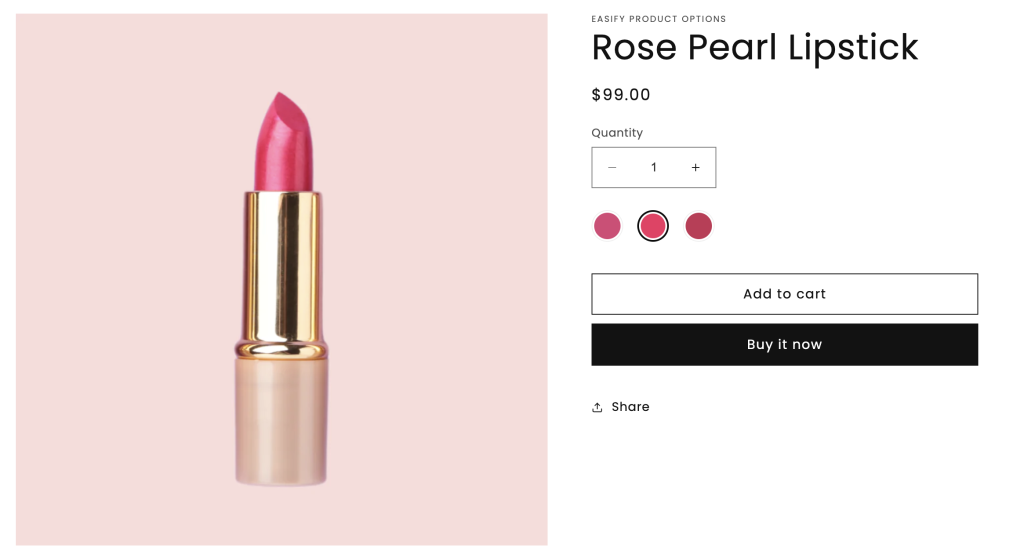
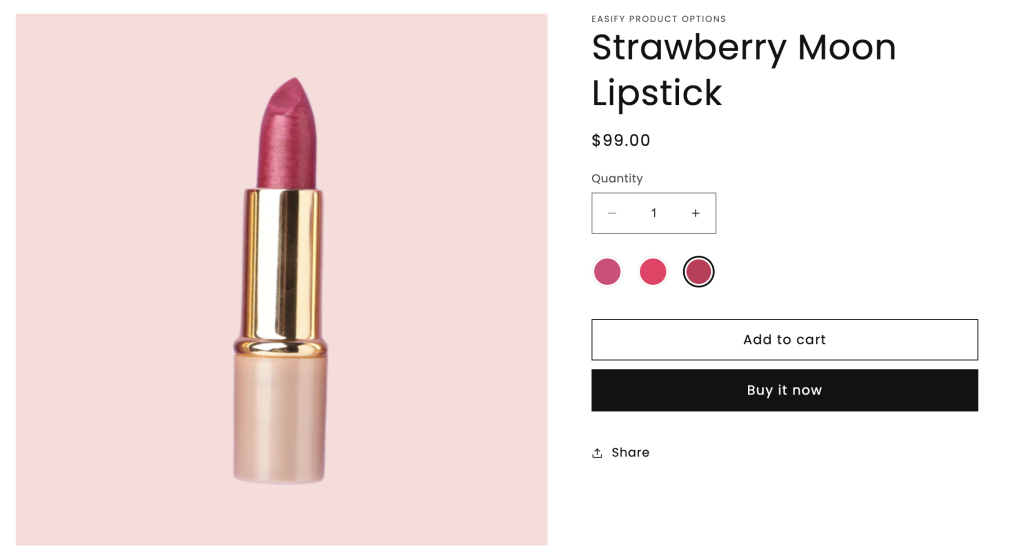
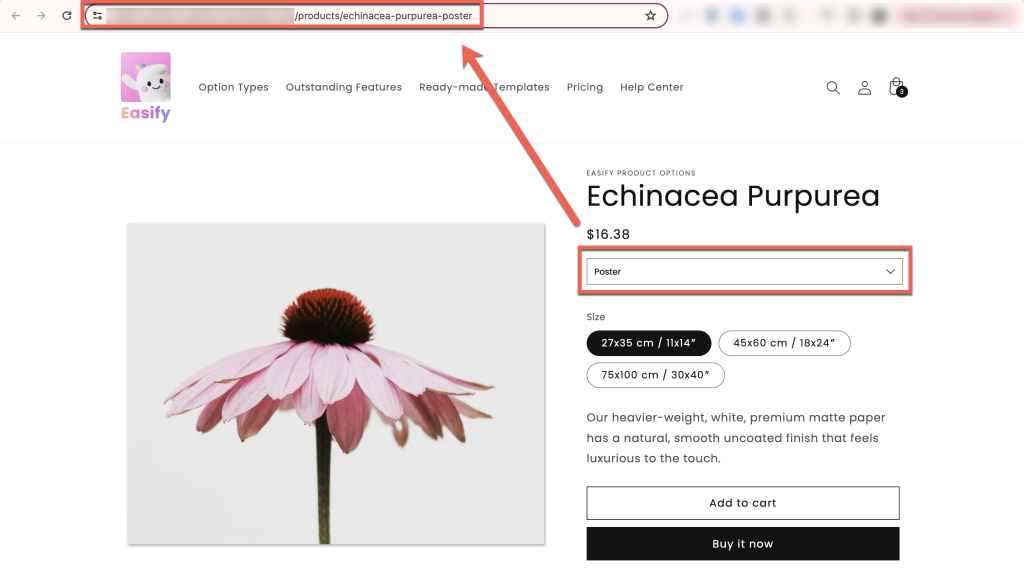
On the storefront, the option value corresponding to each product page will automatically be set as the default. There’s no need to set a default option value when creating the option set.
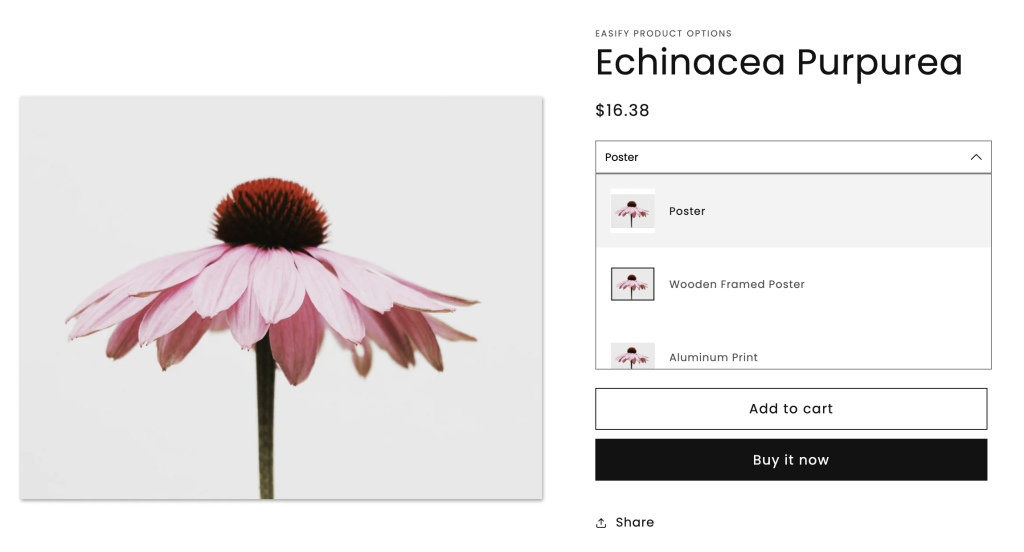
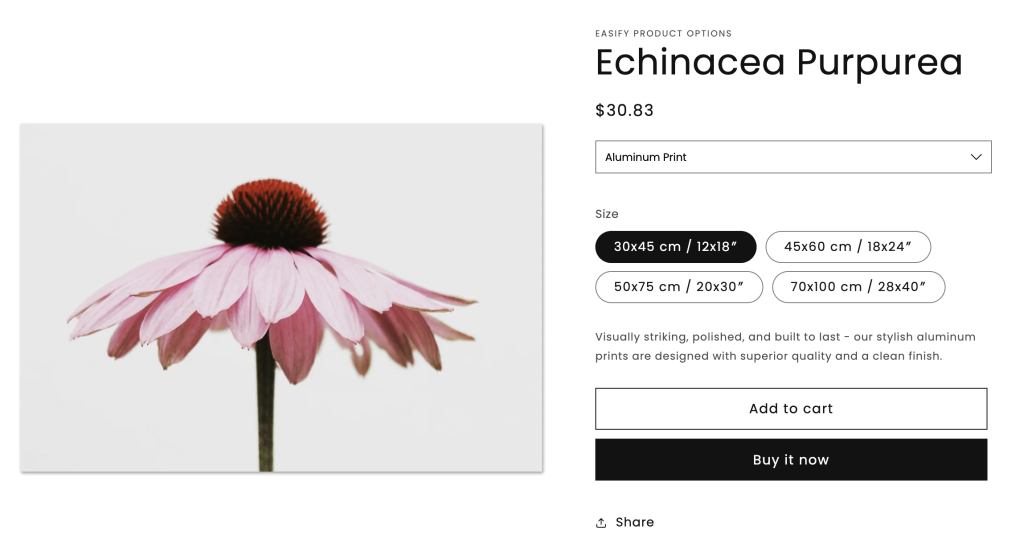
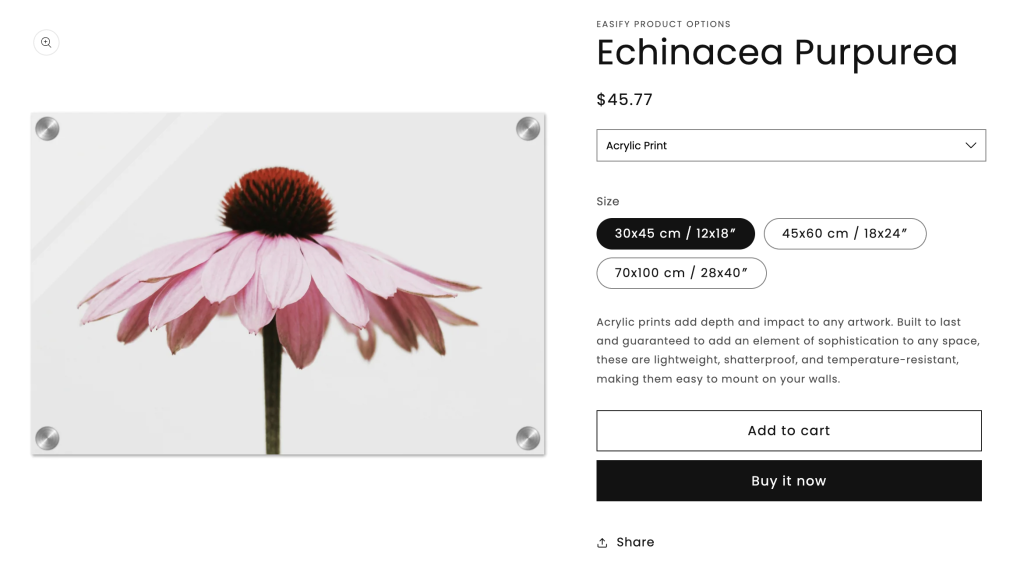
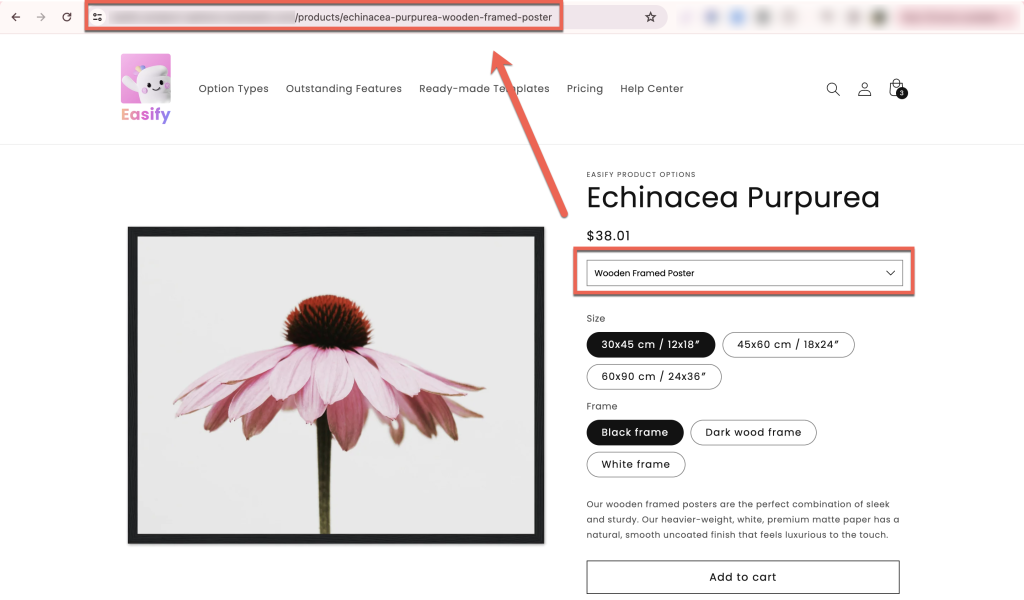
For instance, when browsing the Poster product page, the dropdown will default to “Poster” as the selected option value. If customers opt for another option, such as “Wooden Framed Poster” , the default selected value will seamlessly transition to “Wooden Framed Poster” accordingly.
The option set can be easily repositioned within the Product Information section on your product page: above or below the product title, quantity selector, product price, add to cart button, etc.
For a detailed guide on changing the option set position, please click here and follow the instructions.
If you encounter any difficulties in setting up Option URL for cross-product links purpose, don’t hesitate to contact us for assistance. You can reach out via our in-app live chat, submit your request through our contact form, or simply email us at support@tigren.com. We’re here to help!