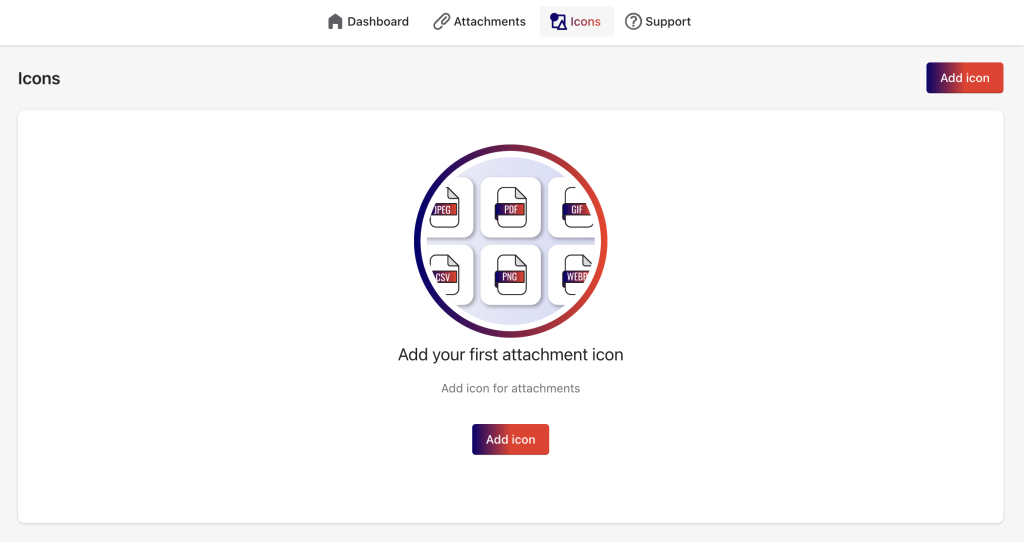
Attachment icons enhance your customers’ experience and improve your store’s visual appeal. Icons serve three key purposes:
- Highlight Attachments: Icons catch customers’ eyes, directing them to your product attachments on the product page.
- Visual Clarification: Icons visually represent the content of your attachment files, making it easier for customers to understand their purpose.
- Consistent Design: Icons contribute to the overall design harmony of your attachment files, aligning them with your store’s aesthetics.
Notes: There are two methods for adding icons:
- Custom Icons: Upload an icon while creating an attachment for a unique visual representation.
- Shared Icons: Upload an icon on the Icons page for files with similar extensions (e.g.: .pdf). It will automatically be assigned to relevant attachments.
Below is the guide to upload icons for your attachments:
Case 1: Use Unique Icons #
- Go to the Attachments page and select the attachment you want to add an icon to.
- Access the attachment editing page and locate the Icon section.
- Click on “Upload icon” and then click “Add file” to upload the icon corresponding to the attachment you’re editing.

- If you have multiple attachments with unique icons, repeat this process for each attachment.
Pro Tip: For efficient management of multiple icons, consider using the Bulk Attachment Import function. Upload all icons to your Shopify Files folder and obtain their links. Insert these links into a CSV file for easy import to your site.
Case 2: Use Shared Icons #
Visit the Attachments page and select the attachment you want to add an icon to.
Access the attachment editing page and navigate to the Icon section.
Choose Assigned by file extension and repeat this process for attachments with the same extension that you want to have the same icon.

To add shared icons, go to the Icons tab in the app menu.
Dashboard > Icons > Add icon

General Information #

- Title: Give your icon a descriptive name.
- Status: Select “Active” to display the icon on your storefront, or “Inactive” to hide it.
File #
Upload your icon in PNG, JPG, JPEG, or other compatible formats. File size should not exceed 20MB, and resolution should stay within 20MP.

File Extension #
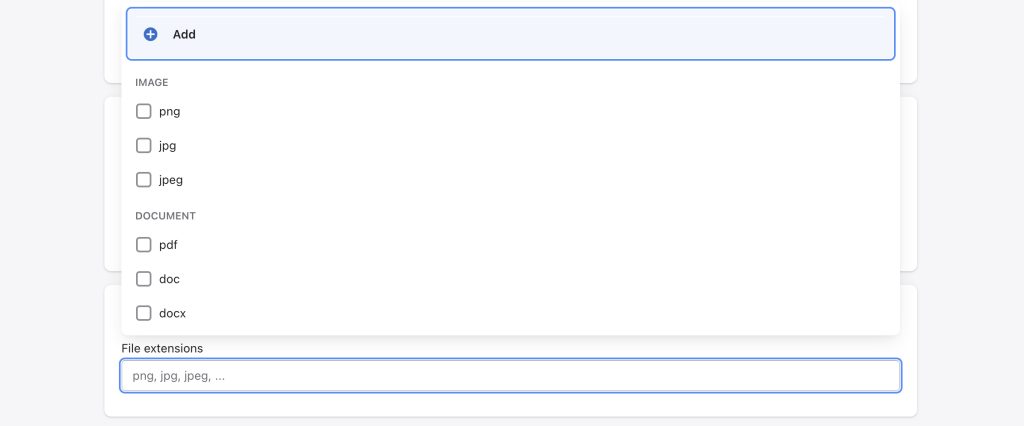
Define the associated attachment file extension (e.g., pdf, doc, docx, etc.). This ensures the icon is correctly applied to relevant attachments.
Notes: Specify the attachment file extension, not the icon image extension.


If your attachment files utilize extensions beyond the suggested list, you can easily expand the options. Enter the new extension (e.g., “webp”) and click + Add (+ your entered extension) to include it in the list.

Click “Save” to complete the icon setup.
By following these steps, you can seamlessly enhance your product attachments with icons, adding visual appeal and clarity to your store. If you have any questions or need further assistance, don’t hesitate to reach out to our support team.