
If you’ve tried adding another product as a variant in Shopify, you’ve probably noticed that Shopify doesn’t support it by default. Variants in Shopify are designed for versions of the same product — like different sizes, colors, or materials — not for linking separate products together.
Still, many store owners want to do exactly that. For instance, if you sell shirts in different colors and prefer each color to have its own product page, you might want customers to switch between them with a single click — just like how variants work. It keeps things cleaner, improves navigation, and feels more intuitive for shoppers.
The good news? While Shopify doesn’t offer this natively, there’s a simple workaround. In this post, Easify’ll show you how to add another product as a variant in Shopify using a third-party app — no coding, no complex setup, and fully compatible with your existing theme.
If you’re still exploring your options, check out Easify’s guide to the best Shopify product options apps to see which one fits your store needs best.
Key Takeaways
- Shopify doesn’t natively allow adding another product as a variant.
- You can still achieve this using an app like Easify Product Options — no coding required.
- The app lets you create clickable options that link directly to other product pages, helps customers switch between related products more easily.
- A simple way to make browsing smoother and your store layout more intuitive.
Why Add Another Product as a Variant?
Adding another product as a variant isn’t just about convenience — it’s about creating a smoother, more intuitive shopping experience. Sometimes, your products are closely related but still need separate pages. In that case, linking them through variants helps customers explore all available options without having to search manually.
Think about it: instead of forcing shoppers to go back and forth between product pages, you can let them switch instantly just by clicking on a variant — like a different color, size, or model — that leads to its own page.
For example:
- A shopper browsing a wool yarn in “Forest Green” can easily switch to “Ocean Blue” without restarting their search.
- Someone looking at a phone case can jump straight to the version for another phone model.
- Or a customer viewing one bag style can quickly see other variations from the same collection.
This approach keeps your store organized while making navigation effortless for shoppers. It’s a simple way to connect related products, keep customers engaged, and make the overall browsing experience feel seamless and professional.
How to Add Another Product as a Variant in Shopify?
So, you’ve got the idea — adding another product as a variant can simplify your store layout and make browsing more intuitive. Instead of juggling multiple product pages, you can guide customers smoothly from one related product to another with just a click.
That’s where Easify Product Options comes in. Rather than relying on complicated custom coding, Easify lets you create clickable product options that link directly to other product pages in your store. So when a shopper selects an option — like a different color or version — they’re instantly redirected to the matching product page. No confusion, no unnecessary steps.
For instance, imagine you have a shirt available in three colors — red, white, and blue. With Easify, you can set each color option to open its own product page. When someone clicks on “white,” they’re taken straight to the white shirt’s page — no confusion, no unnecessary steps.
The best part? Everything works seamlessly with your existing theme, and setup takes only a few minutes.
Let’s walk through how to set it up.
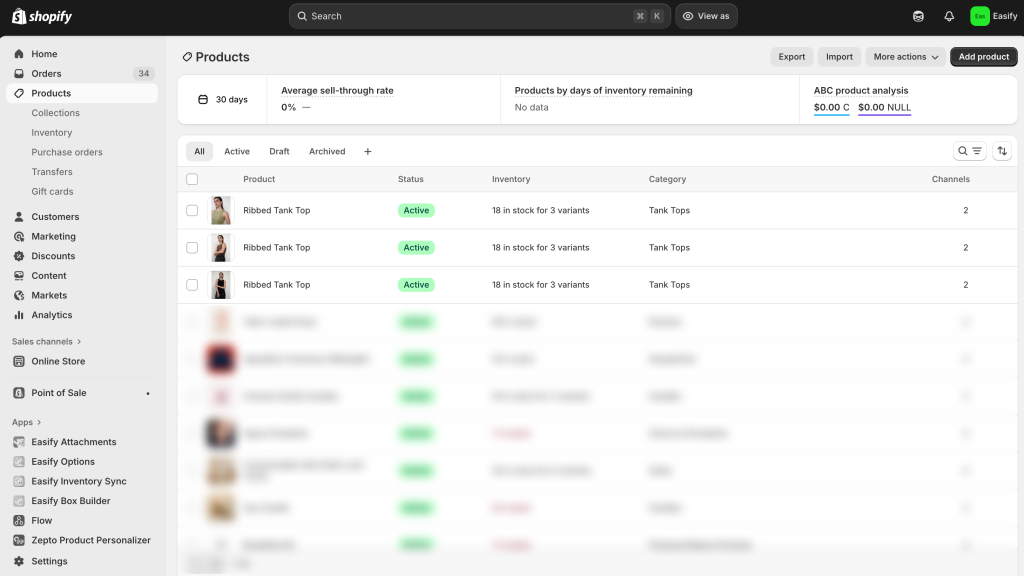
Step 1: Create your product
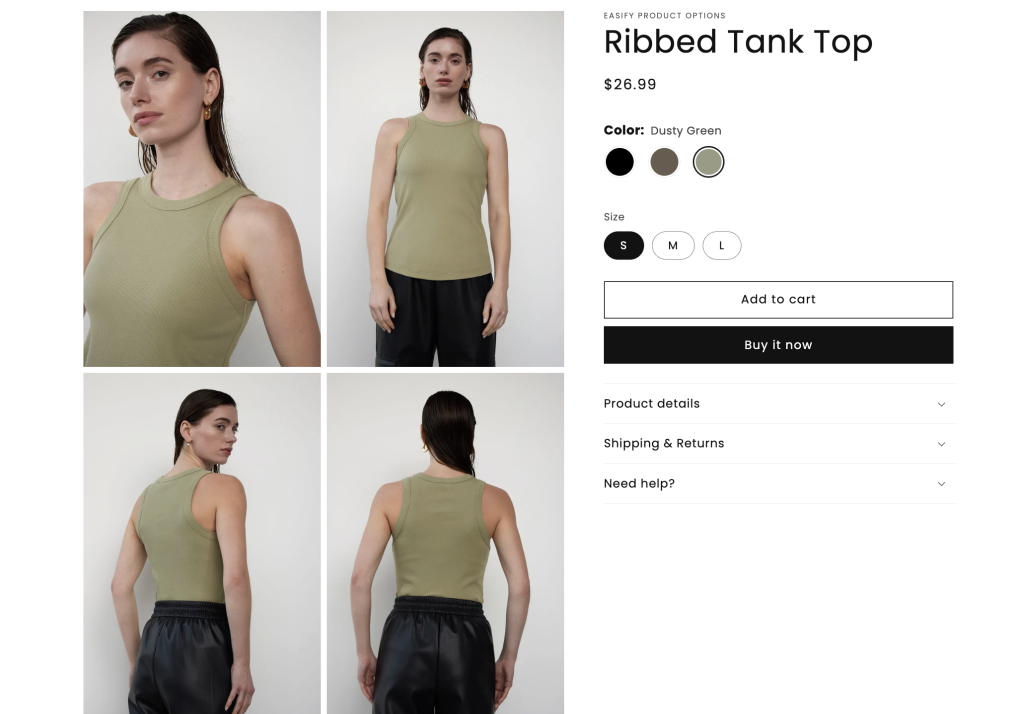
Before linking them together, create separate products for each version — for example, three shirts in Black, Brown, and Green. Each color should have its own product page and URL.
Step 2: Find and Install the App
Go to the Shopify App Store, search for Easify Product Options, and click Install. Once added to your store, open the app and follow the quick setup process to get started.
Step 3: Create an Option Set
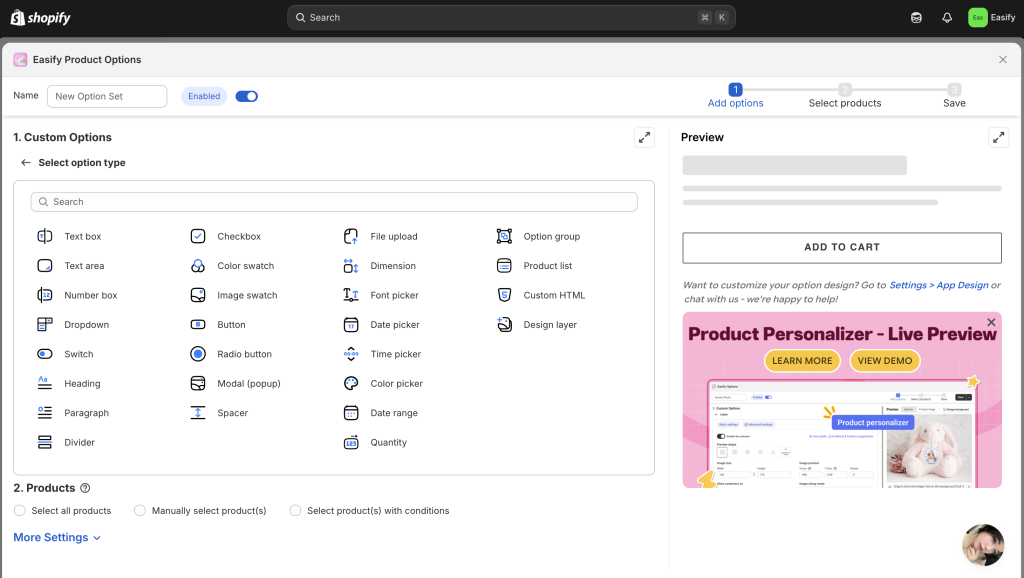
From your Easify dashboard, click Create New Option Set.
Choose the option type you want — to add another product as a variant or option, you can use Button, Dropdown, Checkbox, Swatch, etc.
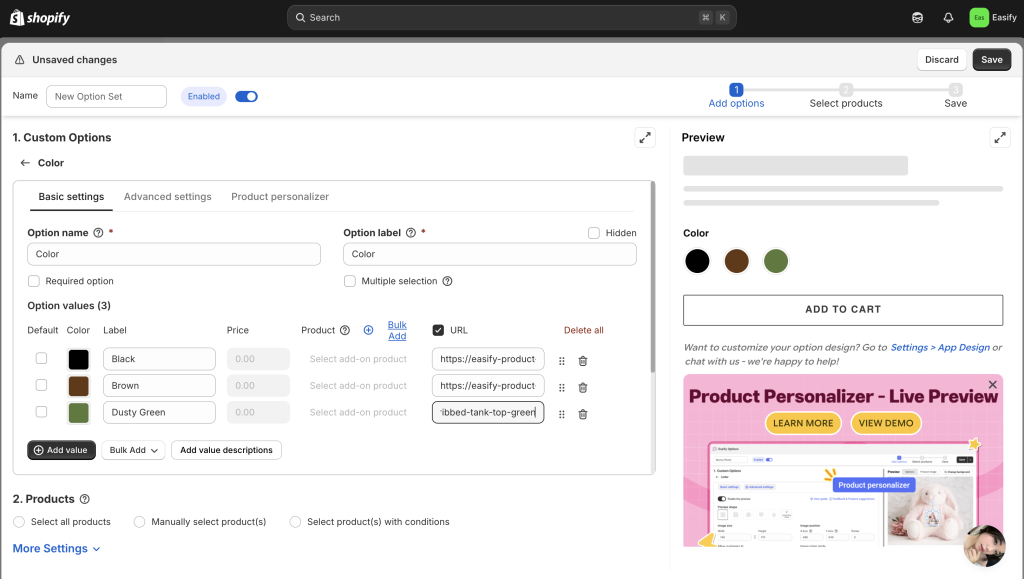
Step 3: Add product
In the Basic Settings, tick Link URL, then paste the URL of each related product.
For example, for the black shirt, paste the link to the black shirt’s page; for the brown one, add the brown shirt’s link, and so on.
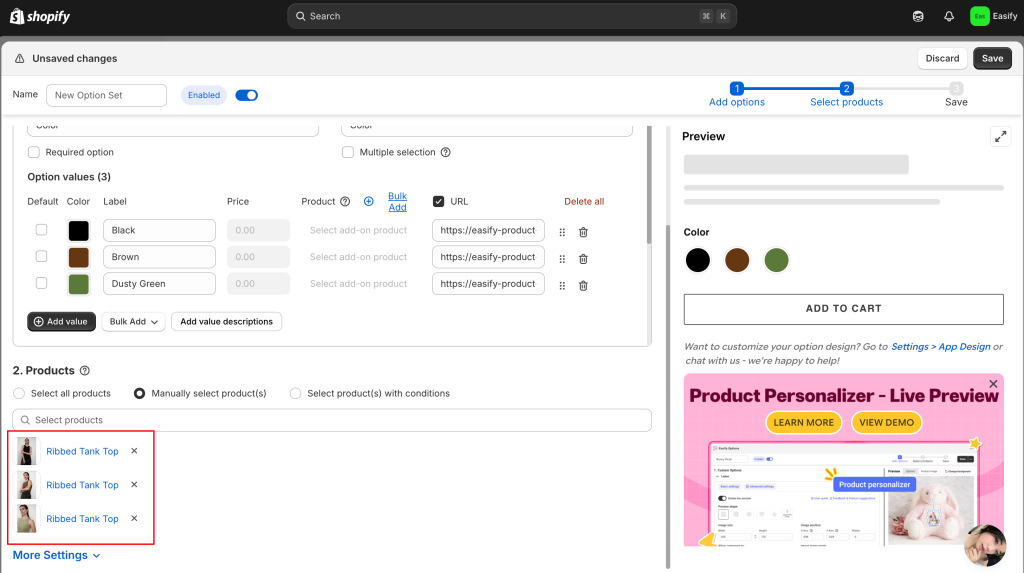
Step 4: Apply to Products
Apply this option set to all the products you’ve just linked. That way, no matter which product page a shopper lands on, they’ll see the clickable options to switch between versions easily.
Step 5: Save Changes
Click Save to finish. Your linked products will now appear as clickable variants directly on each product page — making it super easy for customers to switch between related items without leaving your store flow.
Final Thoughts
And that’s how you can let shoppers explore related items more smoothly — by linking each option to a different product page instead of keeping everything in one place. It’s a simple yet effective way to guide customers through your store naturally, without forcing upsells or using pop-ups.
With Easify Product Options, you can set this up in minutes — no coding, no theme edits, just straightforward customization that improves how people browse your products.
If you haven’t tried it yet, now’s a great time to explore Easify and see how easy it is to create connected, seamless shopping experiences in your Shopify store.


