While Shopify’s standard variant pickers work well for most stores, many merchants prefer the clear visibility of a Shopify Radio button. Unlike dropdown menus, this format displays all available choices upfront, allowing customers to scan and select their preferred option without any extra clicks.
Let’s dive in and see how to bring this look to life using some custom code magic or the effortless Easify Custom Product Options app.
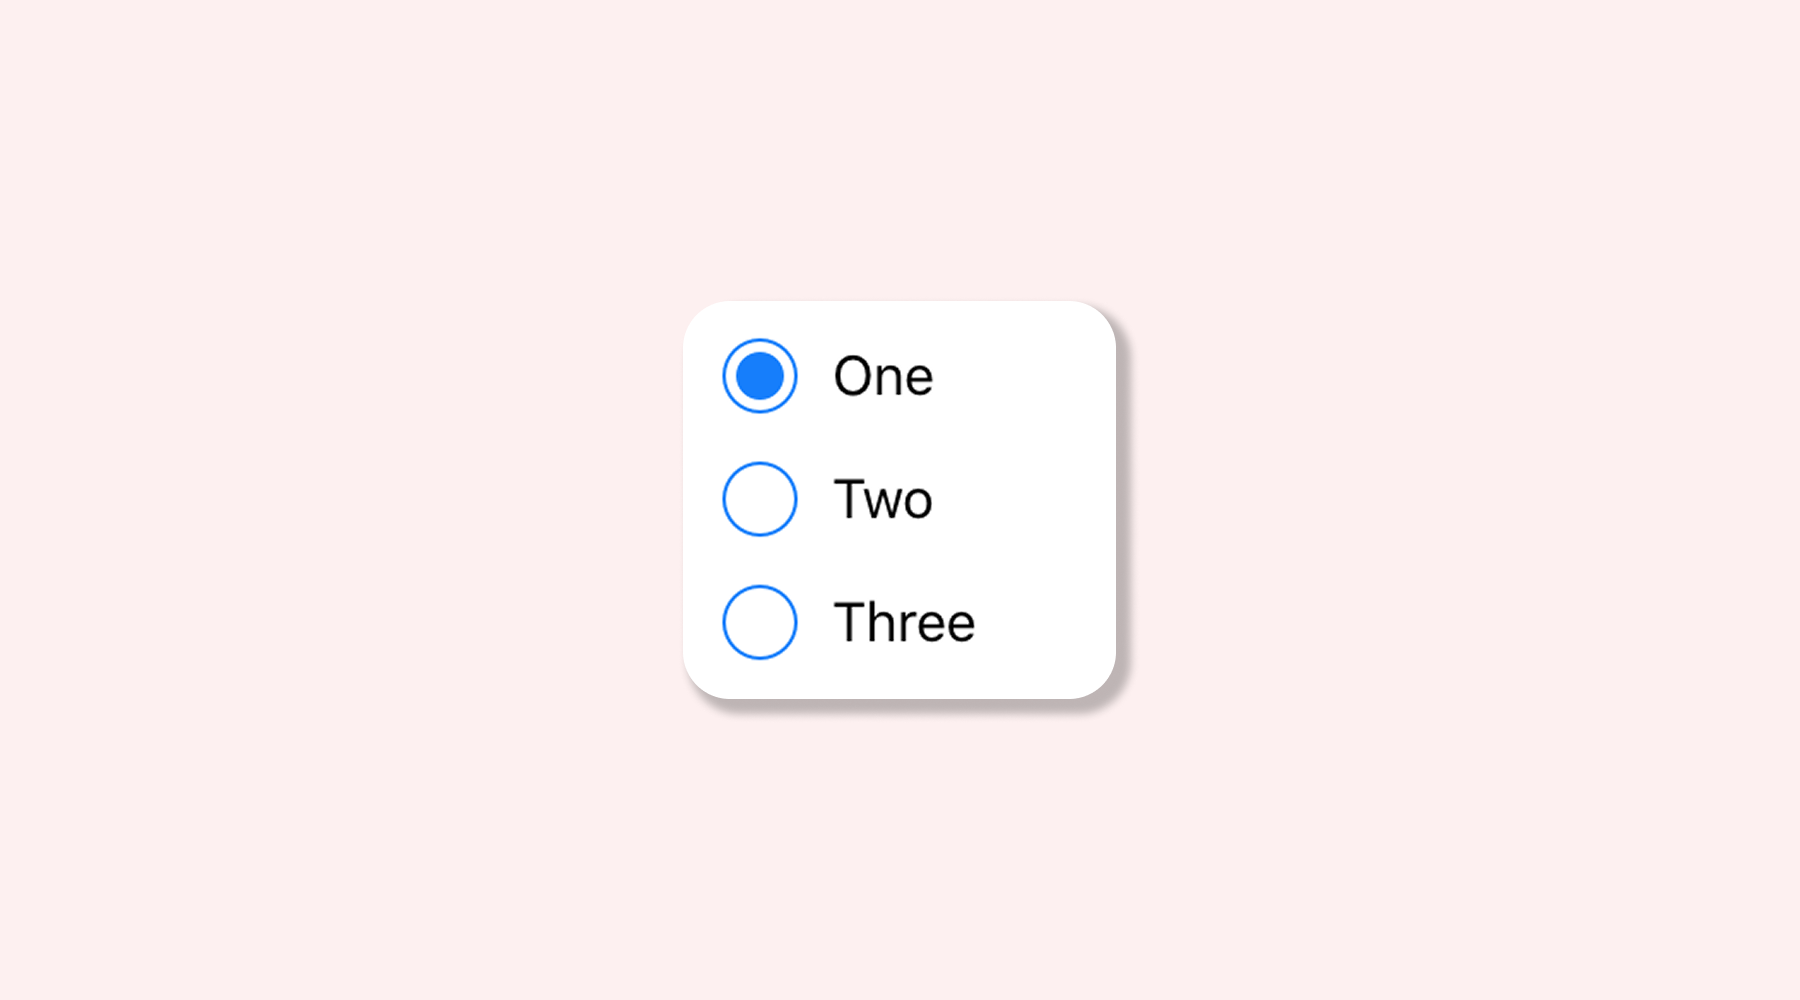
What is a Radio Button?
Simply put, a Radio button forces a “one-or-the-other” choice. It allows customers to pick exactly one option from a list, like choosing between Gold or Silver. When you select a new option, the previous one automatically unchecks, ensuring there is no confusion about what the customer is buying.
It is easy to confuse Radio buttons with Checkboxes, but the rule is simple. Checkboxes let you say ‘and’ (picking multiple things), while Radio buttons force you to say ‘or’ (picking just one).
How to Add Radio Buttons to Product Pages in Shopify
Method 1: Manually with Code
This method is best suited for tech-savvy merchants comfortable with HTML, CSS, and Liquid logic. Since it requires modifying core theme files and handling JavaScript, we strongly recommend duplicating your theme before proceeding to avoid breaking any functionality.
- Locate the Correct File: You need to find the specific snippet that renders variants (e.g., product-variant-picker.liquid in OS 2.0 themes).
- Write Liquid Logic: You must replace the standard <select> dropdown with a Liquid loop ({% for variant in product.variants %}) to generate dynamic radio inputs for each option.
- Handle JavaScript Events: This is the hardest part. You need to write a script that “listens” to the radio button clicks and updates the master selector hidden in the background.
- Style with CSS: Finally, you need custom CSS to turn standard browser radio circles into clickable swatches or buttons.
Method 2: The No-Code Solution with Easify Custom Product Options
If messing with Liquid code feels too risky or time-consuming, this is the perfect alternative.
Easify Custom Product Options allows you to add professional radio buttons in minutes without touching a single line of code, ensuring a seamless setup that integrates perfectly with your store’s theme.
Step 1: Find and Install the App
Go to the Shopify App Store, search for Easify Custom Product Options, and click Install. Once added to your store, open the app and follow the quick setup guide to get started.
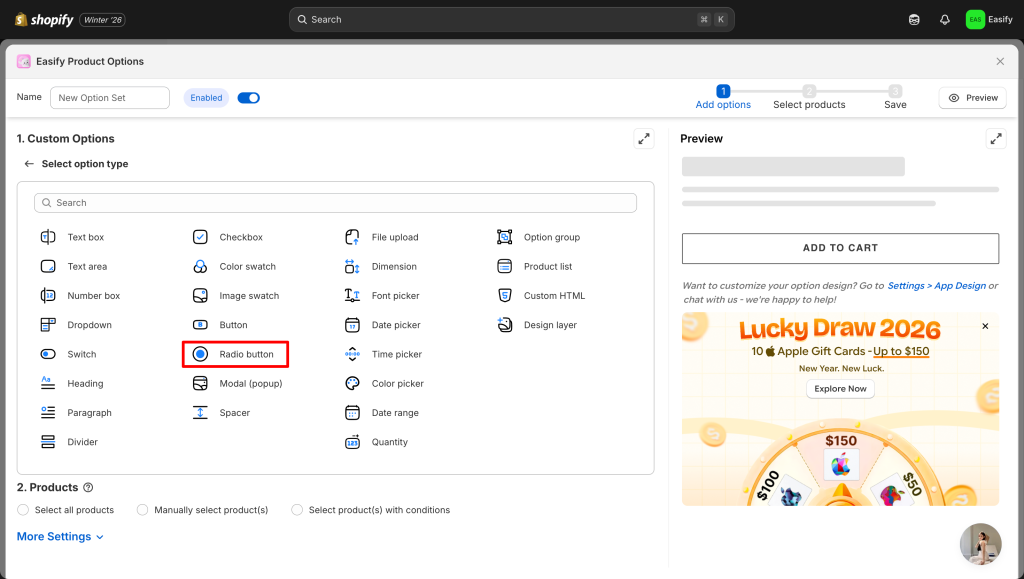
Step 2: Create a New Option Set
From your Easify dashboard, click the Add New Option Set button. Next, select Radio button option
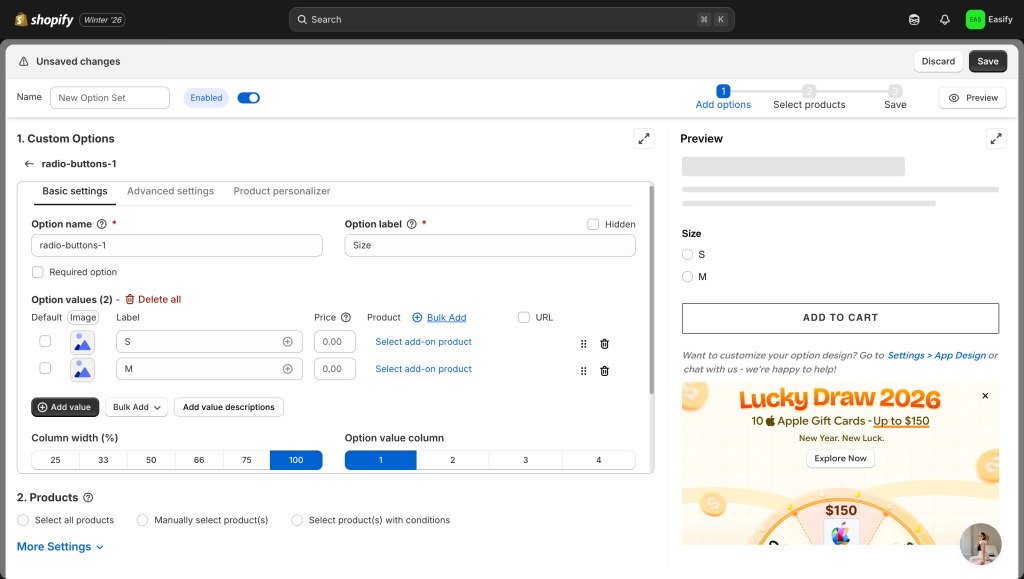
Step 3: Edit the Radio button
Click on the Radio button option you just created to open its settings. Here, you can enter the label text and edit other information as well
Step 4: Apply to Products
Choose the product(s) where you want the Radio button to appear. You can apply the option set to a single item or multiple products at once.
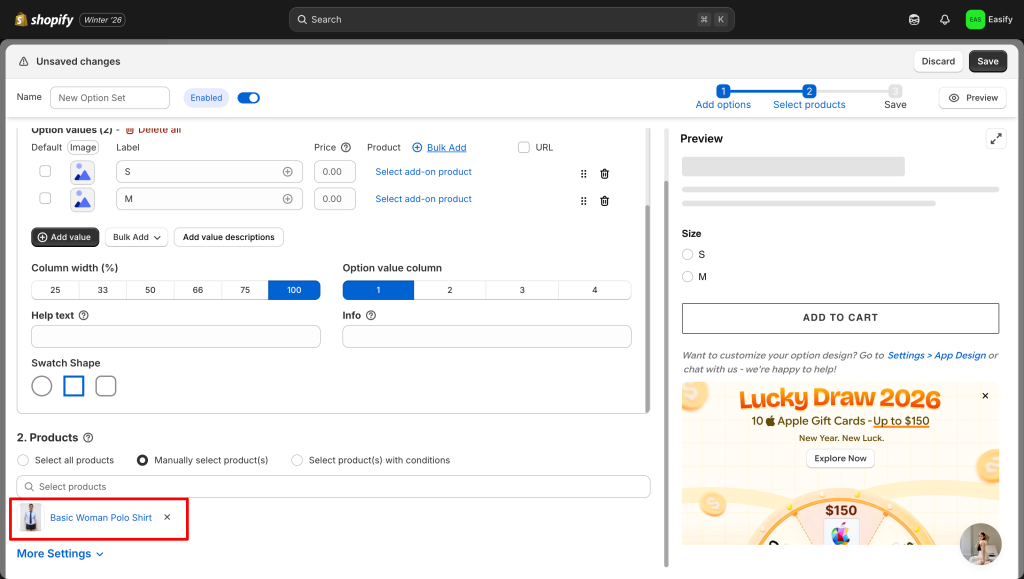
Step 5: Save Changes
Click Save to finish. Your Radio button will now appear on the product page – giving customers a clear, immediate view of all available options at a glance
Conclusion
Switching to a Shopify Radio button layout is a smart move to improve visibility and user experience. By displaying all options upfront, you help customers make faster decisions without the friction of hidden menus. If you want to skip the technical risks, Easify Custom Product Options is the ideal solution. It allows you to add professional, custom radio buttons in minutes, ensuring a flawless setup without touching a single line of code.


