
Adding a table to a Shopify product page can make product information much clearer for customers. Instead of scrolling through long descriptions, shoppers can scan key details – like size charts, material lists, or shipping options – at a glance. This small change often leads to a smoother shopping experience and more confident purchase decisions.
In this article, Easify will show you how to add a table in your Shopify product page step by step. From simple no-code methods to more advanced options, you’ll discover practical ways to set up tables that keep your store looking professional and user-friendly.
Key Takeaway
- Tables help present product details like sizes, materials, or shipping info in a clear way.
- You can add a table with Shopify’s built-in features.
- Or, you can use an app like Easify Product Options for a faster, more flexible setup – perfect for showing size charts or additional product info.
Why Tables Matter on Shopify Product Pages
Tables on a Shopify product page are commonly used for things like size charts, product comparisons, or technical specifications. Some stores also use them to display shipping options or pricing details in a cleaner way.
By presenting information in a structured format, tables make it easier for shoppers to scan and understand the details. This not only improves the shopping experience but also helps reduce returns, unanswered questions, and hesitation before purchase.
How to Add a Table in Shopify Product Pages?
There are several ways to add a table to your Shopify product page, depending on how much control you want and how comfortable you are with editing. The simplest method is using Shopify’s built-in, which lets you insert a basic table directly into the product description.
For those who prefer a quicker, no-code option, apps like Easify Product Options make it easy to create and display tables such as size charts or product comparisons without touching any code.
Method #1: Using Shopify Built-in
The easiest way to add a table in Shopify is by using the built-in product description editor. Shopify gives you basic formatting tools – similar to a text editor – so you can insert a table directly into the product description without writing any code. This method is quick, free, and works best for simple layouts like size charts, material lists, or shipping details.
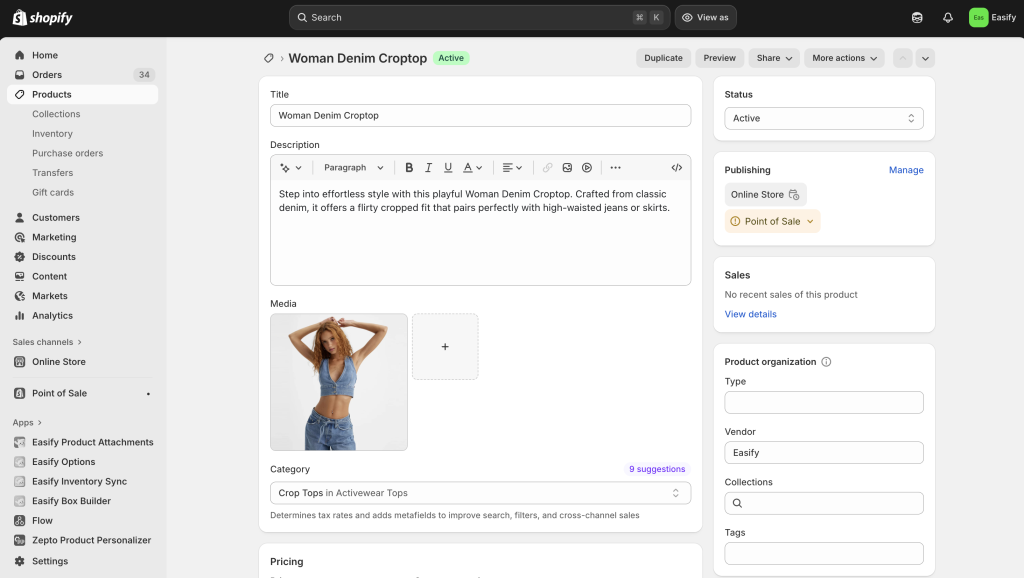
Step 1: Go to Your Product and Set Up the Basics
In Shopify Admin, open the product you want to edit (or create a new one), then fill in the name, description, price, and images as usual.
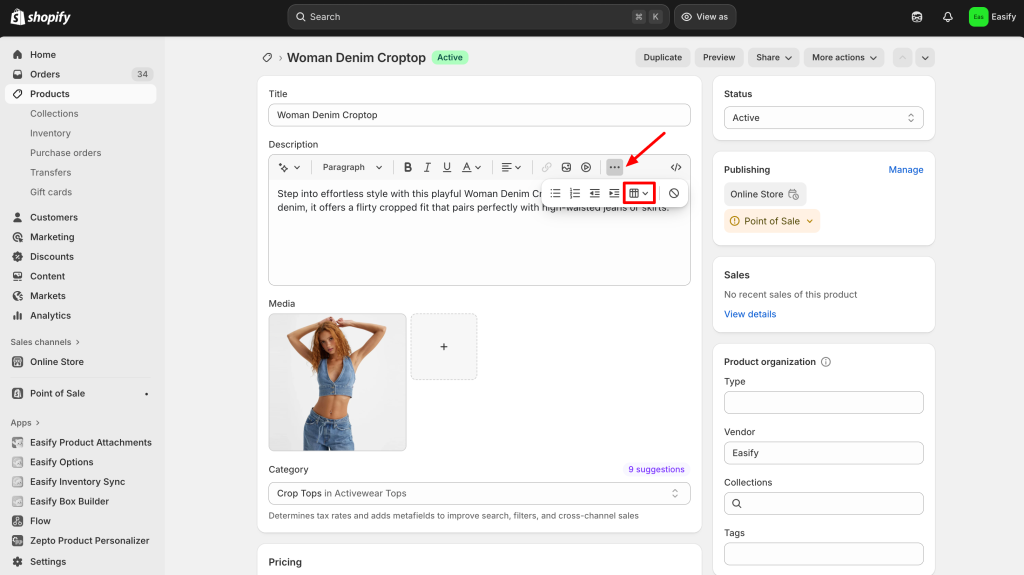
Step 2: Add a Table
In the Description box, click the three dots (⋮) to reveal more tools. Spot the table icon and give it a click – just like that, your first table appears.
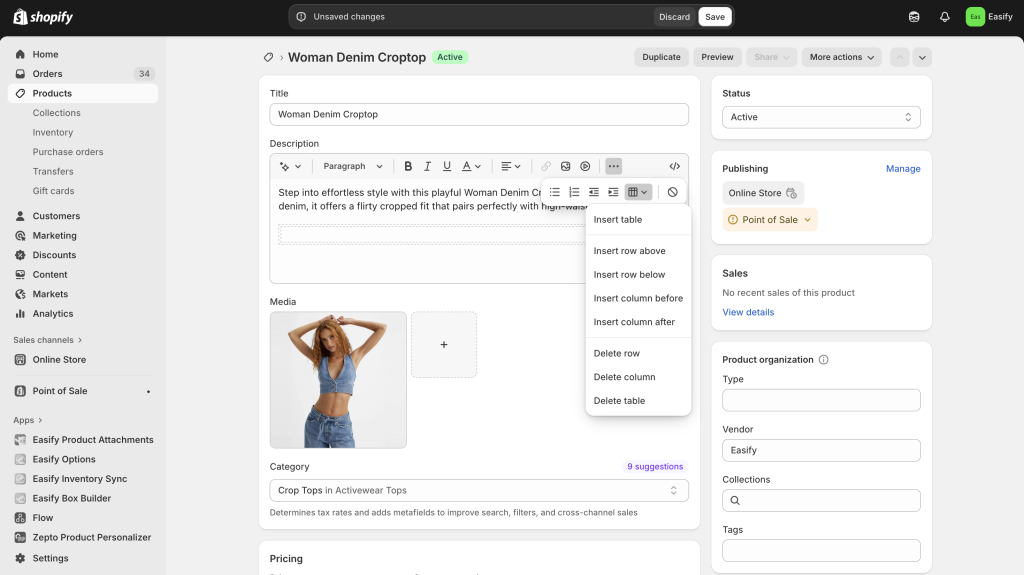
Step 3: Customize the Table
At first, you’ll only see a single cell (one row, one column). Don’t worry – it’s just the starting point. Click the table icon again to unlock options for adding rows and columns until the layout fits your product details perfectly.
Step 4: Save and Preview
Happy with how it looks? Hit Save, then Preview to see your table live on the product page. This quick check ensures everything is neat and easy for shoppers to read.

Method #2: Using Easify Product Options
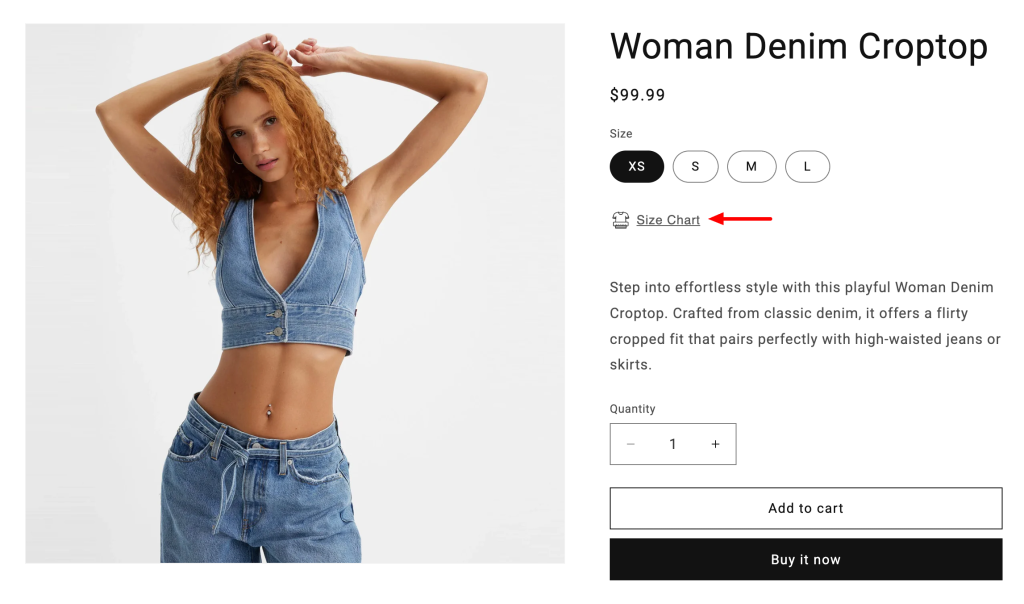
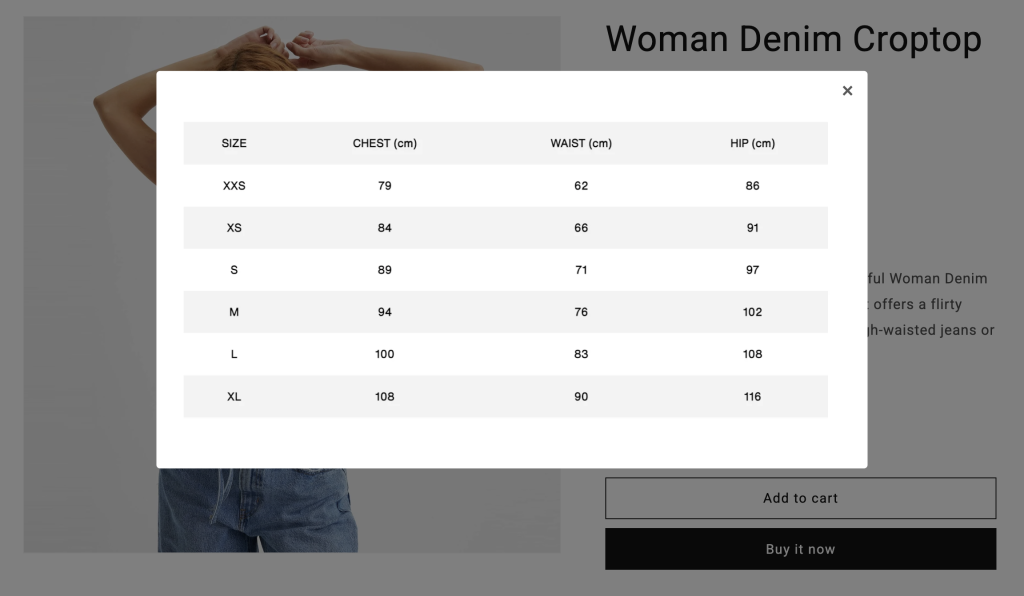
The second method is using an app like Easify Product Options. Instead of placing a static table directly in the description, Easify allows you to display text on the product page that customers can click to open a popup.
Inside this popup, you can show size charts, product details, or comparison tables in a clean, organized way. This setup is especially useful for stores that want to keep their product pages tidy while still giving shoppers quick access to detailed information.
Step 1: Find and Install the App
Go to the Shopify App Store, search for Easify Product Options, and click Install. After the app is added to your store, open it and complete the quick setup steps to activate it.
Step 2: Set Up Your Option Set
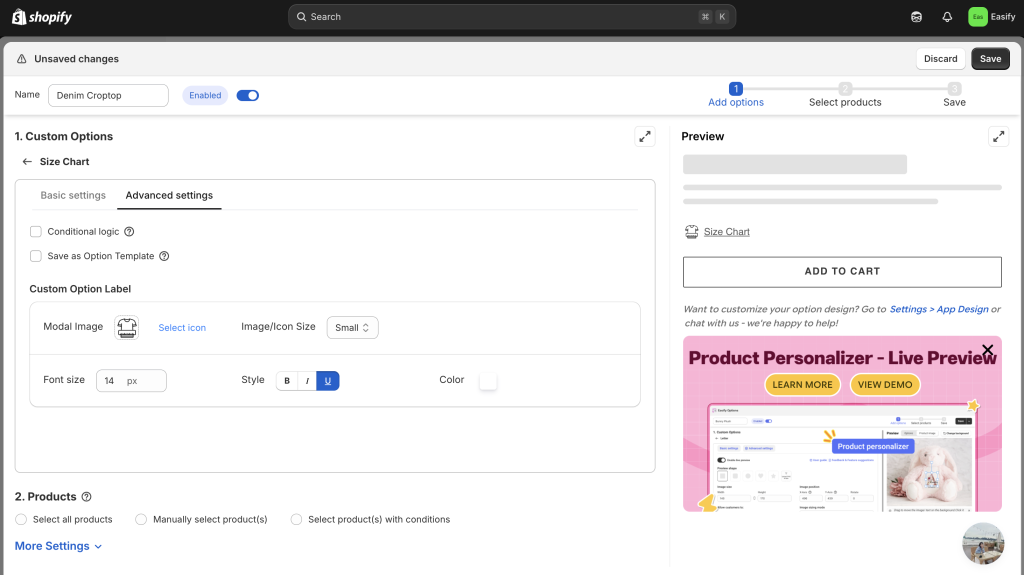
In the Easify dashboard, click “Create New Option Set”. Choose the Modal (popup) option, set the option name, label, help text, etc.
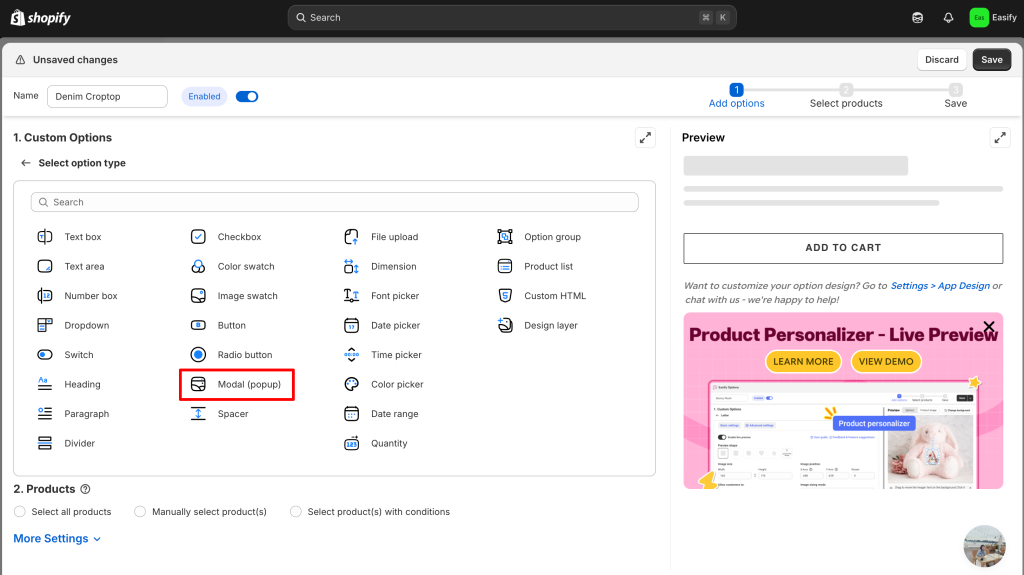
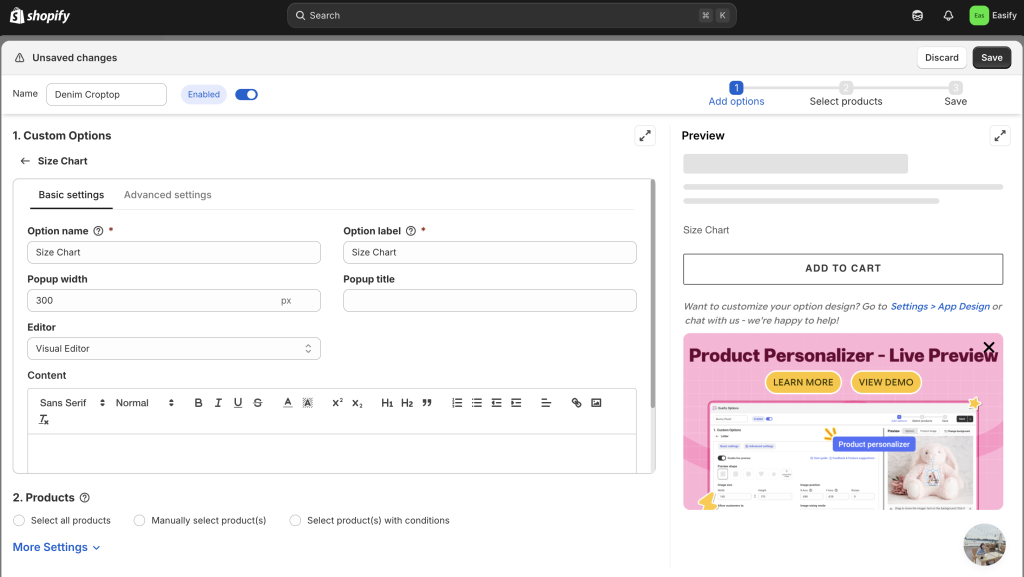
Easify also provides several icons. You can simply select one to use for your modal image.
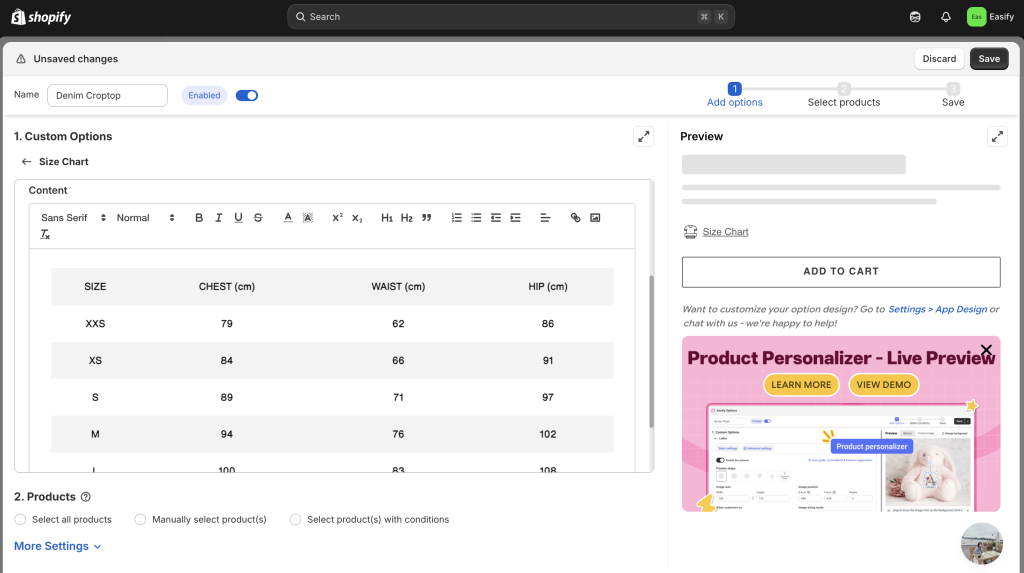
Step 3: Upload your table
In this Modal option, upload your table as an image. This lets you design and customize it in advance, then add it into the popup with ease.
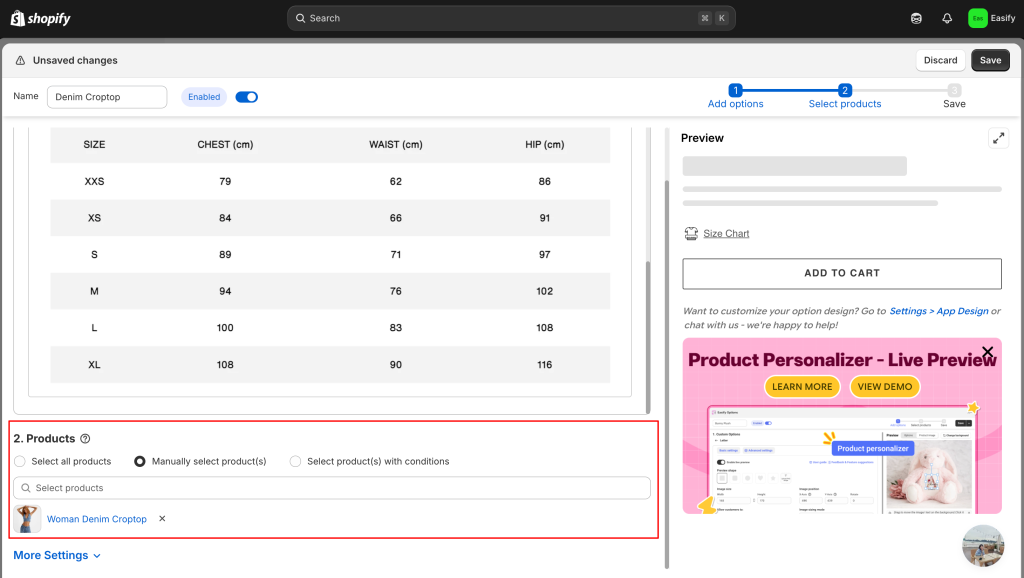
Step 4: Apply to Products
Select the product where you want this option set to appear. You can assign it to just one item or several at the same time.
Step 5: Save Changes
Click Save to finish. Your table will now show up on the product page in a popup, ready for customers to view before making a purchase.
Final Thoughts
Adding a table to your Shopify product page is more than just a design tweak – it’s a way to make information easier to digest. Whether it’s a size chart, product comparison, or shipping details, tables help shoppers quickly find what they’re looking for without scrolling through walls of text. This clarity builds trust and makes the buying process smoother. You can keep things simple with Shopify’s built-in editor if all you need is a basic table.
But if you want a cleaner layout that doesn’t clutter the page, apps like Easify Product Options are a smart choice. With its popup feature, you can present detailed tables in a neat, user-friendly way while keeping your product page looking polished.
In the end, the goal is the same: give customers the info they need to shop with confidence – and boost your chances of turning visits into sales!


