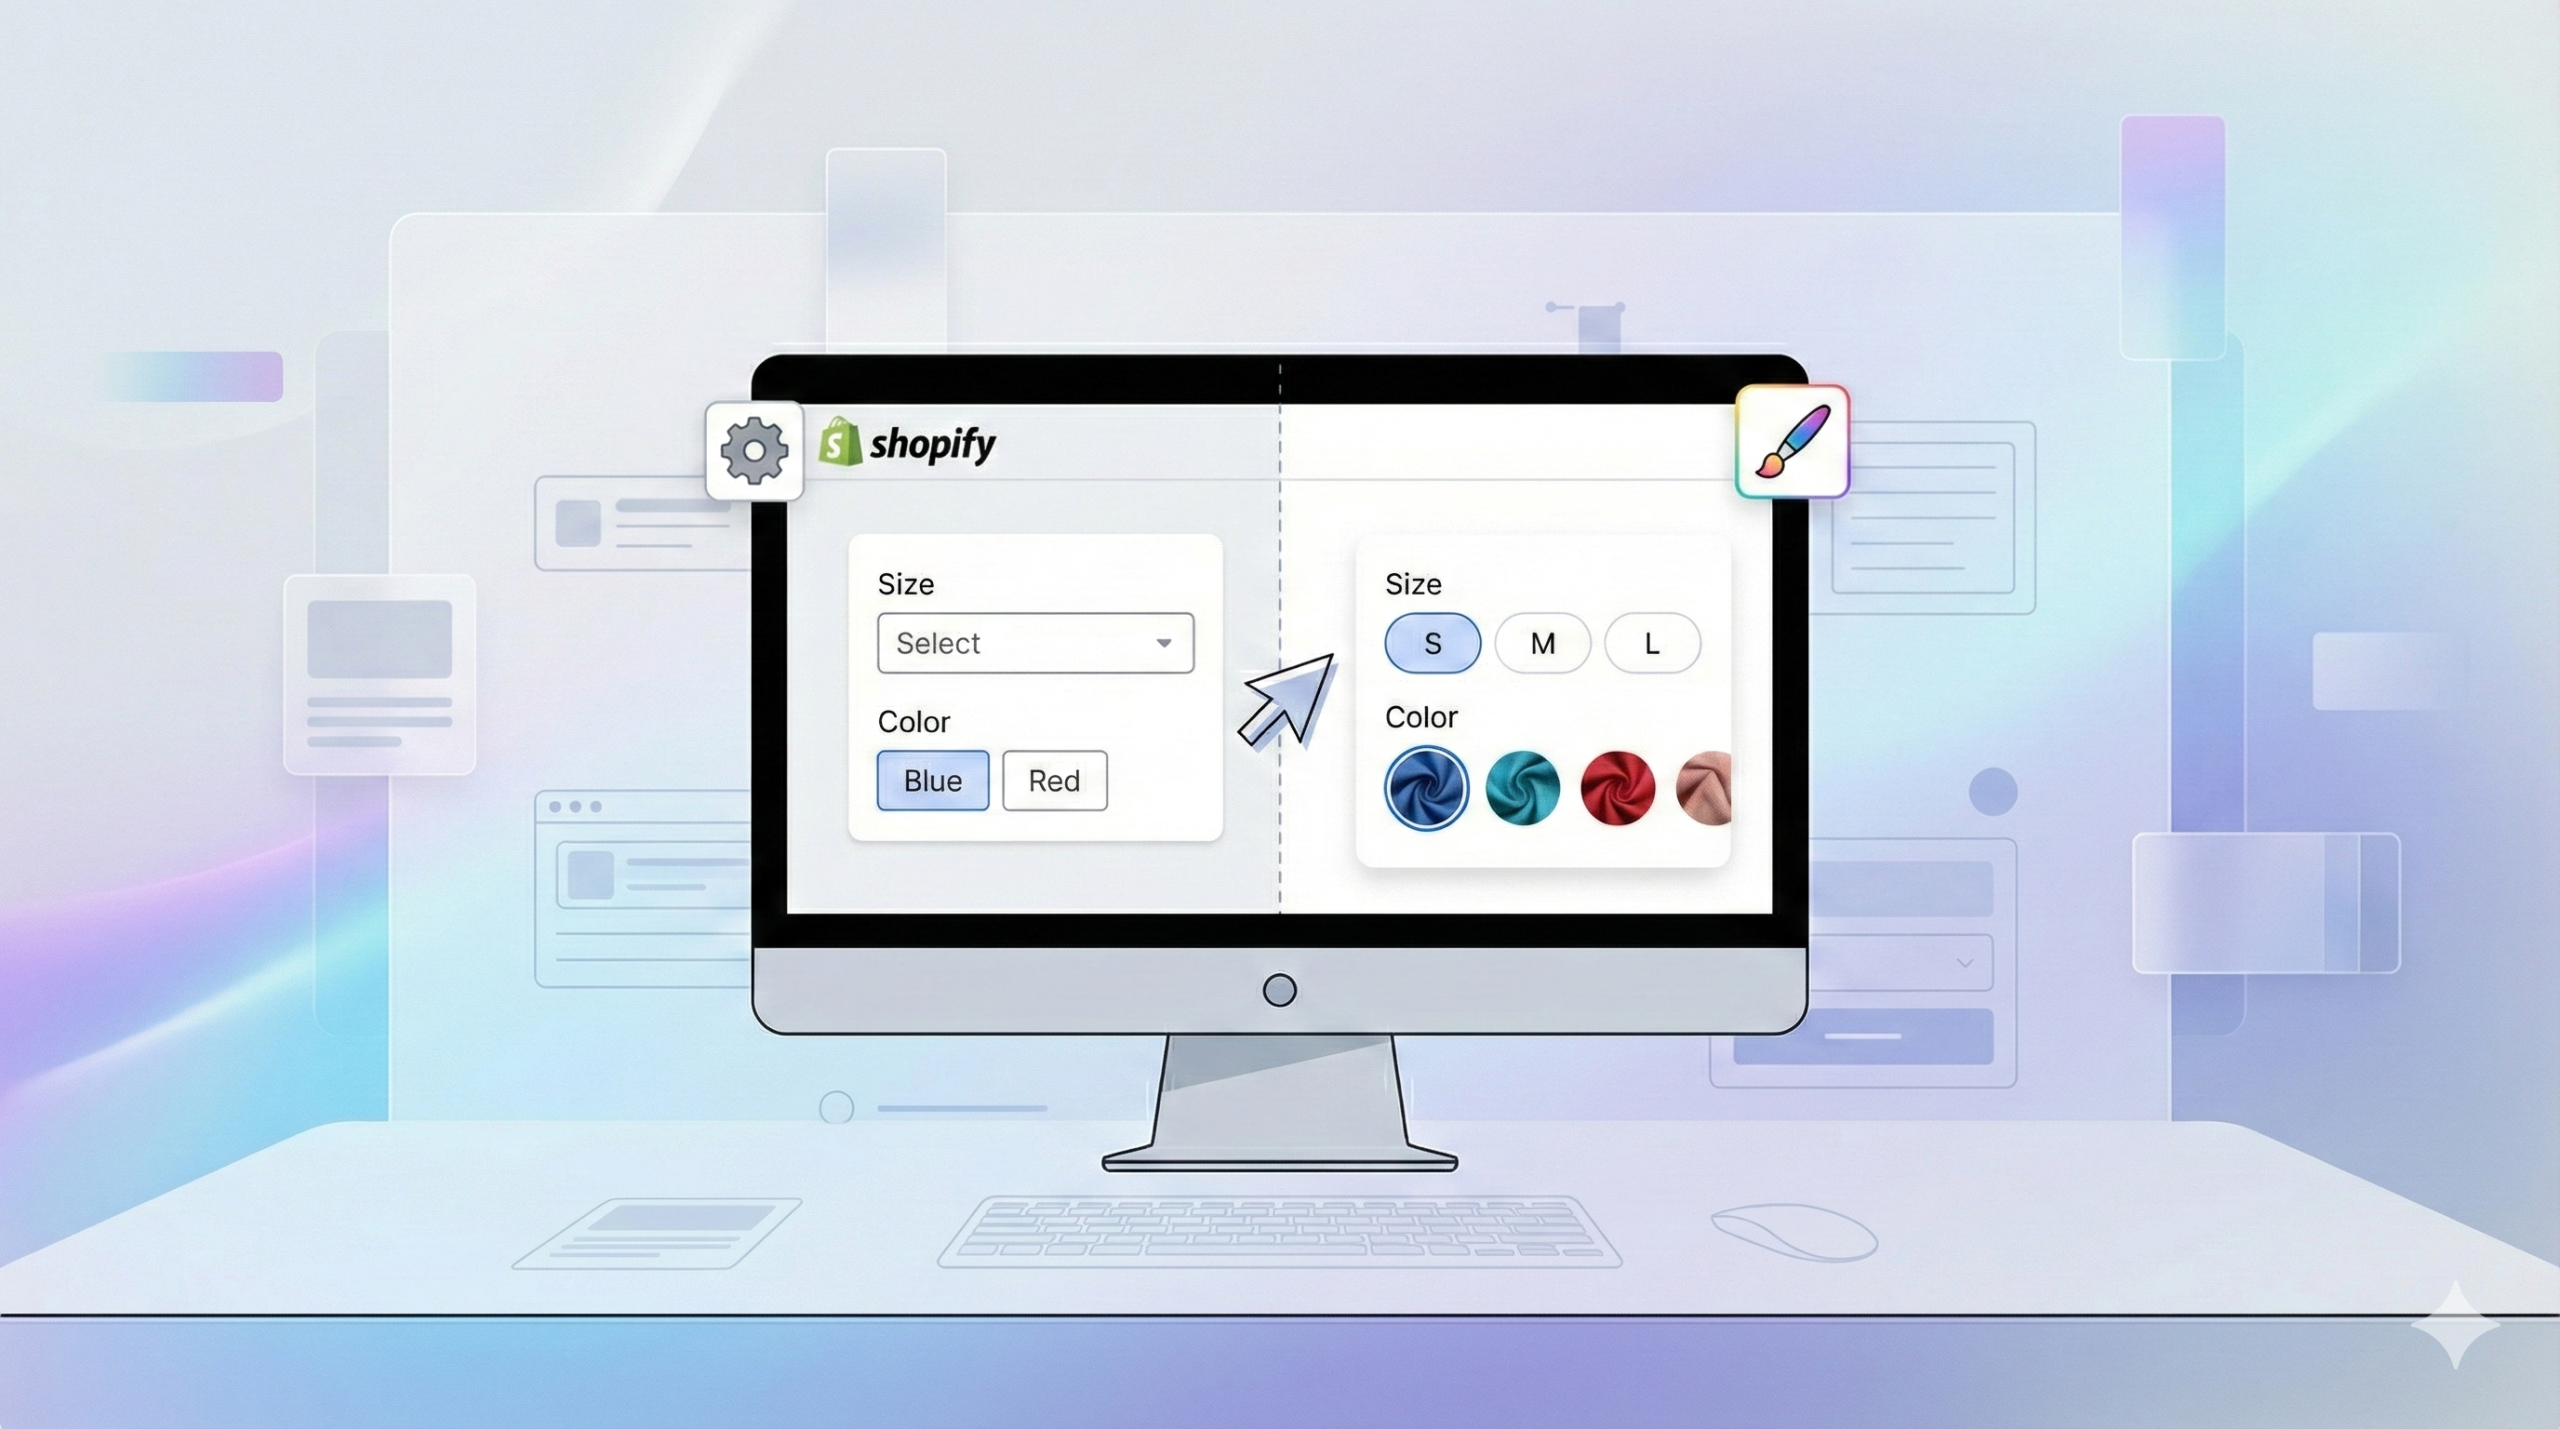
The variant picker plays a huge role in how customers choose sizes, colors, or any product option on your Shopify store. A clear and easy-to-use picker can improve the shopping experience instantly — and the good news is, you’ve got plenty of ways to customize it, from your theme settings to apps that offer more flexibility.
This guide will walk you through everything you need to know so you can choose the variant picker style that fits your store best. Let’s dive in.
Key Takeaways
- The variant picker affects how easily customers can choose product options — a smoother picker means a better shopping experience.
- Shopify lets you customize variant pickers through theme settings, while apps like Easify Product Options give you more flexibility.
- Choosing the right variant picker helps improve clarity, reduces confusion, and can even boost conversions.
Why Optimizing Your Variant Picker Matters
The appearance of your variant picker plays a bigger role than most merchants expect. It’s not just a tiny UI element—it’s one of the key moments where customers make a decision. If the picker is clean, easy to understand, and visually aligned with your store, shoppers can choose their size, color, or style without hesitation.
A clear and intuitive variant picker also reduces confusion. Customers are less likely to pick the wrong option or guess what a button means, which helps minimize returns, frustration, and cart abandonment. When shoppers feel confident in the choices they’re making, they’re more likely to proceed to checkout smoothly.
And of course, the better the experience, the higher the conversion potential. A well-designed variant picker quietly supports your product presentation, improves customer satisfaction, and makes your store feel more professional—no matter what theme or app you’re using.
How to Change Your Variant Picker in Shopify
There are two main ways to change your variant picker in Shopify: using the platform’s built-in customization options or using an app for more flexibility. Shopify gives you solid control through theme settings, while apps can take things further with advanced layouts and interactive styles. Let’s walk through both methods so you can choose the one that fits your storefront best.
Method #1: Using Shopify Build-in Feature
With many Shopify themes, you can adjust your variant picker directly in the theme editor. Depending on your theme’s capabilities, you may be able to switch between swatches, dropdowns, buttons without needing any custom code or apps.
This method is ideal if you want to update the look of your variant picker quickly and keep everything native to Shopify. Let’s walk through how it works.
Dropdown and Button
First, navigate to the Theme Editor, and select the Product template you want to customize.
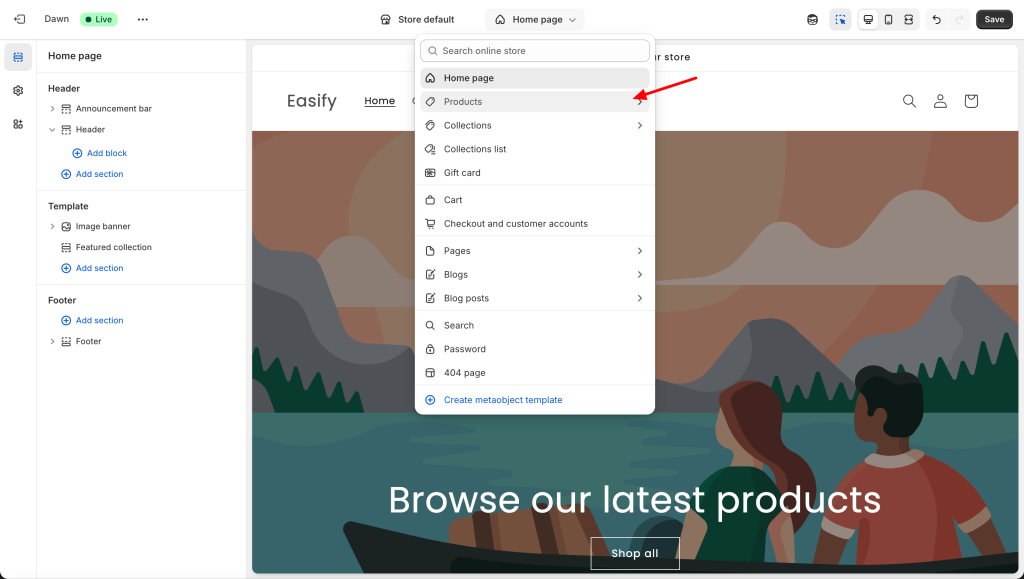
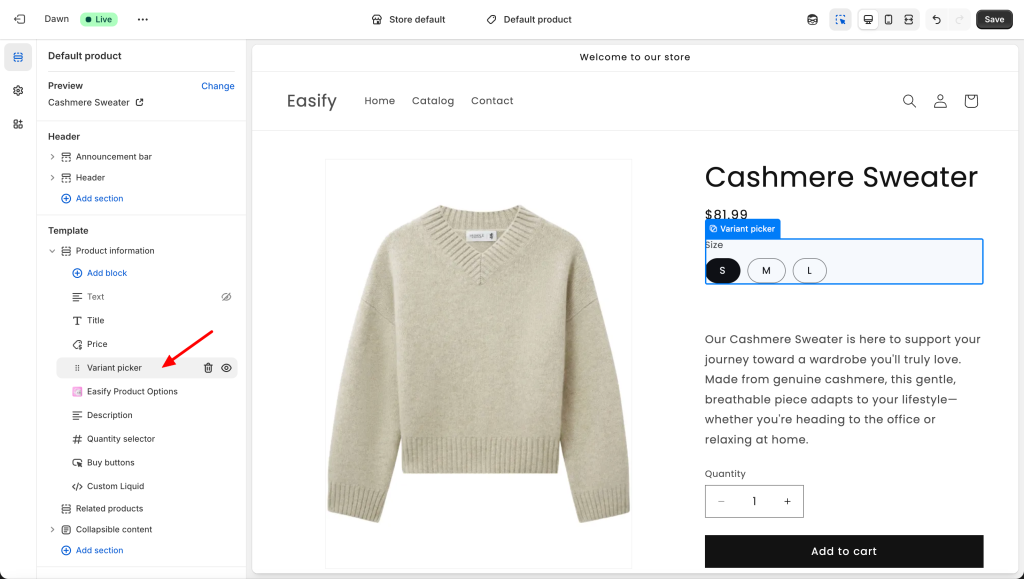
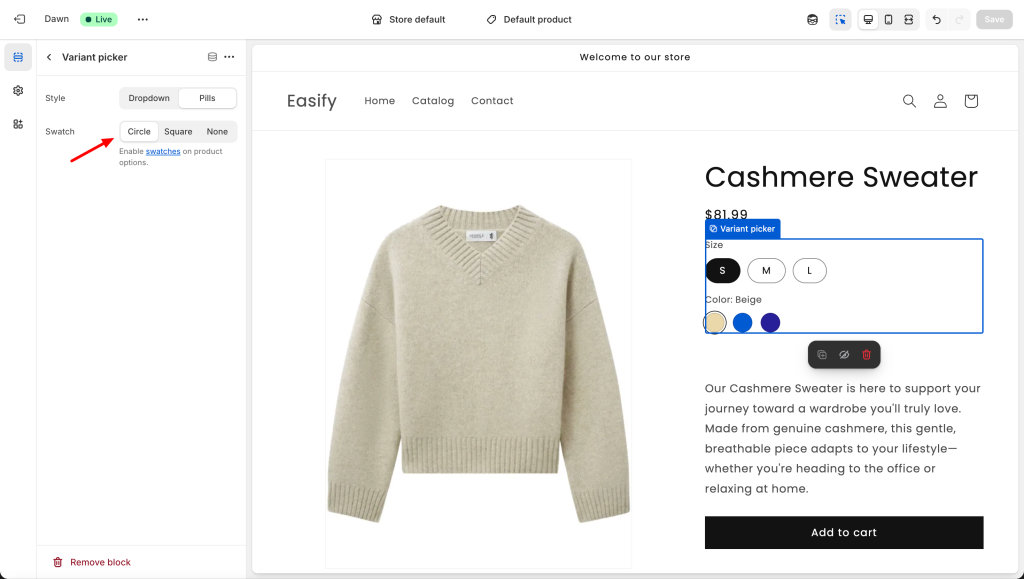
Next, locate the Product information section, then click on the Variant picker block.
Then, in Picker type, you will see two styles to choose from:
- Dropdown: A collapsible list (recommended if you have a large number of options).

- Pills: Clickable pills/buttons (this is often the Shopify default).
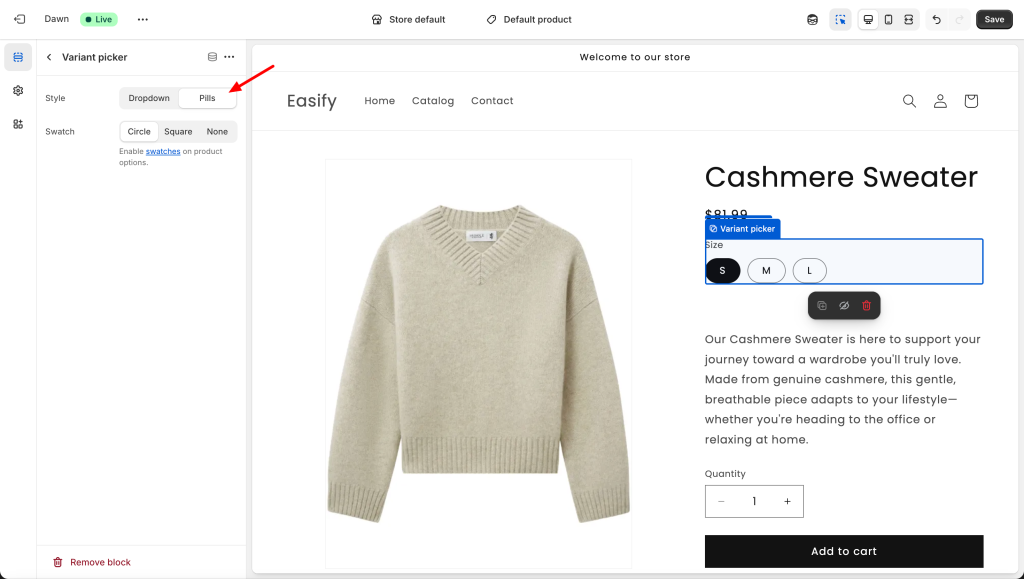
Below that, you will see settings for Swatch (this controls the shape of color/image swatches). There are 3 options:
- Circle
- Square
- None (Swatches will not appear; standard buttons will be used instead).
Note: The Circle or Square options will only be visible if you have actually set up the Swatch data (explained in the next section).
Swatches
To make your buttons show actual colors or material images instead of just text, follow these steps:
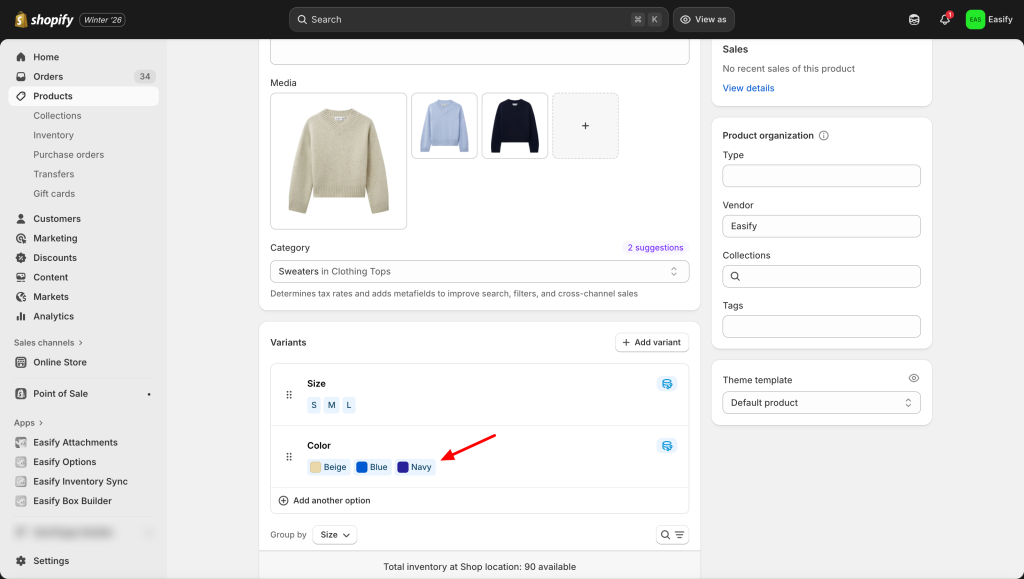
Using Category Metafields (Standard Colors): When setting up a product, if you select a Category and assign color attributes via Metafields, Shopify will automatically generate a color swatch for you based on standard color codes.
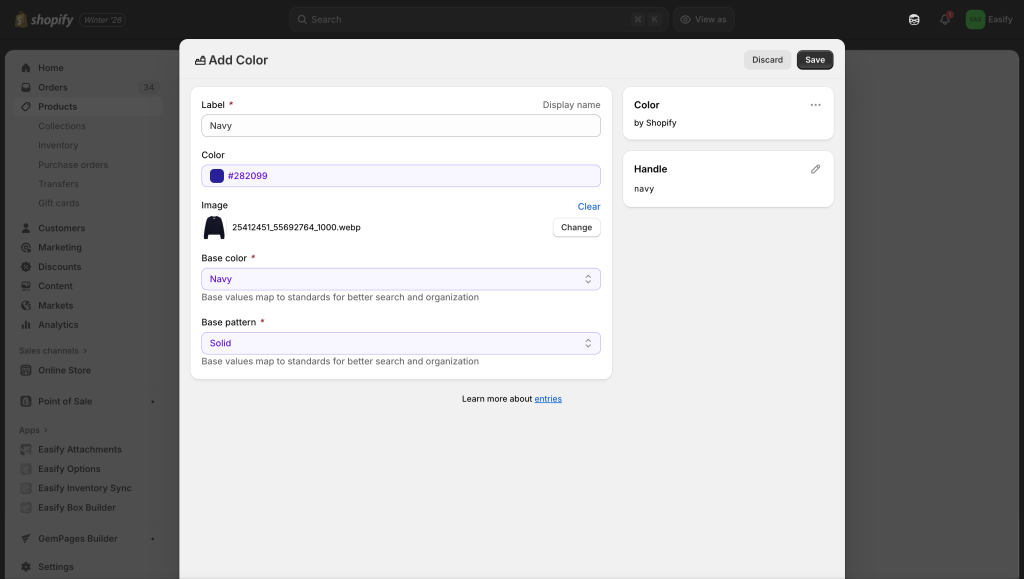
Using Image Swatches (Images instead of Colors): If you want to use an image swatch instead of a plain color, first choose a base color (Shopify requires this).
Then click Select image to upload the swatch image you want — for example, a photo of your actual navy sweatshirt instead of a solid navy color.
For more details: To see the full step-by-step guide on adding swatches, check out Easify’s detailed blog post:
Method #2: Using Easify Product Options app
While Shopify’s default settings are flexible to an extent, achieving a truly custom look often hits a wall: you generally need to edit code to get advanced styles. If you want a professional, unique design without the technical headache, Method #2 is your solution.
The key advantage of the Easify Product Options app is advanced customization without code. It allows you to bypass the limitations of your theme and create complex option styles, such as detailed image swatches, custom color pills, or stylized layouts, that would normally require a developer to build.
Ready to upgrade your product page? Here is how to set up these options directly in the app:
Step 1: Find and Install the App
Go to the Shopify App Store, search for Easify Product Options, and click Install. Once added to your store, open the app and follow the quick setup guide to get started.
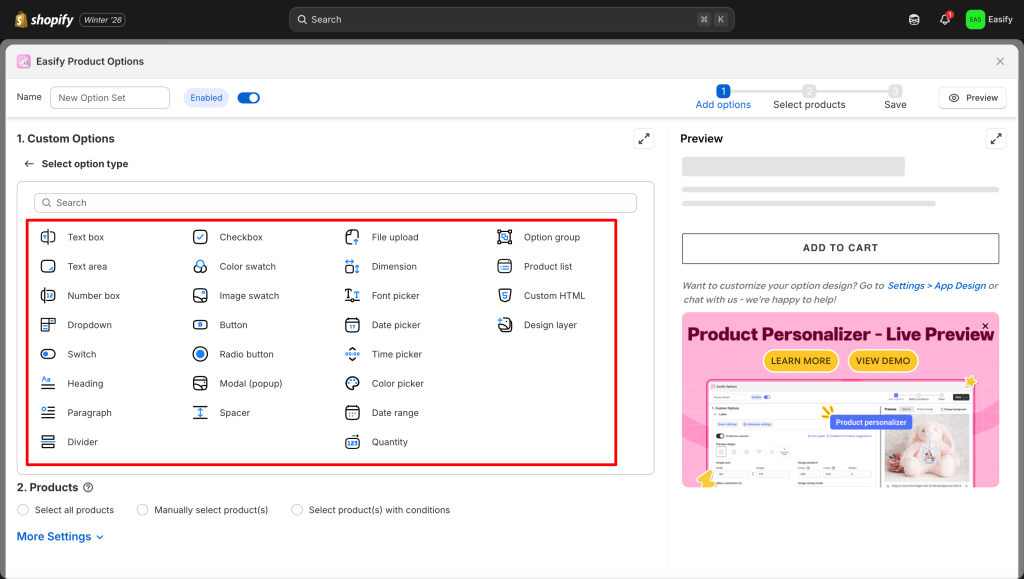
Step 2: Create a New Option Set
From your Easify dashboard, click Add New Option Set, then select the type of option you want to add. Easify supports all standard formats, including buttons, dropdowns, and color swatches.
Click on the option to edit its specific details—for example, if it’s a Button, simply click on it to customize the button shape.
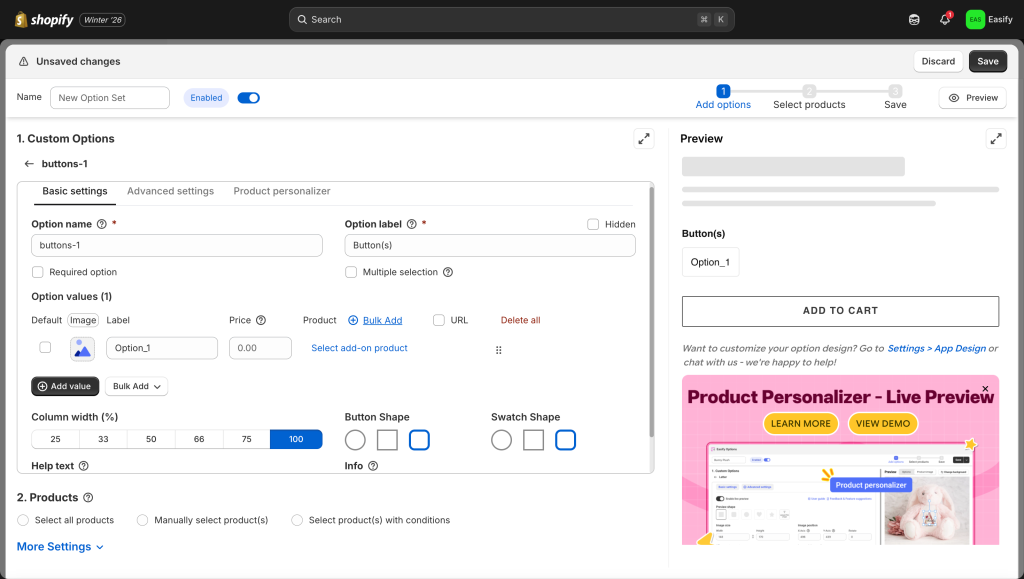
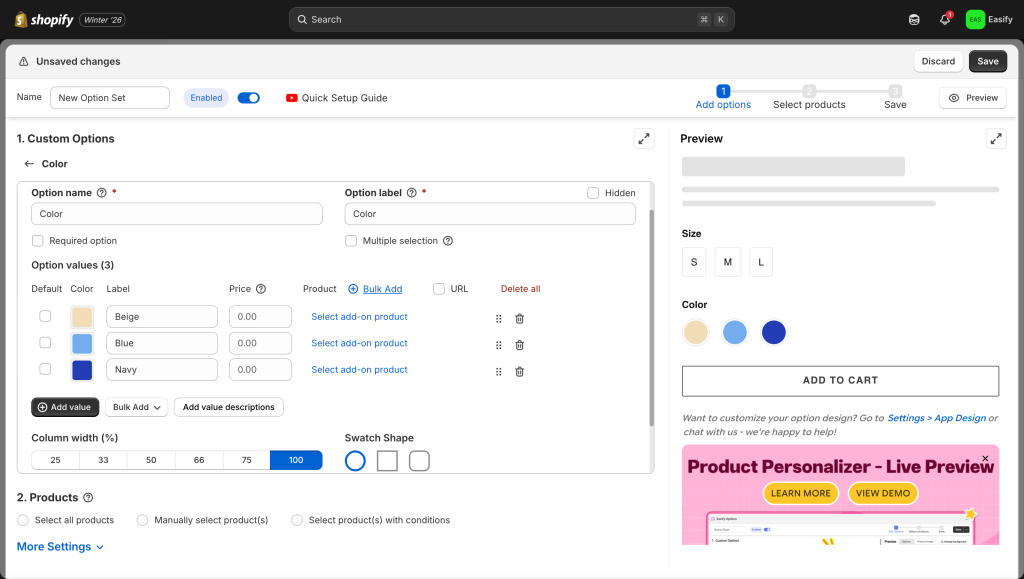
Or, if you are using Swatches, you can modify the shape right on the settings page, along with many other advanced configuration options.
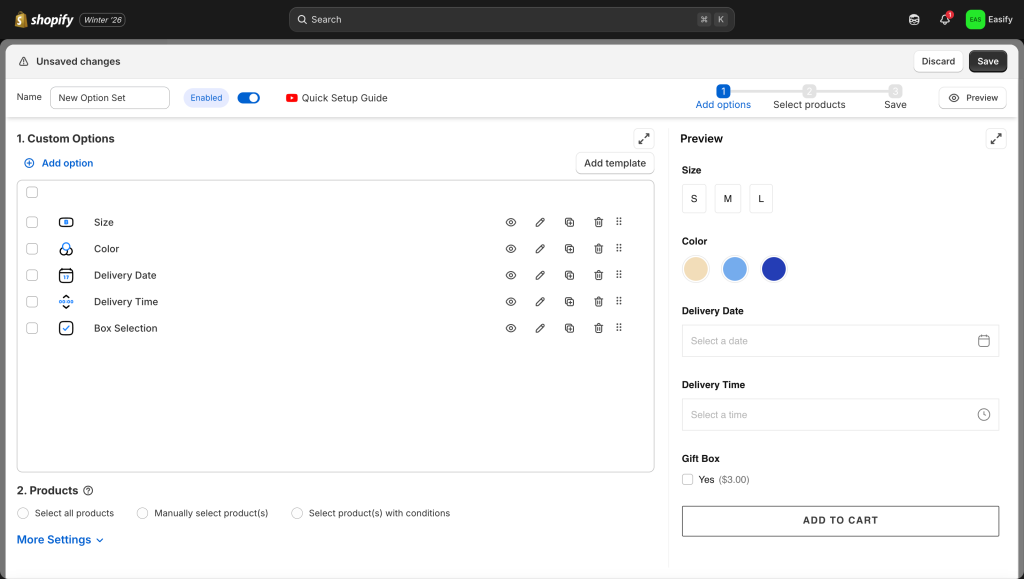
Step 3: Continue Adding Options
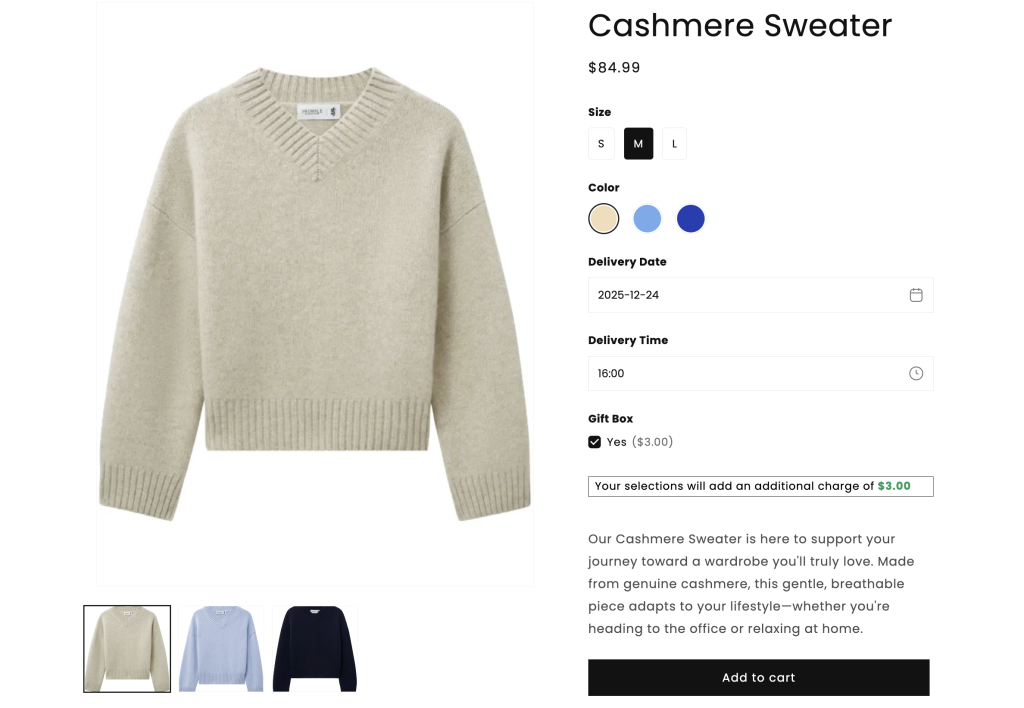
You can keep adding more customization options as needed, like checkboxes, date picker or image uploads. Easify lets you combine multiple options in a single set, so customers can fully personalize their product without confusion.
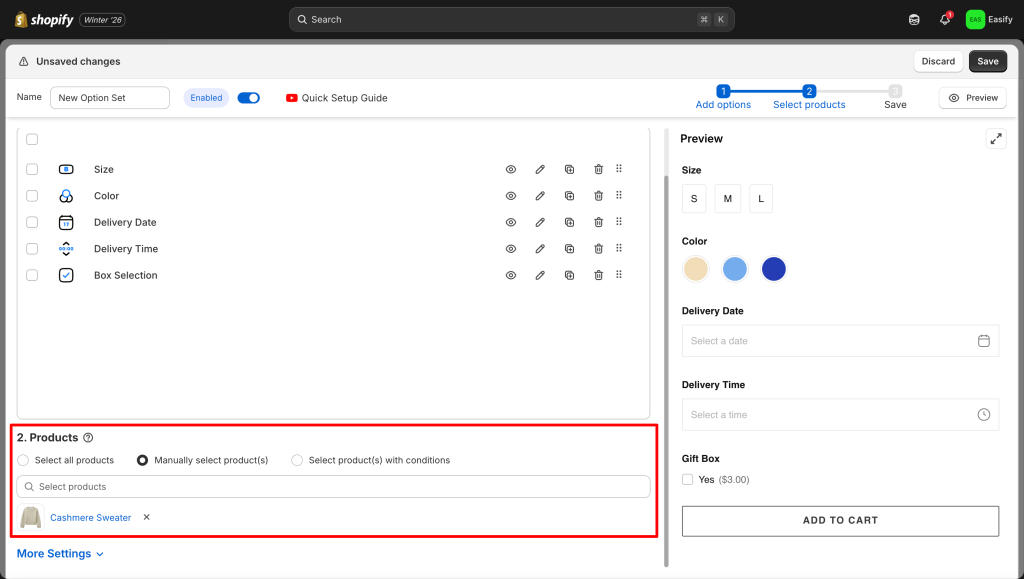
Step 4: Apply to Products
Choose which product(s) you want the option set to appear on. You can apply it to a single product or multiple products at once, making it quick to manage your store.
Step 5: Save Changes
Click Save to finish. Your options will now appear on the product page, giving customers more ways to personalize and enhancing their shopping experience.
As you can see, you don’t need to juggle different tabs or touch a single line of code to give your product page a stunning look
Final Thoughts
You now have two powerful methods to transform your product options. From the quick tweaks in the Theme Editor to the limitless, no-code customization of Easify Product Options, the choice depends on your specific needs.
No matter which method you choose, a clear and attractive variant picker is a small change that can make a big impact on your conversion rates. Good luck customizing!


