
Adding SKUs to your Shopify variants is one of those small tasks that makes a huge difference in how smoothly your store runs. Whether you’re managing inventory, syncing with third-party apps, or simply trying to stay organized, having clear and accurate SKUs for each variant keeps everything consistent and easy to track.
In this guide, Easify’ll walk you through how to add SKUs to your Shopify variants step-by-step. It’s simple, quick, and incredibly helpful — especially if you offer products with multiple sizes, colors, or styles. Let’s get your products fully organized and SKU-ready.
Key Takeaway
- SKUs keep your variants organized, prevent mix-ups, and simplify inventory and order management.
- SKUs help track sales and make smarter business decisions.
- Adding SKUs in Shopify is quick and easy.
Why You Need SKUs
SKUs, or Stock Keeping Units, are more than just a string of letters and numbers—they’re the backbone of efficient inventory management. In Shopify, each product variant can have its own SKU, which makes it easy to identify and track every item in your store.
Using SKUs helps you:
- Differentiate product variants: Sizes, colors, or styles of the same product can be easily distinguished, so you never confuse a red small t-shirt with a blue medium.
- Keep inventory accurate: With clear SKUs, you can monitor stock levels in real time, avoid overselling, and know exactly when to reorder.
- Streamline operations: SKUs make syncing with third-party apps, marketplaces, or warehouse systems much easier. They also speed up order fulfillment and reporting.
- Analyze sales efficiently: By assigning SKUs, you can track which variants are performing best, helping you make smarter stocking and marketing decisions.
In short, SKUs save you time, reduce errors, and give your Shopify store a professional edge. They may seem small, but their impact on inventory management and overall store efficiency is huge.
How to Add SKU to Variant
Adding SKUs to your Shopify variants is really basic and straightforward. Even if you’ve never done it before, it only takes a few simple steps to get each product variant properly organized.
Step 1: Go to Your Product
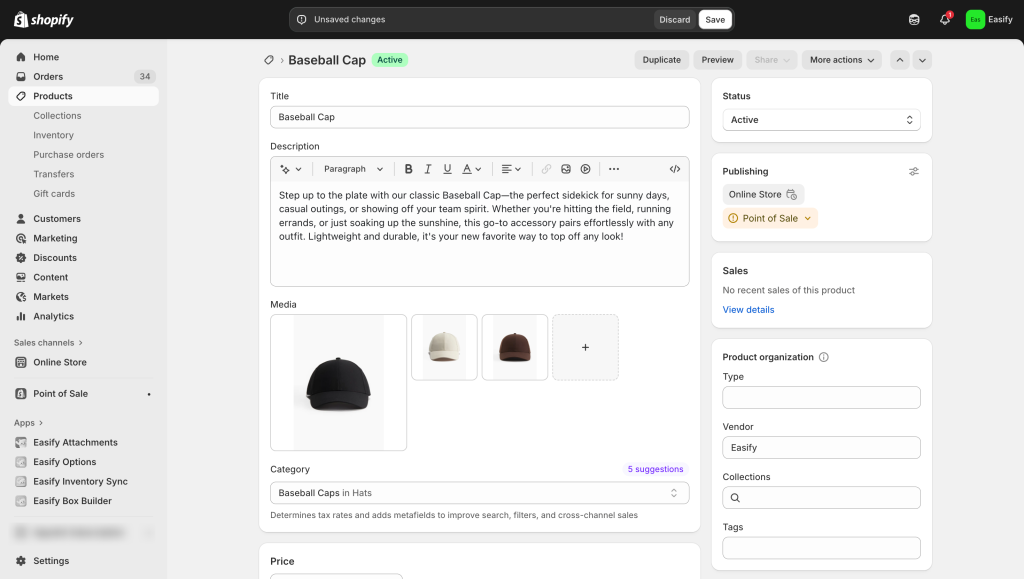
In your product list, select an existing product or create a new one.
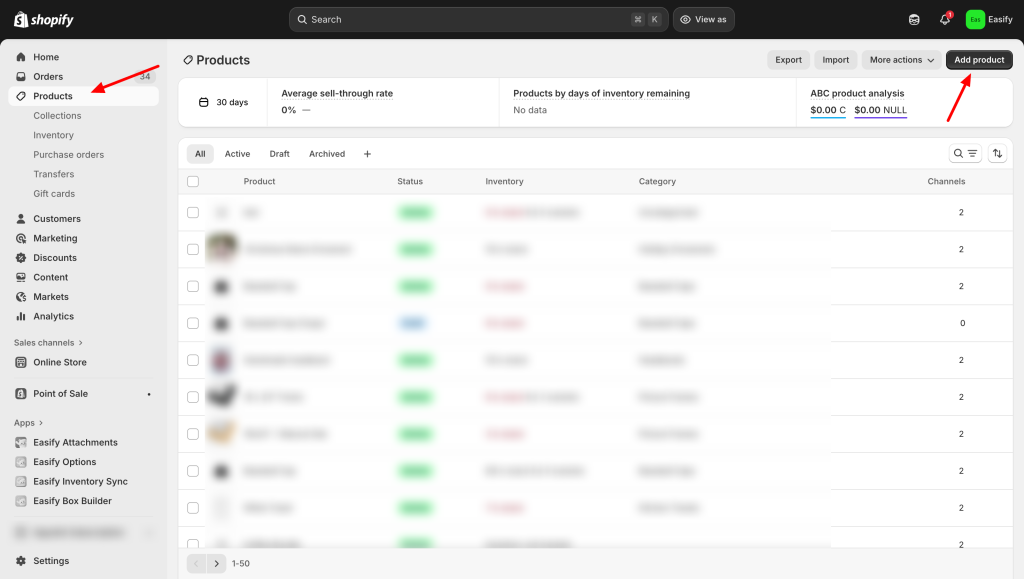
Fill in the basic details like name, description, price, and images as usual.
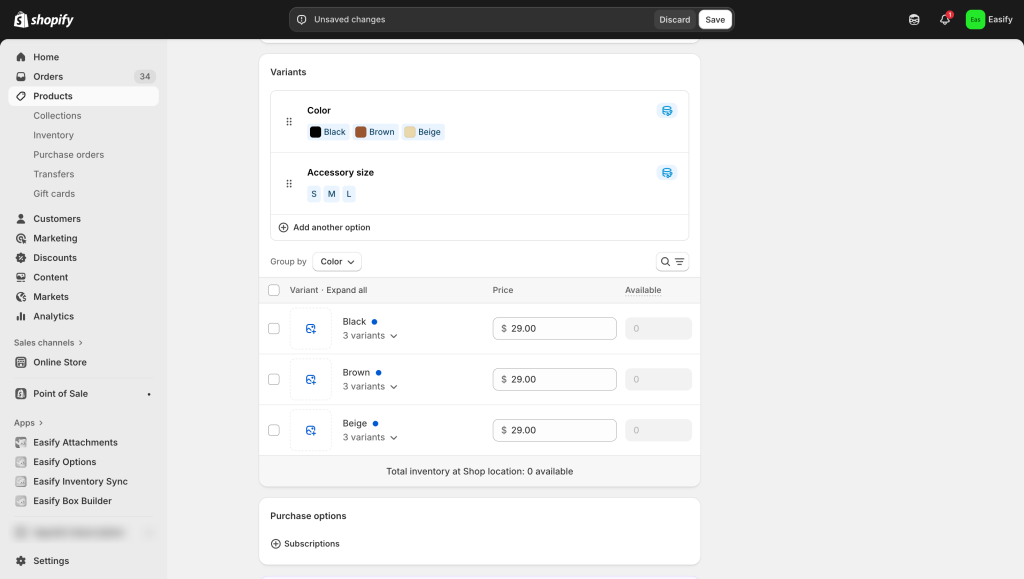
Step 2: Set Up Variants
Add the different variants your product has, such as size, color, or style, so each option is available for customers.
Step 3: Set SKU
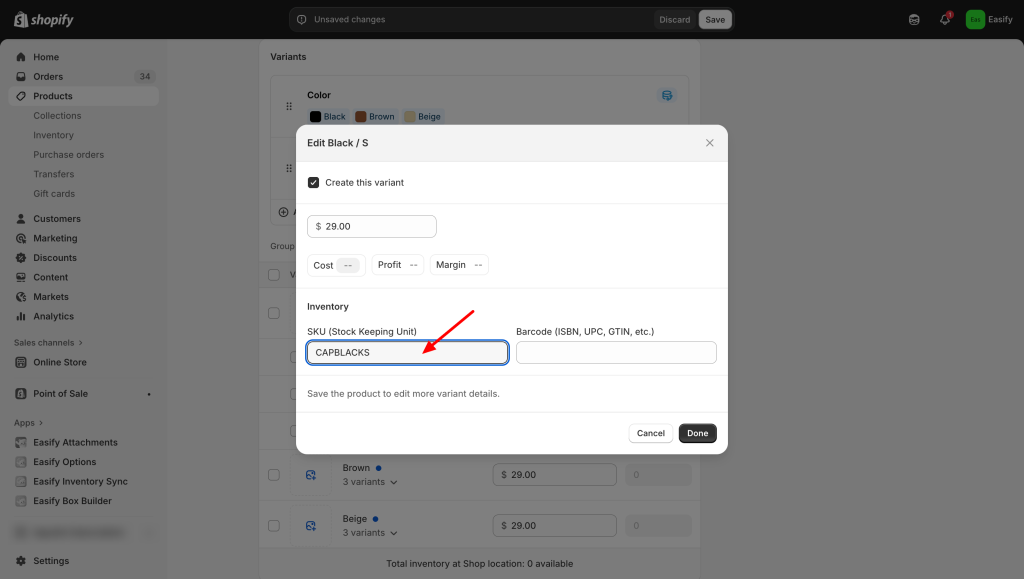
Click on the variant you’ve created to open its detail page.
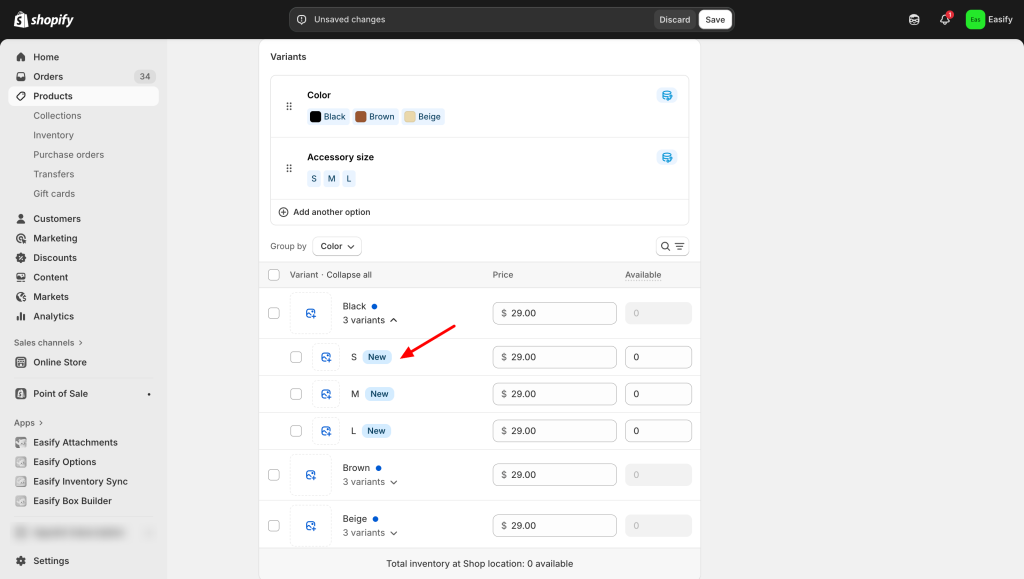
Find the SKU field and enter the SKU for that specific variant.
Step 4: Save and Continue with Other Variants
After entering the SKU for one variant, click Save.
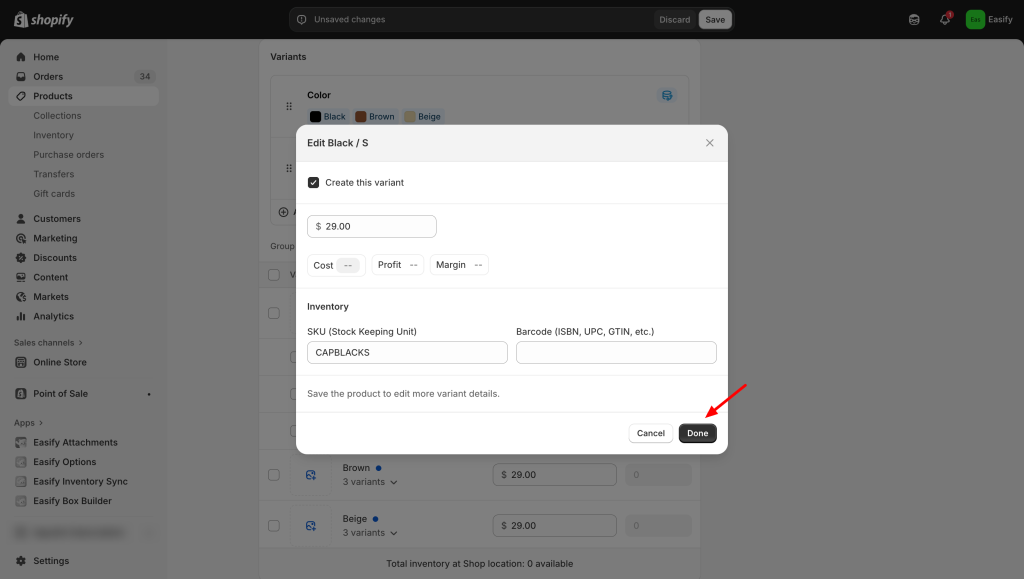
Then repeat the process for your other variants until each one has a unique SKU.

And that’s it! Your product variants now have SKUs, making inventory management and order fulfillment much easier.
Final Thought
Adding SKUs to your Shopify variants may be a small step, but it makes a big difference in keeping your store organized and running smoothly. Clear SKUs help you track inventory accurately, streamline order fulfillment, and avoid mix-ups between similar products.
Whether you have just a few products or hundreds of variants, taking the time to assign SKUs ensures your store stays professional and efficient. Start adding SKUs today and see how much easier managing your inventory can be.
Check out more beginner-friendly Shopify guides in our blog:


