
When a customer lands on a product page, one of the most basic decisions they need to make is “How many do I want?” That’s where a quantity option becomes essential. If your Shopify product page doesn’t include an easy way for customers to increase or customize the quantity, you could be creating unnecessary friction — and potentially losing sales.
Whether you’re selling physical products in bulk, fabric by the meter, digital resources, or accepting donations, giving customers control over the quantity helps create a smoother, more flexible shopping experience. It also opens the door for higher order values by encouraging bulk or multi-item purchases.
The good news is that adding a quantity option to a product in Shopify is easier than you might think. In this guide, we’ll walk through the most effective ways to do it.
By the end of this article, you’ll be able to choose (and apply) the best method for your store — improving usability, boosting conversions, and creating a better experience for your customers.
Method 1: Add Quantity Option Using Shopify’s Built-in Theme Editor
Shopify includes a built-in quantity selector in many modern themes, so you might be able to enable it without touching any code. This is the easiest and safest method for beginners.
Follow the steps below to add a quantity option to your product page using the Theme Editor:
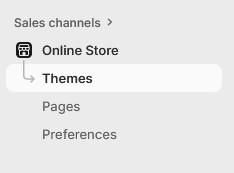
1. Access your Shopify Admin panel
Log in to your Shopify account and go to your Admin Dashboard.
In the left sidebar, click Online Store, then select Themes. You’ll see your current live theme listed at the top.
2. Customize your theme
Find the theme you want to edit and click the Edit theme button. This opens the visual Theme Editor.

3. Select your product page template
At the top of the preview window, click the dropdown menu that says Home page.
Then go to Products and choose the product template you want to customize — usually Default product.

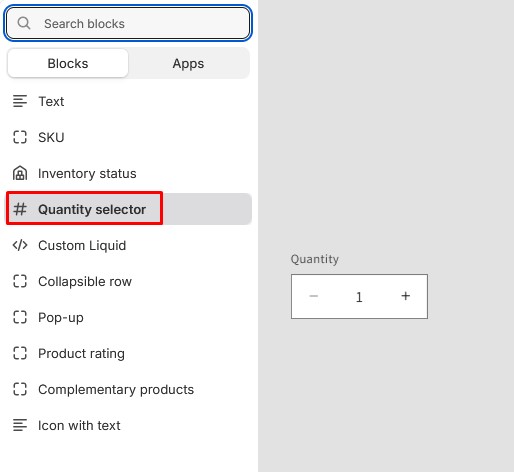
4. Enable the Quantity Selector
In the left sidebar, click on Product information.
If you see an option labeled Quantity selector, simply toggle it on.
If you don’t see it, click Add block and choose Quantity selector from the list.
5. Save your changes
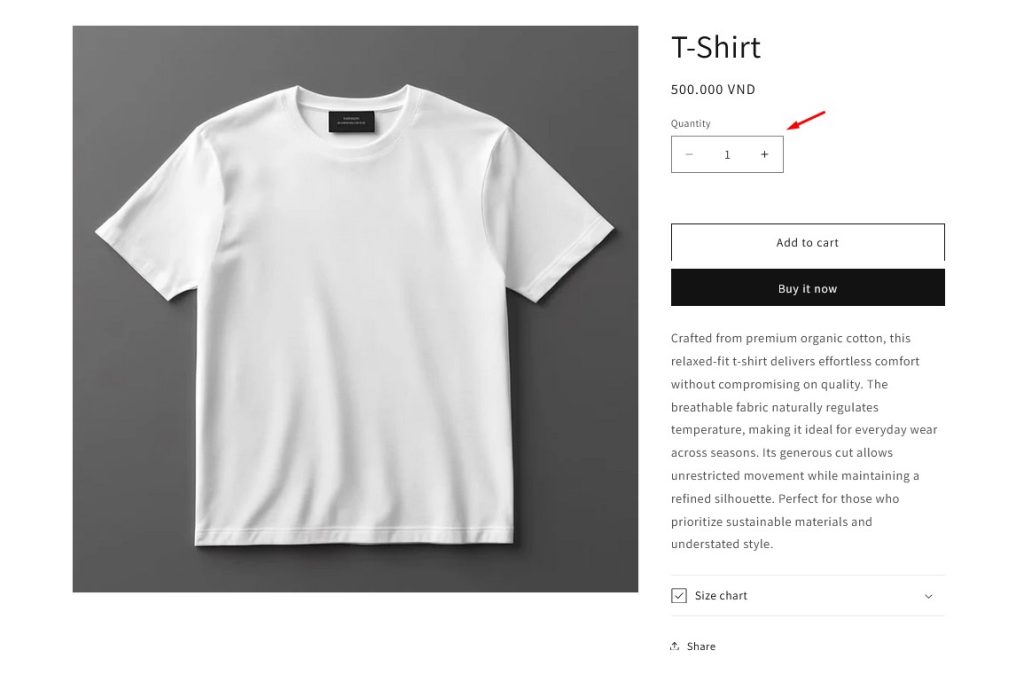
Once the quantity selector is added and positioned correctly, click Save in the top-right corner.
Your product pages will now display a quantity box or quantity buttons, allowing customers to choose more than one item before adding it to their cart.
Method 2: Using Easify Custom Product Options
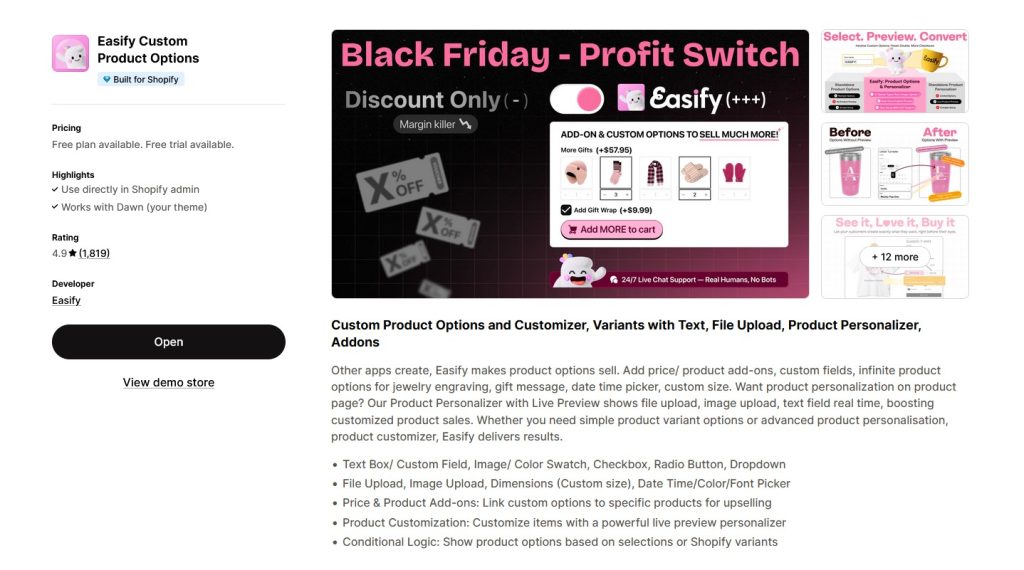
If you want more control over how your quantity selector looks and functions — Easify Custom Product Options is a powerful, beginner-friendly solution. It allows you to easily add a customizable quantity field (and many other product options) without touching any code.
Follow these steps to add a quantity option using Easify:
1. Install and activate the app
Go to the Shopify App Store and install Easify Custom Product Options. Once installed, follow the on-screen instructions to complete the setup and activate the app inside your Shopify admin.
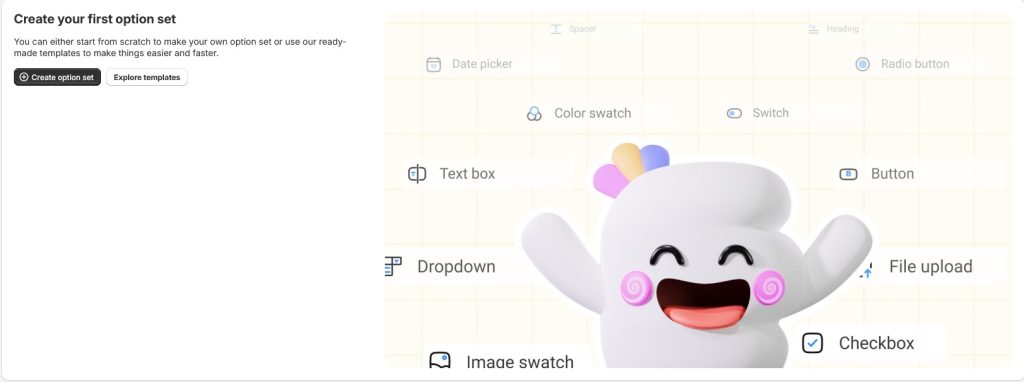
2. Create a new option set
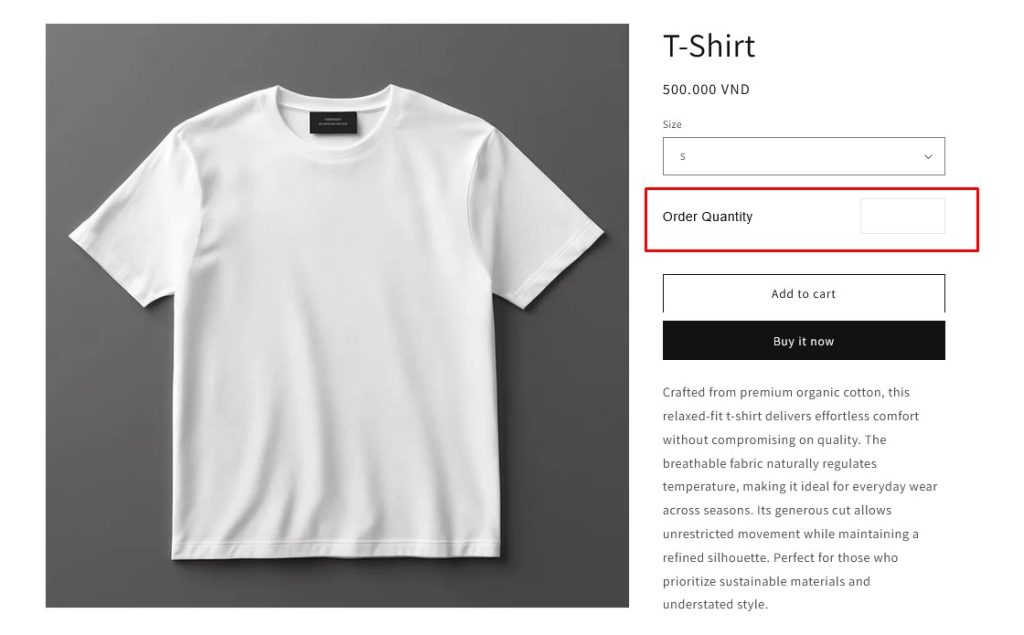
Click the Create Option Set button and give your set a clear, descriptive name such as “Order Quantity”. This option set will contain the quantity field you create.
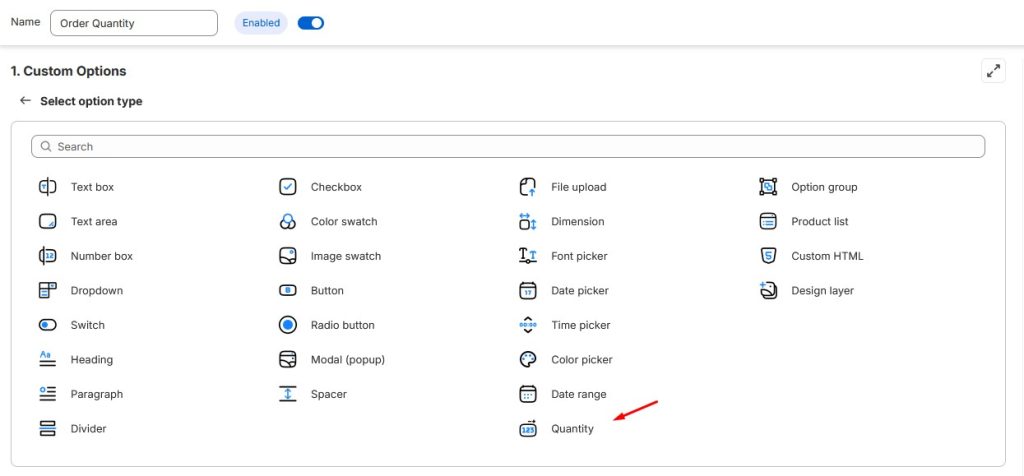
3. Add a Quantity option
Inside the option set, click Add option, then choose Quantity as the option type.
4. Edit your Quantity settings
Click the Edit (pencil icon) on the Quantity option and configure the following settings:
- Option Name – Appears in cart, checkout, and order details. Use a clear and meaningful name.
- Option Label – This is what customers see on the product page.
- Minimum value / Maximum value – Control how many items customers can select.
- Additional configuration (optional):
- Quantity field label
- Placeholder text
- Help text or notes
- Info tooltips
- Column width and layout
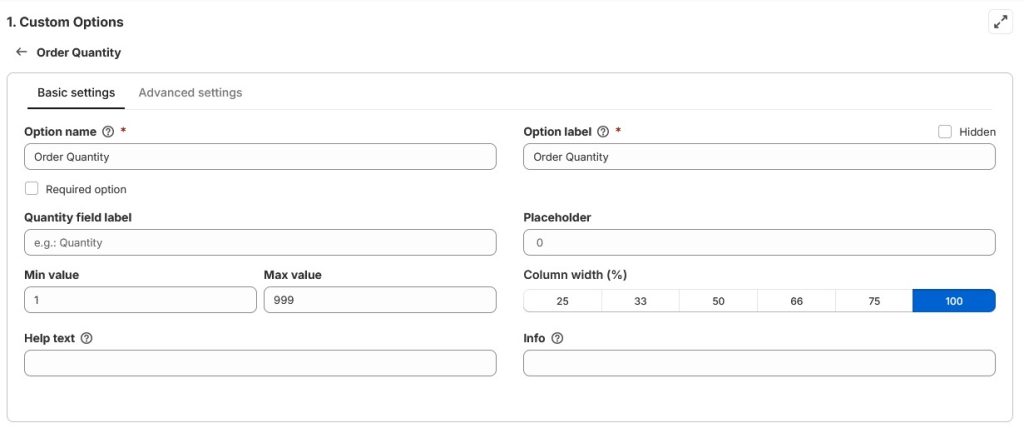
These settings give you full control over both the functionality and appearance of the quantity field.
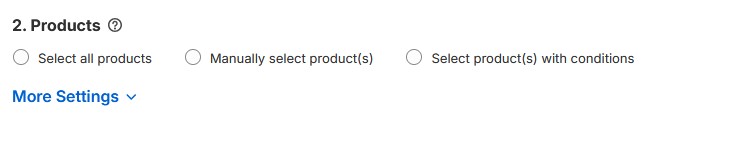
5. Choose where the option appears
Assign the option set to specific products or collections. This allows you to use the same quantity configuration across multiple products or limit it to a single item.
6. Save and publish
Click Save to publish your option set. Then visit your storefront and open one of the selected products — your new quantity field will now be visible and ready for customers to use.
Why use Easify?
This method is ideal if you want advanced features like minimum/maximum limits, custom labels, styling control, or different quantity rules for different products — all without editing theme code. It’s also perfect for non-standard selling models, such as:
- Custom materials or bulk goods, where flexible input is far more efficient than preset variants.
- Selling fabric by the meter/yard, where customers need to enter an exact length instead of choosing fixed units.
- Donation products, where buyers enter the amount they want to give.
Final Thoughts
Adding a quantity option to your Shopify product page may seem like a small detail, but it plays a big role in improving the customer experience and increasing your average order value. When customers can easily choose how many items (or how much of a product) they want, it removes friction from the buying process and makes ordering more efficient.
If you’re using a modern Shopify theme, the built-in theme editor is the fastest and easiest place to start. It requires no technical skills and can be activated in just a few clicks. For stores that need more flexibility — such as selling fabric by the meter, accepting donations, or setting custom quantity limits — a dedicated app like Easify Custom Product Options provides advanced control without the need to touch code.
No matter which method you choose, the most important thing is this:
make the buying process as simple and intuitive as possible for your customers.
A clear, easy-to-use quantity selector can reduce confusion, encourage larger purchases, and ultimately help you boost sales.
Further reading:


